

Inside the Pasta Maker: How Rollers and Cutters Craft Perfection
Step into the mechanics of a pasta maker where precise rollers and sharp cutters convert simple dough into uniform, restaurant-quality pasta. This piece explains how thickness settings, blade geometry, and material choices influence texture and performance.
- Roller gap controls determine cook time and bite.
- Cutter profile affects sauce cling and mouthfeel.
- Flour type and hydration change elasticity and extensibility.
- Maintenance preserves tolerance and surface finish.
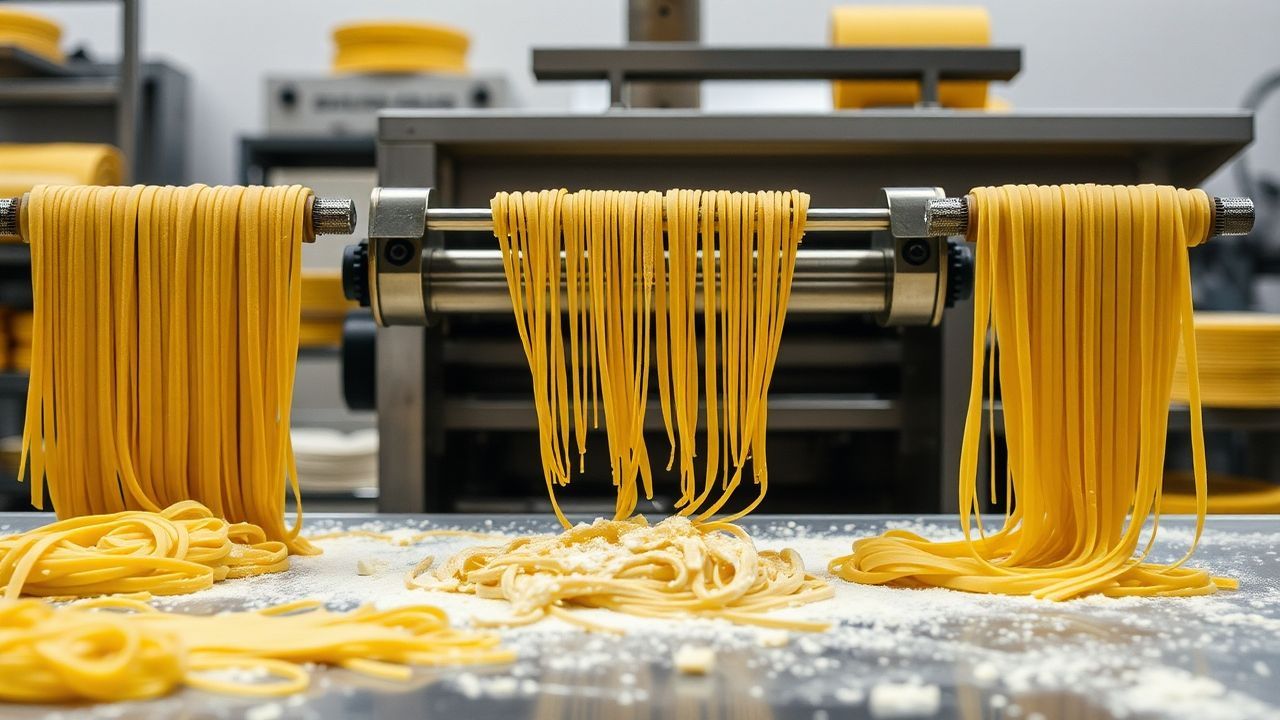
How Rollers Shape Dough
Rollers compress and elongate dough into sheets by reducing thickness while aligning gluten. Controlled reduction prevents tearing and maintains a consistent surface texture.
Modern home machines use stepped settings, typically numbered to represent millimeter ranges. For example, a common range moves from roughly 2.0 mm down to 0.5 mm, letting you target specific textures for lasagna, fettuccine, or angel hair.
Roller Materials and Surface Finish
Rollers usually match stainless steel for corrosion resistance and smoothness, which reduces friction and sticking. High-polish finishes yield shiny sheets; slightly textured rollers can help grip hydration in wetter doughs.
Roller hardness matters. Harder rolls resist wear and keep tighter tolerances, preserving uniform thickness across many batches. That consistency translates to predictable cooking times.
Rolling Technique: Lamination and Tension
The lamination technique—folding and rolling multiple times—evens out air pockets and aligns gluten strands. You should fold and pass the dough three to five times on a wide setting before stepping down the thickness one notch at a time.
Control tension by guiding the sheet with light pressure rather than forcing it. Excessive pull stretches unevenly and can create thin spots or tears that ruin the cutter feed.
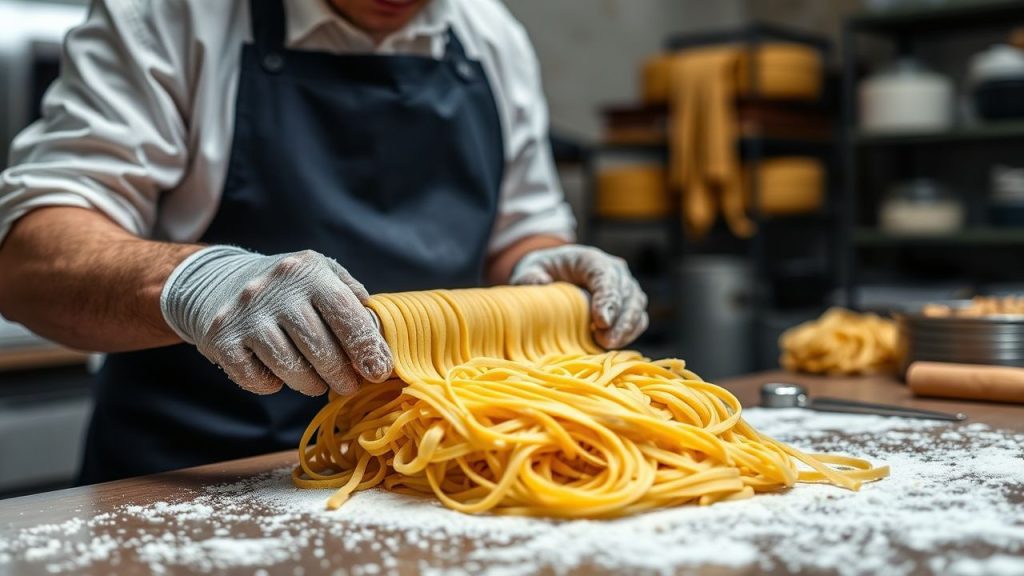
Cutters: Profiles, Spacing, and Sauce Behavior
Cutters determine final shape and the pasta’s interaction with sauce. Blade width, edge bevel, and spacing between blades all matter for clean separation and consistent strand width.
Wide cutters produce broad ribbons that hold heavy sauces, while narrow cutters yield strands that pair well with oil or light butter sauces. Cutter tooth geometry reduces fraying and ensures smooth edges.
Blade Design and Maintenance
Blades need sharp, even edges to slice cleanly; dull blades crush dough and compress air, which creates inconsistent strands. Check alignment regularly and replace bent or nicked cutters.
Many makers supply interchangeable cutters; fit them firmly to eliminate wobble. Proper seating keeps cut spacing uniform and prevents strands from fusing together during drying or cooking.
Prep and Cook Time
Prep Time: 20 minutes active; dough rest 30 minutes. Proper resting relaxes gluten and reduces springback during rolling.
Cook Time: 2–4 minutes for fresh pasta depending on sheet thickness and shape. Always test a piece for al dente texture and adjust time by 15–30 seconds if needed.
Yield and Difficulty
Yield: Serves 4 generous portions from the recipe below. Adjust batch size by scaling flour and egg weight while maintaining hydration percentage.
Difficulty: Medium. Requires hands-on kneading, incremental rolling, and cutter changes, but yields professional results with practice.
Ingredients
2 cups all-purpose flour, sifted, or blend with 00 flour for silkier sheets. Using blended flours helps balance gluten strength and tenderness.
3 large eggs at room temperature, 1 tsp olive oil, and 1/2 tsp fine salt. Use semolina for dusting to minimize sticking and to create a slight tooth on the surface.
For reference, semolina is the coarser fraction of durum wheat and improves handling and bite on fresh shapes. See the semolina article on Semolina for more on its properties.
Instructions
1. Make the dough: Mound the flour, create a well, add eggs, oil, and salt, then incorporate from the center. Move to a clean surface and form a rough ball.
2. Knead thoroughly: Knead 8–10 minutes until smooth and elastic. Rest the dough covered for 30 minutes to allow gluten relaxation and even hydration.
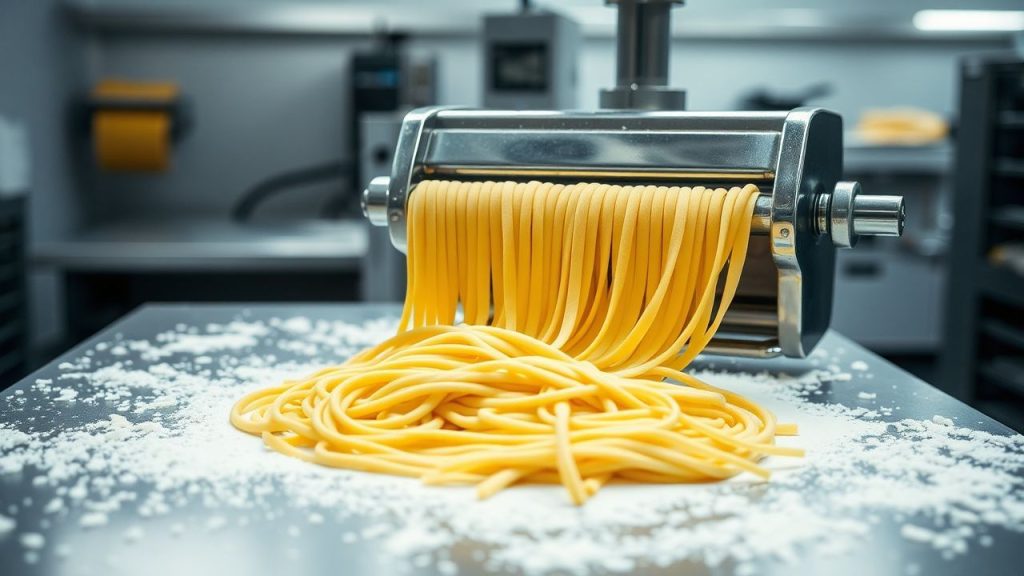
3. Prepare the machine: Mount the roller and chose the widest setting. Lightly dust the dough with semolina and shape it into a flat rectangle for the first pass.
4. Roll in stages: Feed the dough through the rollers on the widest setting then fold and repeat three to five times. Reduce the gap one notch at a time until reaching the target thickness.
5. Cut to shape: Attach the appropriate cutter and feed the sheet, dusting between layers to keep strands separate. Aim for a single, steady feed to avoid pleats or tears.
6. Cook or dry: Boil salted water and cook fresh pasta 2–4 minutes until al dente, testing at 2 minutes. Alternatively, dry on racks for storage; freeze flat on trays for longer-term keeping.
Chef’s Notes: Tips for Success
Hydration matters: Typical fresh egg pasta sits around 50–55% hydration by weight. Adjust slightly for humidity and flour absorption to avoid sticky or brittle dough.
Flour choice: Use a mix of all-purpose and 00 for a balance of strength and silk; add a touch of semolina for tooth when making shapes that need grip for sauce.
For technical context on gluten development and elasticity, consult the overview on Gluten. Understanding protein networks helps you predict how dough will stretch and hold shape.
[PROTECTED]
Use this test strip method to build a simple reference chart for your machine. Over time, you’ll know exactly which setting to use for each shape and sauce pairing.
Maintenance and Cleaning
After use, remove loose flour and dried dough with a dry brush or wooden skewer. Avoid running water over mechanical rollers to prevent corrosion and debris migration into bearings.
Store cutters and small parts in a dry box to prevent oxidation and maintain blade uniformity. Regular light oiling of non-contact moving parts extends service life.
Allow at least one full paragraph after the warning before adding another advisory or tip. Proper spacing prevents reader overload and highlights safety instructions.
Serving Suggestions
Pair thick ribbons with chunky ragùs and finely cut strands with light olive oil or butter sauces. Broad pastas absorb heavier sauces; thin strands showcase delicate emulsions.
Finish with aged hard cheeses and aromatic herbs to balance richness. Serve immediately for best texture, or briefly refresh dried or frozen shapes in boiling water before saucing.
Mastering the Art of the Pasta Maker
Mastery combines machine control with dough intuition. Track variables like flour type, hydration, resting time, and roller settings to reproduce outcomes batch to batch.
For a focused overview of common pasta shapes and their ideal uses, see our internal guide to pasta shapes. That resource maps shapes to sauce weights and cooking profiles.
For maintenance workflows and replacement schedules, reference our internal pasta maker maintenance checklist. Routine checks preserve tolerances and reduce blade chatter.
When aiming for the classic bite, remember the culinary term al dente; thinness and cook time converge to produce that characteristic texture.
FAQ
How thin should I roll pasta for fettuccine?
Roll to a medium-thin setting where the sheet looks slightly translucent but still offers body. Test by cooking a small strip for 30–60 seconds to confirm bite.
Can I use the same machine for pastry or pizza dough?
Yes, many rollers handle pastry and fondant if cleaned thoroughly between uses. Avoid cross-contamination by removing all dough residues before switching dough types.
Why does my pasta tear when fed through the cutter?
Tears usually indicate insufficient rest, excessive dryness, or a too-fast feed. Rehydrate slightly, rest longer, or slow the feed and re-roll on a wider setting first.
How do I prevent strands from sticking together after cutting?
Dust strands with semolina and separate them on a rack or floured tray. For longer storage, flash-freeze on a sheet tray before bagging to keep strands discrete.
What maintenance intervals should I follow?
Clean after each use and inspect blades monthly if you use the machine weekly. Replace cutters or sharpen blades when edges show nicks or when cut quality degrades.
Understanding the rollers and cutters inside a pasta maker gives you precise control over texture, cook time, and sauce compatibility. Use measured technique, maintain parts, and test regularly to produce consistent, restaurant-quality results.
See also: Pasta maker


