- Balance amylose and amylopectin to control crunch and moisture retention.
- Control temperature and use a double-fry for consistent texture.
- Use blends like potato + tapioca to tune crispness and translucency.
- Dry and rest to let steam escape and the crust set before serving.
Understanding Starch Composition and Its Impact on Frying Texture
Starch chemistry determines how coatings behave under high heat. Two molecules, amylose and amylopectin, dominate that behavior.
Both influence gelatinization, film formation, and oil uptake. Controlling their ratio lets you predict whether a crust will be brittle, flaky, or chewy.
The Role of Amylose and Amylopectin in Achieving Ultimate Crispiness
Amylose is largely linear and forms stronger gels and films as it cools. That film becomes the hard, shatterable crust diners associate with a great fry.
Amylopectin is highly branched and holds more water, which softens texture if it dominates the coating. Successful coatings often pair these traits rather than rely on one component.
Optimizing Frying Techniques for Different Starches
Temperature and timing matter as much as the starch itself. Aim for oil between 350°F and 375°F (175–190°C) and maintain it with a reliable thermometer.
High-amylose starches like potato need slightly cooler first-stage frying to set a shell without burning. Amylopectin-rich starches like tapioca benefit from faster vaporization at the higher end to lock moisture out.
Expert Tips for Selecting the Best Starch to Elevate Your Frying Game
Choose potato starch for a robust, crackling shell and lower oil uptake. Use tapioca or rice starch when you want a lighter, airy crunch that complements delicate proteins.
Blends tune the mouthfeel: a 50/50 potato–tapioca mix produces a firm but translucent crust. Sift starches and keep coatings dry before frying for even adhesion.
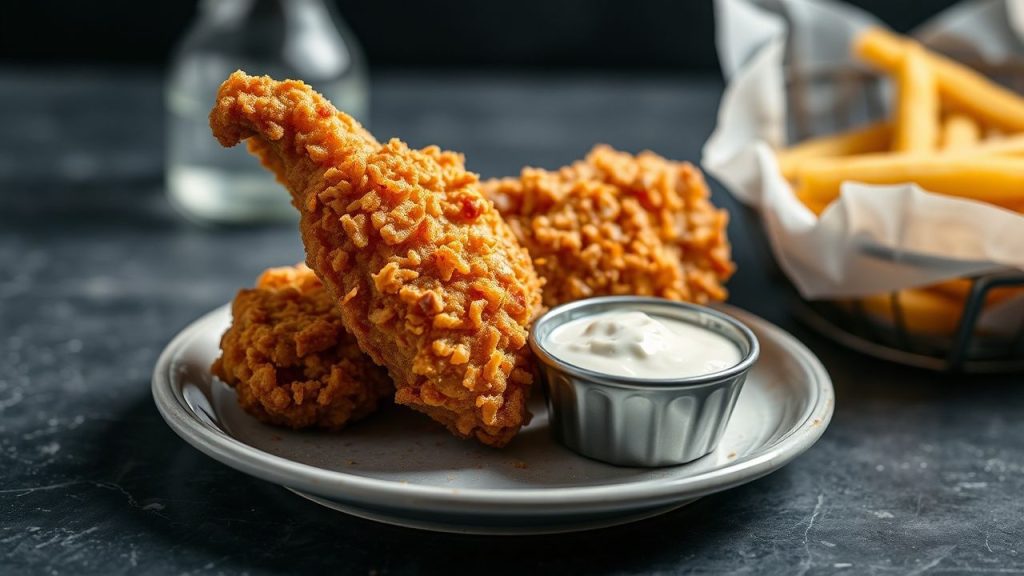
Recipe: Starch-Blend Fried Chicken or Shrimp
Prep and Cook Time
Preparation: 15 minutes. Cooking: 10–15 minutes including a double-fry step.
Yield: Serves 4–6. Difficulty: Medium — requires steady temperature control and timing.
Ingredients
- 1 cup potato starch, sifted
- 1/2 cup tapioca starch, sifted
- 1 teaspoon salt
- 1/2 teaspoon black pepper, freshly ground
- 2 large eggs, beaten
- 1 pound chicken tenders or shrimp, patted dry
- Vegetable oil for frying, enough to submerge
Instructions
- Prepare the starch blend: Mix sifted potato and tapioca starch with salt and pepper in a shallow bowl. This ratio balances amylose and amylopectin to create a resilient crust.
- Set up a dredge station: Place beaten eggs in a second bowl. Pat proteins dry, dip into eggs, then press into the starch blend to coat evenly.
- Heat oil: Use a heavy pot or fryer and bring oil to 350°F (175°C). Monitor the oil; drop in a small test piece to check for steady bubbling.
- First fry: Fry in batches to avoid crowding. Cook 4–5 minutes until the interior is cooked through but not deeply colored. Drain on a wire rack.
- Rest: Let pieces cool 5–10 minutes so steam escapes and the starch gel sets. This improves final crispness.
- Second fry: Raise oil to 375°F (190°C) and fry 1–2 minutes to blister and brown the crust. Drain on a rack to keep air flowing under each piece.
- Serve immediately: Offer warm for the best contrast of crisp exterior and juicy interior.
 Expert Insight
Let the proteins rest between fries; pressure and steam trapped under the crust collapse the texture if you skip this step. A brief resting period fixes the crust structure before final browning.
 Pro-Caution
Technical Notes on Oil Uptake and Color
Starch gels form a barrier that reduces oil penetration when properly set. A thicker, uniform gel curbs oil absorption and yields a less greasy mouthfeel.
Browning comes from Maillard reactions and surface dehydration. Starch behavior affects how quickly the surface dries and how deep the final color becomes.
Using Blends to Control Outcomes
Potato starch delivers strength and crisp; tapioca adds elasticity and translucency. Adjust ratios to match the food: lean proteins tolerate more brittle crusts, fattier pieces need more flexible coatings.
Test small batches, document oil temperature and frying time, and log appearance and mouthfeel. Repeatable results come from precise notes and gradual adjustments.
Storage and Reheating Tips
Reheat on a wire rack in a hot oven rather than the microwave to restore crispness. Microwaving reintroduces steam and softens the crust.
Leftover fried items keep better when spaced on a rack and uncovered in the fridge for a short time before reheating. Avoid long-term storage under sealed conditions that trap moisture.
Nutrition and Presentation
| Nutrient | Per Serving |
|---|---|
| Calories | 320 kcal |
| Protein | 28 g |
| Carbohydrates | 18 g |
| Fat | 14 g |
Serve on a neutral platter to showcase the golden crust. Add acid like lemon or a bright dipping sauce to cut richness and highlight texture. Fresh herbs add contrast and freshness.

For deeper reading on frying principles and methods, consult the site’s frying techniques overview at Frying Techniques Guide. For extended notes on starch testing and lab-style trials, see our internal research notes at Starch Science.
FAQ
Why does starch matter when frying?
Starch determines the crust structure by gelatinizing and then hardening as it cools. That process controls oil uptake, texture, and how the surface browns.
Picking the right starch or blend predicts whether the crust will shatter or remain chewy under sauces.
Which starches should I test first?
Start with potato starch and tapioca. Potato gives a strong shatter; tapioca provides a lighter, elastic crisp. Combine them to balance traits.
Add rice or cornstarch to refine flakiness or density depending on the protein.
How does double-frying improve results?
The first fry cooks the interior and sets the starch gel. Resting allows steam to escape and the gel to firm up. The second fry crisps and colors the exterior rapidly.
Double-frying reduces oil absorption while delivering a stable, blistered crust that resists sogginess.
Can mixing starches reduce oiliness?
Yes. A well-gelatinized, thicker starch film blocks oil ingress. Blends that form strong films and dry quickly perform best at limiting oil uptake.
Consistent coating thickness and controlled frying temperature improve the protective effect.
What common mistakes reduce crispness?
Leaving proteins wet, overcrowding the fryer, and running oil too cool are the most common errors. Each causes excess steam or uneven cooking that ruins texture.
Use a thermometer, dry ingredients thoroughly, and fry in small batches for the most reliable results.
Mastering starch choices and frying workflow produces dependable, restaurant-quality crisps at home. Apply these tested techniques, record results, and refine your starch ratios to match the food and desired mouthfeel. Happy frying.
References for scientific context: amylose, amylopectin, and frying.
See also: starch
]]>
- Moisture control seals juiciness while enabling a dry, shattering crust.
- Flour + starch balance produces structure plus crispness without toughness.
- Oil temperature and batch size determine oil uptake and browning.
- Finishing steps (rest, oven blast) preserve and restore crunch.
The Role of Moisture Control in Achieving Ultimate Crunch
Moisture determines whether a crust crisps or goes limp. If the surface stays wet while frying, steam softens the crust and oil soaks in.
Manage moisture with an acid soak such as buttermilk to tenderize meat while controlling surface wetness before dredging. For background on the chemistry of tenderizing, see buttermilk.
Pat pieces so they retain enough film for adhesion but not pools of liquid. That thin film creates even contact for the flour-starch blend to cling and transform under heat.
Rest coated pieces briefly on a tray to set the crust before frying; this forms a tacky skin that fries into a stable, crisp shell.
Key Ingredients and Why They Work
All-purpose flour gives structure; starches such as cornstarch or potato starch add brittle, dry texture. Combining them limits gluten formation while promoting that desirable shatter.
Baking powder adds microscopic air pockets and raises pH slightly to speed browning and crisping. For a primer on related leavening chemistry, consult baking powder.
Salt and spices season while modifying surface behavior; salt draws minimal moisture to the surface but also seasons the crust. Tiny changes in formulation shift the final texture and color.
Rice flour or tapioca starch can replace some wheat flour to reduce chew and enhance flake. Starch behavior under heat relates to native polymer properties; see starch for technical context.
Prep, Timing, and Yield
Preparation: 25 minutes active time. Marinate 2–4 hours for best results. Cooking per batch runs about 15–18 minutes.
Yield: Serves 4 adults. Keep timings consistent so batches finish at similar doneness and all pieces share the same crisp profile.
Ingredients (Why each matters)
Use bone-in, skin-on pieces for moisture retention and flavor. Buttermilk tenderizes proteins and improves coating adhesion.
Combine 2 cups all-purpose flour, 1 cup cornstarch, 1 tablespoon baking powder, and seasonings. This mix balances structure, browning, and brittle texture.
Step-by-Step Frying Technique: Temperature and Oil Management
Heat oil to 350°F (175°C) and maintain between 350–375°F for ideal crust formation and safe internal cooking. Holding temperature prevents excessive oil uptake and uneven browning.
Fry in small batches to avoid sudden temperature drops. Use a reliable thermometer and adjust heat quickly to recover the set point.
When coating hits oil at target temperature, surface water vaporizes immediately, forming tiny bubbles and drying the crust. That rapid surface change creates a barrier that keeps oil out.
Deep frying parameters tie directly to the physics of heat transfer. For a focused technical overview, review deep frying.
Coating Methods and Layering
Single dredge gives a thin crust; double-dredge builds layers that fry into a thicker, more textured shell. Press the dry mix gently so it adheres without compacting.
Use a wet-dry-wet-dry sequence when you want maximum crunch: wet dip, dry coat, brief return to wet, then finish in dry mix. Layering traps steam inside and produces flakes on the exterior.
For lighter crunch, incorporate rice flour or thinly sift cornstarch into the final dusting. For heavier, craggy crusts, coarser flour and a looser batter increase surface ruggedness.
After frying, drain on a wire rack to let oil drip and air circulate. Avoid stacking pieces or using paper towels that trap steam and soften the crust.
[h2]Tips for Success[/h2]
Maintain oil temperature precisely; a 25–40°F drop will change moisture dynamics and increase oil uptake. Adjust stove settings between batches to recover quickly.
Control batch size. Overcrowding reduces oil temperature and produces greasy, limp crusts. Fry in consistent groups so each piece gets the same thermal exposure.
Expert Insight
Finish with a light seasoning right after frying to let salt cling to hot oil and intensify flavor. A brief 3–5 minute oven blast at 400°F can revive crispness for resting or late service.
Pro-Caution
Instructions
1. Soak chicken in buttermilk for 2–4 hours to tenderize and help coating adhesion. Drain and let pieces rest until tacky, not dripping.
2. Mix flour, cornstarch, baking powder, and spices in a bowl. For extra crisp, double-dredge by dipping back into buttermilk and re-coating.
3. Heat oil to 350°F (175°C); fry in small batches until golden and internal temperature reaches safe levels. Turn pieces for even browning.
4. Drain on a wire rack and rest for several minutes before serving to lock the crust. Optionally, give leftovers a short oven refresh to restore snap.
Serving Suggestions
Serve hot with contrasting textures: creamy mashed potatoes or a tart, crunchy slaw balances richness. Herbs add a fresh note that lifts the overall bite.
Offer dipping sauces at room temperature; extreme cold can reduce perceived crispness and overwhelm the palate.
Common Science Questions Answered
Why does the crust shatter? Rapid evaporation of surface moisture forms pockets and dries the coating, while starches and proteins set into a brittle matrix.
How do starches behave? Under high heat, starches undergo physical changes that reduce elasticity and increase brittleness, delivering higher snap.
Internal Resources
For technique refinement, check our recipe guide: Perfect Fried Chicken Techniques. It covers knife work, brining, and pacing for batch frying.
Explore a focused guide on oil recovery and fryer management at Frying Temperature & Oil Care for long-term consistency and cost control.
| Nutrient | Per Serving (1 piece) |
|---|---|
| Calories | 420 |
| Protein | 35g |
| Carbohydrates | 18g |
| Fat | 23g |
FAQ
How does buttermilk improve crispiness?
Buttermilk tenderizes proteins and leaves a thin, acidic film that promotes coating adhesion. The film helps the coating set quickly when it hits hot oil, contributing to a lighter crust.
What temperature is best for frying to get the crispiest crust?
Maintain oil between 350°F and 375°F (175–190°C). That range crisps the exterior while allowing the interior to reach safe temperatures before the crust over-browns.
Does double-dredging always mean better texture?
Double-dredging increases crust thickness and texture but can trap more moisture if overdone. Use it when you want a hearty, craggy crust; skip it for a thin, delicate snap.
Can I make this gluten-free without losing crunch?
Yes. Replace all-purpose flour with a gluten-free blend and favor potato or rice starch for crunch. Adjust seasoning since blends vary in salt and binders.
How do I restore crispness in leftovers?
Use a hot oven or air fryer for 3–6 minutes to drive off surface moisture and recrisp the coating. Avoid microwaves, which steam the crust and make it soggy.
Understanding the interactions of moisture, starch, and heat will let you control every element of the final crust. Use the internal technique pages above to refine timing and scale for service.
See also: fried chicken
]]>