- Roux controls texture: color determines flavor and thickening strength.
- Fat choice matters: butter yields creaminess; neutral oil yields darker, cleaner flavors.
- Cook time trades thickness for depth: darker roux thickens less but tastes nuttier.
- Make ahead: cooled roux stores well for fast sauce-making.
Understanding Roux: The Foundation of Flavor and Texture
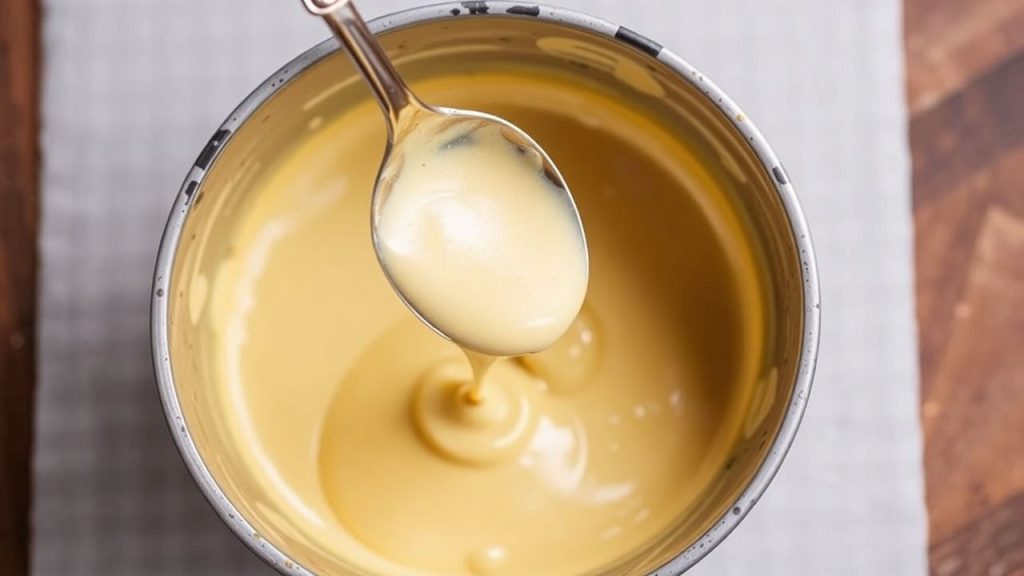
A roux forms when flour coats fat and cooks enough for starch granules to hydrate and swell once liquid is added. This interaction produces a gelatinous network that thickens sauces while creating a smooth mouthfeel.
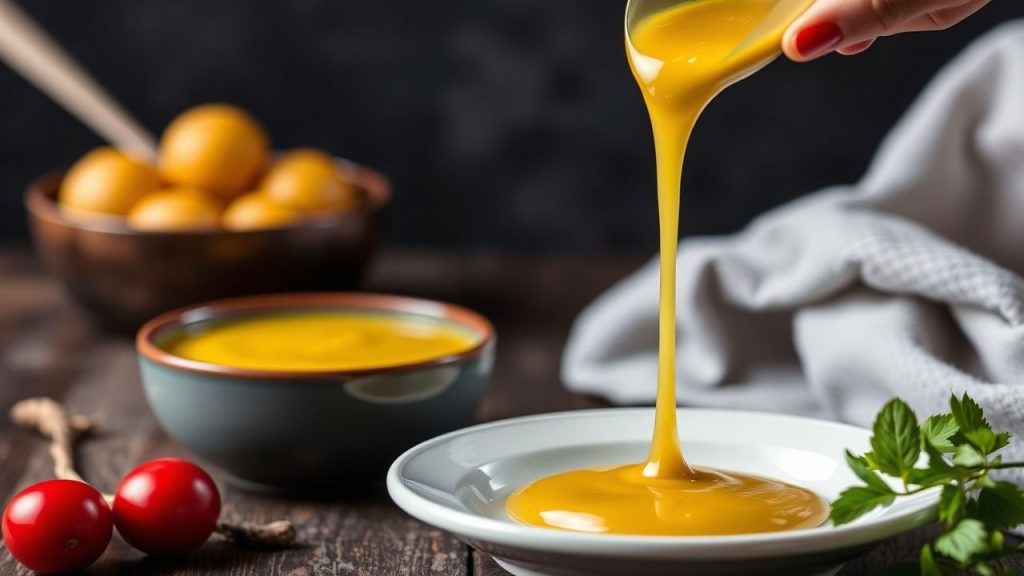
Different colors of roux—white, blonde, brown—signal how long the mixture cooked and how much thickening power remains. For technical detail on roux and its role in cooking, refer to the roux (cooking) entry.
Basic Ingredients and Ratios
Classic proportions start at equal parts fat to flour by weight; a common home ratio is 1:1 by volume for simplicity. Use a digital scale when precision matters; weight-based ratios deliver repeatable results.
Fat choice influences flavor and smoke point. Use unsalted butter for béchamel and higher smoke-point fats like vegetable oil for darker, longer-cooked roux.
Choosing Fat
Butter provides a rich, dairy-forward note ideal for white and blonde roux used in milk-based sauces. It also browns faster, so monitor heat closely when aiming for deeper color.
Rendered animal fats or neutral oils tolerate higher heat and support darker browning required for dishes such as gumbo. For more on sauces and their classifications, see béchamel and velouté.
Choosing Flour
All-purpose wheat flour gives predictable thickening and flavor. Sift flour to remove lumps and to encourage even coating of fat for a smooth finish.
Alternative starches such as rice or chickpea flour can work for gluten-free needs, but they change viscosity and flavor. Test small batches to adjust cook time and liquid ratios.
Technique: Step-by-Step Roux Cooking
Heat control and constant stirring deliver an even color and prevent scorching. Use a heavy-bottomed pan to distribute heat and avoid hot spots that char flour particles.
Start by melting fat until it liquefies but does not brown. Add flour gradually and stir immediately to fully coat particles. Maintain medium heat and stir with a wooden spoon or silicone spatula.
Blonde to Brown: Timing and Cues
A white roux sees minimal cook time and tastes mild—ideal for milk-based sauces. A blonde roux cooks a few minutes longer until a pale golden color develops and a subtle nutty aroma appears.
A brown roux takes 10–20 minutes at moderate heat and must be stirred constantly. Expect less thickening but a deeper, toasted flavor suited to dark gravies and Creole sauces such as gumbo. For cultural context on gumbo, consult gumbo.
Practical Uses and Creative Applications
Roux anchors classic sauces like béchamel, velouté, and espagnole, but chefs repurpose it across preparations to add silkiness or body. Use roux to stabilize cheese sauces, thicken stews, or enrich mashed potatoes.
Beyond traditional applications, a dark, cooled roux can be crumbled for a crunchy garnish, while a pale roux blends into batters to improve texture. Roux also extends to pastry kitchens where it contributes to structured fillings when precise thickening matters.
Scaling, Storage, and Make-Ahead Strategy
Prepare roux in larger quantities and cool it quickly for later use; it stores refrigerated for up to a week and freezes well in portioned blocks. Label containers with date and fat type to track quality and flavor expectations.
When reheating, warm slowly and whisk in hot liquid to reincorporate. Cold roux can clump if added without gentle heat, so temper it by adding a little warm stock first to loosen the mixture.
Troubleshooting Common Roux Problems
Burnt or bitter roux results from too-high heat or poor agitation. If scorching occurs, discard and start over—burnt flour gives persistent off-flavors that linger in sauces.
If your sauce becomes grainy or thin, reassess your roux color and the liquid temperature during incorporation. A darker roux often requires more roux volume or slower reduction to achieve the same final viscosity.
 Expert Insight
Separate from the previous tip: when using butter, clarify it first to raise the smoke point and reduce the risk of burning at the stages where you want more color. Clarified butter gives a cleaner toasted note with less risk.
 Pro-Caution
Chef’s Tips for Consistent Results
Use a wide pan to increase surface area and speed moisture evaporation for faster color development when making darker roux. Also, scrape the bottom and sides frequently; trapped flour fragments will char if left alone.
Sift flour and measure ingredients by weight. Small adjustments in ratio change thickening strength. For instance, a slightly higher flour-to-fat ratio increases body but can make the sauce feel pasty if overdone.
Serving Suggestions and Pairings
Match roux color to the dish: white or blonde roux suits delicate poultry and vegetable sauces, while brown roux pairs with roasted meats and richly spiced stews. Use fresh herbs or acid to brighten the final sauce.
Garnish with aromatic butter or a dash of citrus to cut richness when serving heavy roux-based sauces. A light sprinkle of toasted nuts can add pleasing texture where appropriate.
FAQ
What is the best fat for a beginner making roux?
For beginners, use unsalted butter because it melts and blends predictably and it introduces a familiar, pleasant flavor. Butter helps you sense when the mixture starts to brown due to its aroma and color changes, which makes timing easier.
How do I adjust a recipe that calls for roux when I need gluten-free?
Substitute rice or chickpea flour and test small batches first. These flours thicken differently and can introduce a distinct flavor, so reduce or increase quantity to match desired viscosity and taste.
Can I use roux in cold sauces or dressings?
Roux typically thickens hot liquids; use it to create warm emulsions or sauces that will cool. For cold dressings, consider starches like arrowroot or cornstarch dissolved and heated separately, then chilled, as roux-derived textures can tighten on cooling.
How long does roux need to cook to lose its raw flour taste?
A brief cook of 2–3 minutes removes raw flour taste for a white or blonde roux. Longer cooking deepens flavor but reduces thickening power, so balance color with the viscosity your recipe needs.
Is roux necessary for every sauce that needs thickening?
No. Roux is one effective thickener among many, including reduction, cornstarch slurry, egg liaison, and beurre manié. Choose roux when you want a stable, velvety texture and an integrated flavor base.
Understanding and practicing roux transforms sauce-making from guesswork into repeatable technique. Use the cues described here—color, aroma, and consistency—to control outcomes and expand your repertoire across classic French and regional cuisines.
See also: roux
]]>
- Fast heat transfer sets the base quickly and reduces soak-in.
- Hydration control limits free water available to penetrate the lower layers.
- Shielding techniques such as blind baking and absorbent layers block juices.
- Right bakeware concentrates conduction for a firm, crunchy finish.
Crisp crust: Understanding the soggy bottom
The soggy bottom forms when moisture migrates into the base faster than the dough can set and brown. Poor conduction, excess water in dough, or a wet filling all accelerate saturation and collapse the crisp crust structure.
Protein networks and starch gelatinization dictate how a pastry sets. For a technical reference on protein behavior in dough see gluten. For pastry-specific context consult the pie crust entry.
Crisp crust ingredients and dough strategy
Choose fats and flour deliberately to reduce water uptake and improve flake formation. Cold, solid fats create discrete steam pockets on baking; those pockets both lift layers and reduce continuous paths for liquid to follow.
Keep hydration tight. Aim for a slightly dry dough that holds together without sticky excess. Lower hydration reduces free water that would migrate downward and compromise the crisp crust.
Fat selection and lamination for a crisp crust
Use cold butter or a butter-neutral fat blend for flavor control and predictable melting. Cold fat delays full incorporation and gives discrete pockets that crisp quickly when placed on a hot surface.
Controlled lamination—gentle folds rather than heavy rolling—creates independent layers that interrupt liquid paths. That mechanical flake supports the crisp crust by reducing continuous channels for juices to travel.
Hydration, binders, and absorptive add-ins
Add ice water sparingly and consider a small acid splash like vinegar to shorten gluten without weakening cohesion. This preserves bite while promoting a firm base that resists saturation.
Sprinkle coarse particles sparingly to form an absorptive interface. Use cornmeal or semolina as a thin bed; it traps stray juices and contributes texture while protecting the crisp crust.
Oven, tools, and heat techniques for crisp crust
Rapid conduction to the underside sets starches and browns the base before juices can migrate. Preheat a heavy baking surface and use the lowest practical rack to shorten the distance between crust and heat source.
Know your appliance. Accurate thermostat behavior and consistent heat distribution help you replicate results. For a basic reference on appliance function, consult the oven page.
Bakeware choices and setup to protect the crisp crust
Prefer cast iron, heavy steel, or a preheated stone to thin, flimsy pans. High-mass bakeware stores heat and delivers immediate conduction that firms the bottom fast.
Preheat the stone or pan for at least 30 minutes at full temperature. In practice, this step reduces blind-bake time and increases the odds of a uniformly crisp crust across the bake.
Expert Insight
Practical steps: a crisp crust checklist
Follow a concise sequence that eliminates common failure modes: chill dough, dock or weigh when blind baking, and place the crust on a preheated surface. Each step targets a specific cause of sogginess.
Document what works in your oven. Keep a short log of pan types, temperatures, and minutes; adjust timing rather than ingredients to tune results to your appliance and altitude.
Actionable checklist
Chill dough at least 1 hour to firm fats and relax gluten; cold fats crisp more predictably. Cold dough also shrinks less and maintains structure during the initial heat surge.
Preheat the baking stone or heavy sheet at full temperature for 30–45 minutes; this creates immediate conduction to set and brown the base. Thin pans never replace stored heat.
More quick actions
Dock or weigh during blind baking to vent steam and set the structure. If the filling browns better with direct contact, remove weights early once the surface firms.
Use an absorbent barrier such as a thin dusting of cornmeal, fine breadcrumbs, or grated hard cheese when facing highly juicy fillings. That layer acts like an internal drip tray and supports a crisp crust.
Blind baking and moisture management for crisp crust
Blind baking remains the most consistent defense against a soggy bottom for wet fillings. Partial blind baking firms the base and seals surface starches before the filling is added.
When using weights, remove them early if the filling benefits from direct contact for browning; leave them longer for very wet fillings. Combine blind baking with an absorptive interface for the best protection.
Absorbent layers and pre-cooking fillings
Precook high-moisture fillings and drain thoroughly, or macerate fruit with a little sugar and discard the released juice. Removing free liquid before assembly reduces the chance that juices will reach the lower layers.
An alternative is a light bed of fine breadcrumbs, grated hard cheese, or a dusting of cornmeal on the blind-baked surface. These materials trap moisture and keep the crisp crust intact.
Serving, storage, and re-crisping crisp crust
Serve baked goods soon after brief cooling; the crisp crust shines when fresh. If you must store, cool fully on a rack and wrap loosely to avoid trapping steam.
To re-crisp leftovers, use a preheated oven at 350°F (175°C) for several minutes on a hot sheet. This approach restores crunch far better than a microwave, which collapses crispness.
Pro-Caution
Tool habits and calibration for consistent crisp crust results
Keep a small test tart or scrap crust to evaluate temperature and timing in your oven. Empirical checks trump guessing and prevent ruined batches.
Track pan performance and note how heat profiles change with different rack positions or when you bake multiple items. Small adjustments to time and placement yield large improvements in crisp crust outcomes.
FAQ
Why does my crust become soggy even when I blind bake?
If blind baking time or temperature is too low, the bottom will not set fully and will accept juices. Also, thin or low-mass bakeware reduces conduction and often requires a hotter surface or longer blind-bake time.
Can I fix a soggy bottom after baking?
Often you can recover a partial crisp by returning the product to a hot oven on a preheated sheet for a few minutes. Deep saturation from an overly wet filling will limit how much crunch you can restore.
Does adding cornmeal change flavor or texture much?
Cornmeal gives a subtle gritty crunch and serves as a moisture buffer. Use it sparingly; too much creates a coarse mouthfeel instead of a clean crisp crust.
Is docking necessary for all crusts?
Docking vents underlying steam and prevents large bubbles, but it is not required for all filled pies. Apply docking when making flat tarts or pizza-style bases where even contact matters.
What oven temperature profile works best?
Start with high heat to set the bottom quickly, then reduce if the top needs slower finishing. Monitor your oven’s actual temperatures and adjust minutes rather than guessing.
Apply these focused methods and test them in your oven to eliminate soggy bottoms and produce reliable, crunchy crusts.
See also: gluten, pie crust, and cast iron references for technical background.
See also: crisp crust
]]>