Beneath a golden, flaky galette sits a carefully balanced crust that defines the eating experience. When you control fat, hydration, and handling, the dough delivers crisp layers and a tender crumb that complements savory fillings.
As a pastry professional, I explain the functional reasons behind each step so you can repeat success reliably. Read the instructions, apply the techniques, and you will bake a crust with consistent texture and flavor.
- Cold fat + minimal handling = distinct flakes and tender crumb.
- Precise hydration prevents toughness and sogginess.
- Chill time firms fat, relaxes gluten, and improves rollability.
- Simple seals and egg wash protect the bottom from wet fillings.
Prep and Cook Time
Preparation: 20 minutes of active work, focused on keeping ingredients cold and handling light. The prep emphasizes speed and organization to preserve the texture advantages of chilled fat.
Chilling: 1 hour minimum; up to overnight for improved flavor and easier rolling. Chilling solidifies butter and lets moisture distribute evenly.
- Baking: 35-40 minutes at 400°F (205°C)
- Total Time: About 1 hour 55 minutes (including chill)
Yield and Difficulty
This recipe yields a single galette that serves about six people when paired with a salad or sides. The dough scales easily; double it for two galettes and chill in portions.
Difficulty rates as medium: the techniques require attention to temperature and timing but do not demand professional tools. Home bakers find it rewarding after one practice run.
- Serves 6 generously
- Difficulty: Medium
Ingredients
Use quality base ingredients and keep them cold. The choices you make for fat and flour influence flakiness, flavor, and structure.
Below are practical ingredient options; substitute thoughtfully and adjust liquid as needed to maintain dough cohesion.
- 1 1/4 cups all-purpose flour, sifted
- 1/2 cup cold unsalted butter, cubed
- 1 teaspoon fine sea salt
- 3-4 tablespoons ice-cold water
- Optional: 1 tablespoon finely ground almond flour for richness
Step-by-Step Instructions
Follow the steps in sequence and keep tools and surfaces cool. Use a bench scraper, pastry cutter, or cold hands to maintain texture.
Work quickly at each stage. If the butter softens, return the bowl to the fridge for a few minutes before proceeding.
- Prepare the fat: Freeze the butter for 10-15 minutes before cutting. Cold butter forms steam pockets during baking that produce layers.
- Mix dry ingredients: Whisk flour, optional almond flour, and salt in a bowl to distribute the salt evenly and break up any clumps.
- Cut in butter: Use a pastry cutter or two knives to work butter into the flour until the mix resembles coarse cornmeal with pea-sized pieces.
- Add ice water: Drizzle 3 tablespoons of water, mixing only until the dough starts to hold. Add the fourth tablespoon only if necessary to bring dough together.
- Form and chill: Press into a 5-inch disc, wrap tightly, and refrigerate at least 1 hour or overnight for best results.
- Roll out: Lightly flour the surface and roll into a 12-inch circle. Rotate and lift the dough to prevent sticking; avoid excessive rolling to limit gluten development.
- Assemble: Transfer to a parchment-lined sheet. Add fillings, leaving a 1- to 1.5-inch border. Fold edges toward the center and lightly press to seal.
- Bake: Brush with egg wash for color and shine. Bake at 400°F for 35-40 minutes until the crust turns golden and the filling bubbles.
Chef’s Notes – Tips for Success
Fat choice alters both flavor and texture. Use butter for rich flavor; a small percentage of lard or vegetable shortening increases flakiness but changes mouthfeel.
Control hydration tightly. Underhydrated dough crumbles; overhydrated dough becomes tough. Add water in small increments and stop once the dough holds.
 Expert Insight
For further reading on pastry science, see the pastry overview. Also consult the baking page for temperature principles that affect crust color and doneness.
 Pro-Caution
Handling, Hydration and Flour Selection
Flour protein content influences gluten strength and structure. All-purpose flour offers balance, while pastry flour lowers protein for a more tender texture.
When substituting whole-grain flours, reduce hydration slightly and expect a coarser crumb. You can blend flours to maintain flakiness and add depth.
Gluten formation plays a direct role in texture control; for more on the protein that gives dough its network, refer to gluten.
Preventing a Soggy Bottom
Shield the base from wet fillings by pre-cooking highly moist vegetables and by draining liquids properly. This step preserves crispness through baking.
Additionally, brush the rolled crust with a thin layer of beaten egg or grated hard cheese before adding fillings. The protein creates a barrier that limits moisture penetration.
Serving Suggestions
Pair the galette with a crisp salad to contrast texture and to cut richness. A peppery arugula or mixed greens with a light vinaigrette works especially well.
Finish the baked galette with fresh herbs and a sprinkle of flaky sea salt for an immediate flavor lift. For more recipe ideas, visit our savory galette recipes hub and the pastry techniques page for related methods.
Visual and Nutritional Notes
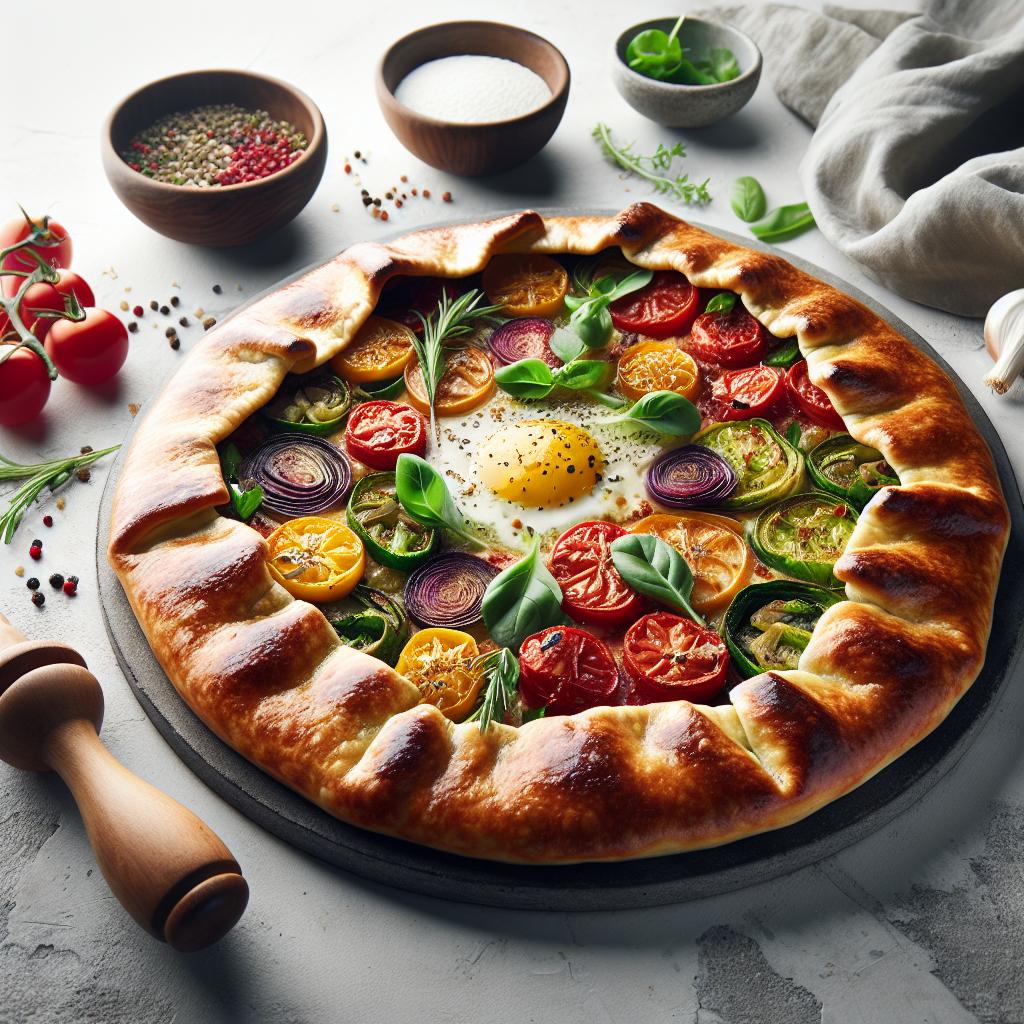
A properly baked crust browns evenly with slightly deeper color at the edges. The contrast signals Maillard reactions and caramelization that add flavor.
Per serving estimates depend on filling choices. A typical savory galette portion ranges from 300-400 kcal when filled with vegetables and moderate cheese; adjust portions for richer fillings.
FAQ
What makes a galette crust flaky rather than mealy?
Flakiness depends on the presence of cold, intact fat pieces that steam during baking to form layers. Handle the dough minimally so these pieces remain distinct.
Additionally, chilling the dough before baking ensures the fat stays solid until oven heat causes it to produce lift and separation.
Can I substitute butter with another fat without losing flavor?
You can blend fats. For instance, mixing a small portion of lard or shortening with butter increases lift while retaining much of butter’s taste.
However, pure butter gives the most butter-forward flavor; adjust techniques if you change the fat ratio to maintain texture.
How long should I chill the dough for best results?
Chill at least one hour to firm the fat and relax gluten. Overnight chilling improves flavor and handling and often produces a more consistent roll-out.
If the dough softens during shaping, return it to the fridge for 15-30 minutes before continuing to prevent greasy, tough results.
How do I avoid tearing the dough when folding edges?
Work on a lightly floured surface and transfer the dough on parchment paper to avoid excessive lifting. Fold the border gently and avoid stretching, which causes retraction during baking.
If cracks appear, patch them with a little water and excess dough, then chill briefly so the repair sets before baking.
Why does my crust brown unevenly?
Uneven browning often signals hot spots in the oven or inconsistent dough thickness. Rotate the sheet halfway through baking for more uniform color.
Also check rack position; baking too high increases edge browning, while a lower position promotes bottom color and even cooking.

See also: galette crust
]]>