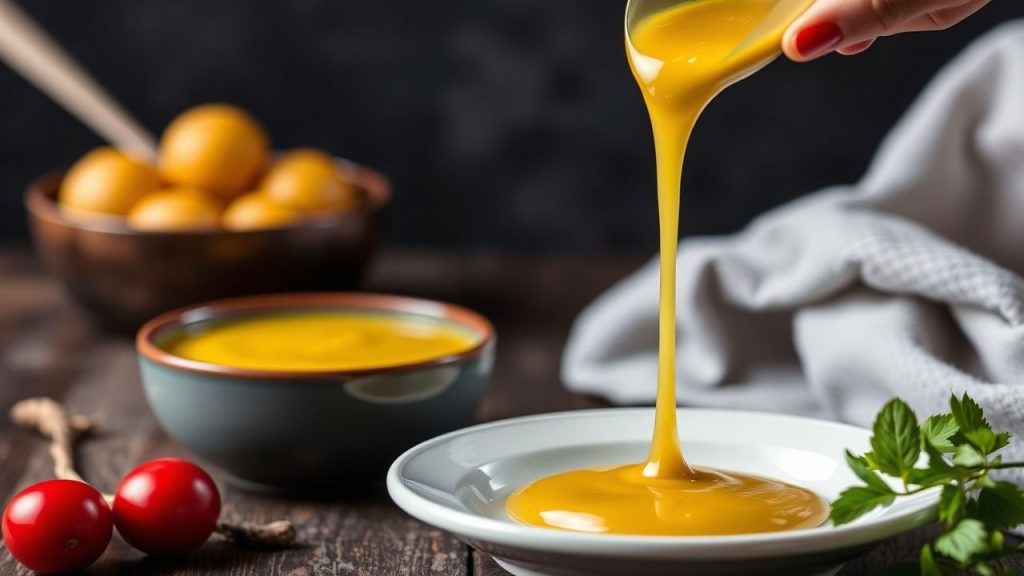
Imagine a simple kitchen tool that clarifies texture and heightens natural taste. A food mill converts cooked fruits and vegetables into silky purees and sauces by separating seeds and skins while preserving juice and aroma.
- Key takeaway: A food mill produces seedless, smooth purees that retain natural flavor.
- Key takeaway: Choose discs and materials to match acidity and volume needs.
- Key takeaway: Proper care extends life and keeps performance consistent.
Understanding the Essential Design and Function of a Food Mill
The food mill combines a shallow bowl, a perforated disc, and a hand-crank scraper to force cooked food through holes while trapping unwanted parts. This mechanical action produces a uniform texture without the air incorporation or heat buildup typical of electric blenders.
Because the mill leaves fibrous material behind, it delivers flavors with clarity and mouthfeel ideal for sauces, jams, and baby food. For technical reference on the device and its historical context see Food mill on Wikipedia.
How the components work together
The disc size controls final texture: fine for silky sauces, medium for smooth purees, and coarse for rustic mash. A solid central shaft and firm paddle ensure even pressure across the disc so the machine performs consistently for repeatable results.
Materials matter: stainless steel shafts and bowls resist acid and mechanical wear, while enamel or food-grade plastics reduce weight for occasional use. For materials and metal properties consult the stainless steel summary at Stainless steel.
Exploring Versatile Uses and Ideal Ingredients for Optimal Flavor
A food mill shines with soft, cooked produce: tomatoes for clear, seedless sauces; apples for smooth applesauce; and cooked root vegetables for velvety soups. The mill preserves volatile aromatics because it works cold or at simmering temperature, avoiding the heat buildup of high-speed blades.
Tomatoes are a classic example: mill out seeds and skins to yield an even-bodied sauce ready for seasoning. For botanical and culinary context about common tomato varieties and uses, see Tomato.
Choosing the Right Food Mill for Your Culinary Adventures
Select a mill based on capacity, disc variety, and build quality. Smaller mills are convenient for single pots or batch cooking, while larger, commercial-grade units speed processing for preserves and canned goods.
Interchangeable discs give control over mouthfeel; choose stainless disc options to handle acidic fruits safely for long-term use. If you preserve sauces, review recommended canning practices such as proper acidification separately at trusted food-preservation resources.
Expert Tips for Cleaning and Maintaining Your Food Mill for Longevity
Disassemble the mill after each use and rinse parts immediately to remove trapped fibers. Use a soft brush to clear disc holes, then dry metal components thoroughly to prevent surface oxidation.
 Expert Insight
Avoid abrasive cleaners on enamel finishes and confirm dishwasher compatibility with the manufacturer to prevent warping. Secure the handle and inspect for loosened rivets annually; tight tolerances ensure even milling.
 Pro-Caution
Prep and Cook Time
- Preparation: 10 minutes
- Cooking: 20–40 minutes depending on produce
- Total: 30–50 minutes
Yield
Yields approximately 4 cups of puree, suitable for 4–6 servings depending on application.
Difficulty Level
Easy to Medium — appropriate for beginners and precise enough for experienced cooks controlling texture.
Ingredients
- 4 cups ripe tomatoes or peeled fruit, quartered
- 1/2 cup water or vegetable broth
- 1 tbsp olive oil (optional)
- Salt and pepper to taste
- Fresh herbs such as basil or thyme (optional)
Instructions
- Cook: Simmer quartered produce with a splash of water until fully tender, typically 20–30 minutes for tomatoes.
- Assemble: Fit the chosen disc and set the mill over a bowl or pot to collect the puree.
- Mill: Add cooked pieces and turn the crank steadily, applying gentle pressure to move pulp through the disc.
- Finish: Season the puree and stir in olive oil if desired. Rewarm briefly if serving hot.
- Store: Refrigerate up to 3 days or freeze for longer storage in labeled portions.
Tips for Success
- Choose ripe, evenly cooked produce to get the best flavor and smoothest texture.
- Cook to tenderness so pieces move through the mill without force.
- Rotate discs to experiment with body and mouthfeel for different recipes.
- Keep the mill steady on the vessel edge to avoid spills while cranking.
Serving Suggestions
Use freshly milled tomato sauce over pasta, finishing with torn basil and a drizzle of olive oil for balance and shine. Sweet purees pair well with dairy or warm grains to highlight natural sugars and texture.
Incorporate vegetable purees into soups for a refined mouthfeel or use them as a base for compound sauces. For more tool recommendations and technique guides, see our internal resources on essential kitchen tools and pureeing techniques to match texture to recipe goals.

| Nutrient | Amount (per 1 cup puree) |
|---|---|
| Calories | 70 |
| Protein | 2g |
| Carbohydrates | 15g |
| Fat | 0.5g |
For background on sauce structure and how clarified textures affect pairing, review the general topic at Sauce. For examples of mashed-root applications that benefit from milling, see Mashed potato.
Q&A
The following questions address practical concerns cooks raise when adopting a food mill. Answers focus on use, comparisons, and maintenance to help you decide how the tool fits your workflow.
These responses reflect common kitchen practice and objective device behavior rather than personal preference, offering concise, actionable guidance for immediate application.
Q1: What is a food mill, and why should I care?
A food mill is a manual, hand-cranked tool that purees and strains cooked produce simultaneously. You should consider it when you want seedless, smooth textures while preserving natural juice and aroma.
Q2: How does a food mill work?
The crank forces cooked material against a perforated disc; pulp passes through, while skins and seeds remain. This gentle mechanical action yields a clarified puree with minimal heating.
Q3: How does it differ from a blender or food processor?
Blenders and processors shear and aerate, which can change texture and temperature. A food mill uses pressure rather than speed, producing a cleaner, more controlled mouthfeel with less heat.
Q4: Can I use a food mill for baby food?
Yes. It produces lump-free textures without adding water or oil, preserving nutrients and flavor. Always cool and test for temperature and texture appropriate to the child’s age.
Q5: What should I look for when buying?
Choose a sturdy handle, solid base, and interchangeable discs that match the textures you plan to make. Stainless components and easy disassembly improve longevity and hygiene.
In Retrospect
The food mill remains a practical, reliable tool for cooks who value texture and flavor clarity. It offers repeatable results for sauces, purees, and preserves without electricity or complex settings.
By matching disc choice to ingredient and following simple maintenance, the mill becomes a long-term asset in home and professional kitchens alike. For deeper technique reads, consult our internal guides earlier in the piece.
FAQ
Below are focused answers to frequent technical and practical questions about using a food mill effectively and safely.
Is a food mill hard to clean?
No. Most mills disassemble for rinsing and scrubbing; a small brush clears disc holes efficiently. Dry metal parts immediately to prevent surface oxidation.
Which disc should I start with?
Start with a medium disc for general use; switch to fine for sauces and baby food or coarse for rustic textures like chunky vegetable purées.
Can I mill hot food directly?
Yes. Milling at simmering temperature helps pulp pass easily and preserves volatile aromatics, but handle with care and use heat-safe vessels to avoid burns.
Will a food mill change the nutritional value?
The mill redistributes existing nutrients; it does not remove vitamins dissolved in the pulp or juice. Proper cooking and storage practice preserve nutrient levels best.
Where can I learn more about preserving milled sauces?
Consult reputable preserving guides and follow tested recipes for acidification and heat processing when canning. Use quality seals and date containers for safe long-term storage.
See also: food mill
]]>
- Roux controls texture: color determines flavor and thickening strength.
- Fat choice matters: butter yields creaminess; neutral oil yields darker, cleaner flavors.
- Cook time trades thickness for depth: darker roux thickens less but tastes nuttier.
- Make ahead: cooled roux stores well for fast sauce-making.
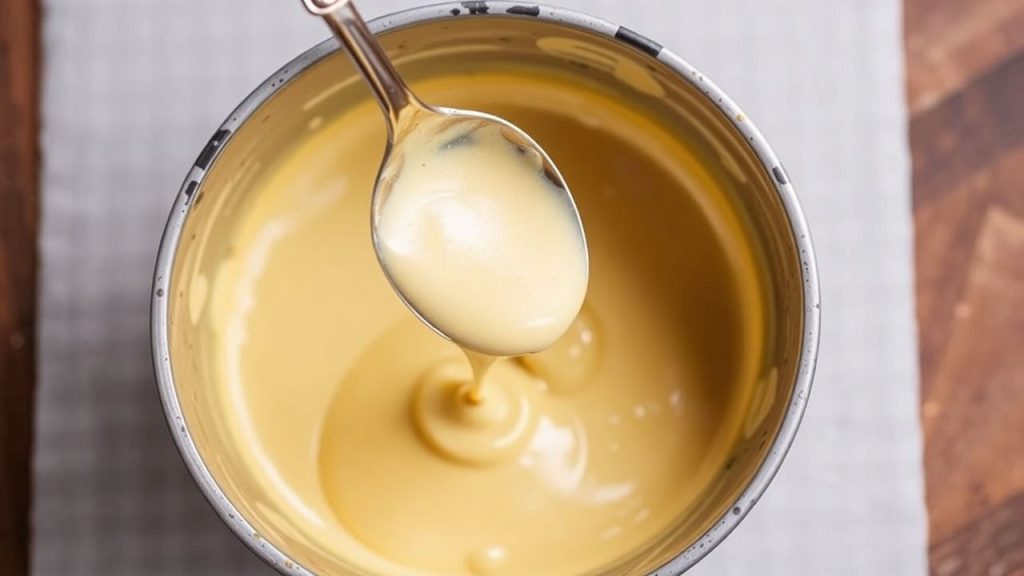
Understanding Roux: The Foundation of Flavor and Texture
A roux forms when flour coats fat and cooks enough for starch granules to hydrate and swell once liquid is added. This interaction produces a gelatinous network that thickens sauces while creating a smooth mouthfeel.
Different colors of roux—white, blonde, brown—signal how long the mixture cooked and how much thickening power remains. For technical detail on roux and its role in cooking, refer to the roux (cooking) entry.
Basic Ingredients and Ratios
Classic proportions start at equal parts fat to flour by weight; a common home ratio is 1:1 by volume for simplicity. Use a digital scale when precision matters; weight-based ratios deliver repeatable results.
Fat choice influences flavor and smoke point. Use unsalted butter for béchamel and higher smoke-point fats like vegetable oil for darker, longer-cooked roux.
Choosing Fat
Butter provides a rich, dairy-forward note ideal for white and blonde roux used in milk-based sauces. It also browns faster, so monitor heat closely when aiming for deeper color.
Rendered animal fats or neutral oils tolerate higher heat and support darker browning required for dishes such as gumbo. For more on sauces and their classifications, see béchamel and velouté.
Choosing Flour
All-purpose wheat flour gives predictable thickening and flavor. Sift flour to remove lumps and to encourage even coating of fat for a smooth finish.
Alternative starches such as rice or chickpea flour can work for gluten-free needs, but they change viscosity and flavor. Test small batches to adjust cook time and liquid ratios.
Technique: Step-by-Step Roux Cooking
Heat control and constant stirring deliver an even color and prevent scorching. Use a heavy-bottomed pan to distribute heat and avoid hot spots that char flour particles.
Start by melting fat until it liquefies but does not brown. Add flour gradually and stir immediately to fully coat particles. Maintain medium heat and stir with a wooden spoon or silicone spatula.
Blonde to Brown: Timing and Cues
A white roux sees minimal cook time and tastes mild—ideal for milk-based sauces. A blonde roux cooks a few minutes longer until a pale golden color develops and a subtle nutty aroma appears.
A brown roux takes 10–20 minutes at moderate heat and must be stirred constantly. Expect less thickening but a deeper, toasted flavor suited to dark gravies and Creole sauces such as gumbo. For cultural context on gumbo, consult gumbo.
Practical Uses and Creative Applications
Roux anchors classic sauces like béchamel, velouté, and espagnole, but chefs repurpose it across preparations to add silkiness or body. Use roux to stabilize cheese sauces, thicken stews, or enrich mashed potatoes.
Beyond traditional applications, a dark, cooled roux can be crumbled for a crunchy garnish, while a pale roux blends into batters to improve texture. Roux also extends to pastry kitchens where it contributes to structured fillings when precise thickening matters.
Scaling, Storage, and Make-Ahead Strategy
Prepare roux in larger quantities and cool it quickly for later use; it stores refrigerated for up to a week and freezes well in portioned blocks. Label containers with date and fat type to track quality and flavor expectations.
When reheating, warm slowly and whisk in hot liquid to reincorporate. Cold roux can clump if added without gentle heat, so temper it by adding a little warm stock first to loosen the mixture.
Troubleshooting Common Roux Problems
Burnt or bitter roux results from too-high heat or poor agitation. If scorching occurs, discard and start over—burnt flour gives persistent off-flavors that linger in sauces.
If your sauce becomes grainy or thin, reassess your roux color and the liquid temperature during incorporation. A darker roux often requires more roux volume or slower reduction to achieve the same final viscosity.
Expert Insight
Separate from the previous tip: when using butter, clarify it first to raise the smoke point and reduce the risk of burning at the stages where you want more color. Clarified butter gives a cleaner toasted note with less risk.
Pro-Caution
Chef’s Tips for Consistent Results
Use a wide pan to increase surface area and speed moisture evaporation for faster color development when making darker roux. Also, scrape the bottom and sides frequently; trapped flour fragments will char if left alone.
Sift flour and measure ingredients by weight. Small adjustments in ratio change thickening strength. For instance, a slightly higher flour-to-fat ratio increases body but can make the sauce feel pasty if overdone.
Serving Suggestions and Pairings
Match roux color to the dish: white or blonde roux suits delicate poultry and vegetable sauces, while brown roux pairs with roasted meats and richly spiced stews. Use fresh herbs or acid to brighten the final sauce.
Garnish with aromatic butter or a dash of citrus to cut richness when serving heavy roux-based sauces. A light sprinkle of toasted nuts can add pleasing texture where appropriate.
FAQ
What is the best fat for a beginner making roux?
For beginners, use unsalted butter because it melts and blends predictably and it introduces a familiar, pleasant flavor. Butter helps you sense when the mixture starts to brown due to its aroma and color changes, which makes timing easier.
How do I adjust a recipe that calls for roux when I need gluten-free?
Substitute rice or chickpea flour and test small batches first. These flours thicken differently and can introduce a distinct flavor, so reduce or increase quantity to match desired viscosity and taste.
Can I use roux in cold sauces or dressings?
Roux typically thickens hot liquids; use it to create warm emulsions or sauces that will cool. For cold dressings, consider starches like arrowroot or cornstarch dissolved and heated separately, then chilled, as roux-derived textures can tighten on cooling.
How long does roux need to cook to lose its raw flour taste?
A brief cook of 2–3 minutes removes raw flour taste for a white or blonde roux. Longer cooking deepens flavor but reduces thickening power, so balance color with the viscosity your recipe needs.
Is roux necessary for every sauce that needs thickening?
No. Roux is one effective thickener among many, including reduction, cornstarch slurry, egg liaison, and beurre manié. Choose roux when you want a stable, velvety texture and an integrated flavor base.
Understanding and practicing roux transforms sauce-making from guesswork into repeatable technique. Use the cues described here—color, aroma, and consistency—to control outcomes and expand your repertoire across classic French and regional cuisines.
See also: roux
]]>