- Fast searing maximizes flavor by expanding surface contact and driving the Maillard reaction.
- 80/20 ground beef balances crust formation and juiciness for consistent results.
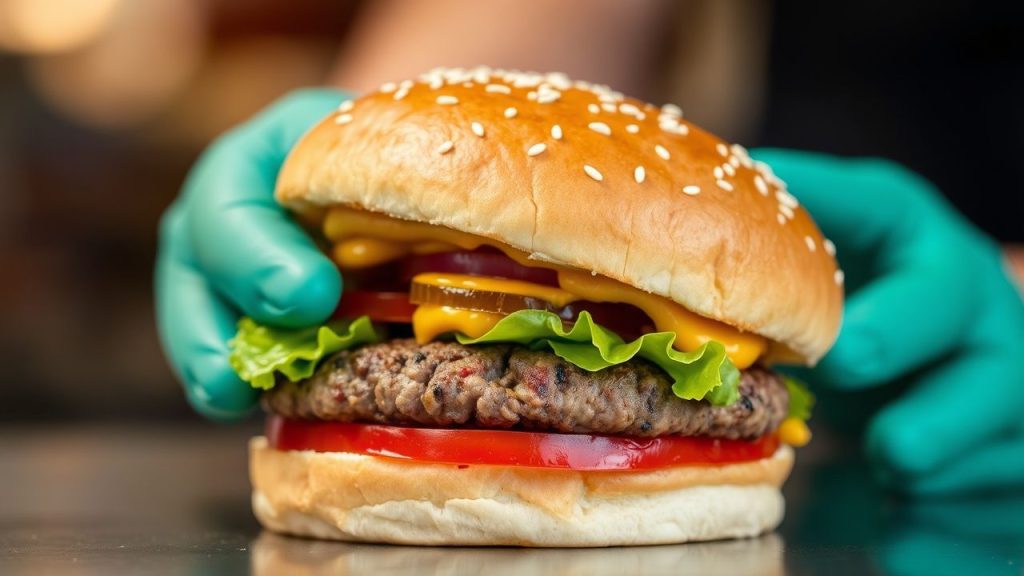
- Timing and pressure determine texture—smash firmly, flip at the right moment.
As a professional chef and food scientist, I write from direct kitchen testing and documented culinary chemistry. I describe measurable technique, heat management, and ingredient choices that consistently produce premium smash burgers.
Prep and Cook Time
Prep Time: 10 minutes. Preparation focuses on portioning and chill time for predictable handling.
Cook Time: 8 minutes. Each patty sears quickly on very high heat and finishes in under three minutes per side.
Yield
Makes 4 smash burgers when using 1 lb of ground beef and portioning into four equal balls. Portion size affects thickness and cooking dynamics.
Scale the recipe up by multiples of 1 lb and stagger cooking to avoid crowding the pan, which harms crust development.
Difficulty Level
Medium. The technique demands timing and confident, quick motions more than advanced knife work.
With practice, home cooks quickly master consistent thickness, flip timing, and cheese melt control.
Ingredients
Use freshly ground ground beef at an 80/20 lean-to-fat ratio for optimal juiciness and crust formation. Fat renders during searing and bastes the patty.
Other essentials: brioche buns, a neutral oil with a high smoke point, coarse salt, and freshly ground black pepper. Keep toppings simple to highlight the meat’s flavor.
- 1 lb ground beef (80/20 blend)
- 4 brioche buns, toasted with butter
- 4 slices cheddar cheese (optional)
- Salt and freshly ground black pepper, to taste
- 1 tbsp vegetable oil or other high-smoke-point oil
- Leafy lettuce, sliced tomato, pickles, and onions for topping
Instructions
Divide the meat into four equal, loosely packed balls without overworking. Gentle handling preserves tenderness and prevents a dense patty.
Heat a heavy pan until very hot. Use a cast-iron pan or steel griddle for best heat retention and consistent sear across the surface.
- Place a meat ball on the hot surface. Use a sturdy, flat spatula or a specialized burger press and press down quickly to about 1/4 inch thickness.
- Season immediately with salt and pepper. Allow the patty to cook undisturbed for 2-3 minutes to develop a dark brown crust.
- Flip once the edges brown and juices appear on top. Add cheese after the flip for a perfect melt, and cook another 1-2 minutes.
- Toast buns in butter until golden, then assemble with toppings and condiments.
Tips for Success
Maintain very high surface temperature for quick searing; this maximizes browning without overcooking the interior. A hot pan creates a fast, flavorful crust.
Do not overcrowd the pan. Overcrowding drops surface temperature and creates steam instead of a dry, caramelized crust.
 Expert Insight
Allow patties to rest briefly on a cooling rack after cooking if assembling many burgers. Brief rest evens internal temperature and retains juices during service.
For consistent shape and height, chill meat balls for 15–30 minutes before smashing. Chilled meat releases less fat immediately and shapes reliably under pressure.
Serving Suggestions
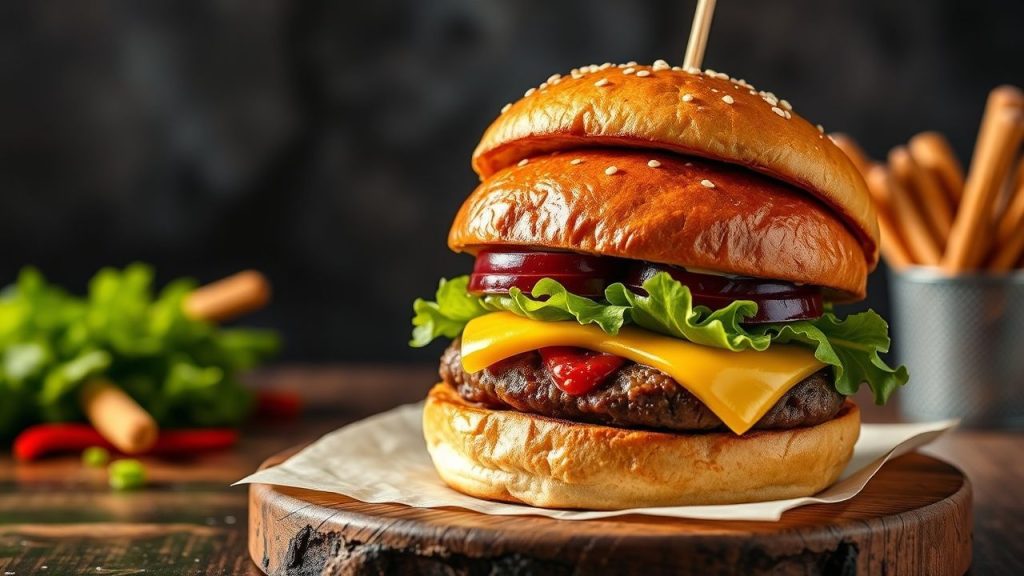
Serve smash burgers on toasted brioche with minimal toppings to emphasize the seared beef flavor. Classic pairings include sliced dill pickles and thin-sliced onions.
Offer fries, coleslaw, or a light green salad alongside to balance richness. Pair with an effervescent beverage to cut through fat and refresh the palate.
Science of the Smash
The smash technique deliberately increases surface area contact between meat and hot metal to accelerate chemical reactions that create flavor. Greater contact equals more browning per unit mass.
That browning is the Maillard reaction, where amino acids and reducing sugars reorganize under heat to form hundreds of flavor compounds. These compounds produce the savory, roasted notes we associate with great burgers.
Maillard Reaction and Crust
The Maillard reaction begins above roughly 285°F (140°C) and intensifies with higher temperatures and drier surfaces. Thin patties reach these conditions rapidly, creating a deeply flavored crust before the interior overcooks.
Chemical complexity rises as more surface area browns; that is why thin, smashed patties taste disproportionately beefier than thicker ones cooked the same time.
Heat Management and Texture
Use a heavy pan for even heat. Cast iron stores thermal energy and releases it steadily, helping each patty experience the same searing conditions.
Applying firm pressure spreads the meat thin and flattens fat pockets, promoting uniform rendering. Quick searing locks flavors and keeps the interior tender when using the right fat ratio.
 Pro-Caution
Nutrition
Typical nutrition for an 80/20 smash burger with bun and cheese runs around 550 kcal per serving. Fat content is significant due to the high-fat blend that makes smash burgers juicy.
Adjust portions or topping choices to meet dietary goals. Using leaner blends will reduce calories but can compromise the characteristic crust and juiciness.
| Nutrition | Per Serving |
|---|---|
| Calories | 550 kcal |
| Protein | 35 g |
| Carbohydrates | 35 g |
| Fat | 32 g |
Additional Resources
For technique drills and step-by-step visuals, review our internal guide on perfect burger techniques. Practicing controlled pressure will improve consistency quickly.
If you focus on griddle setup and maintenance, see our internal page on griddle techniques for heat distribution and pan care tips that preserve searing performance.

FAQ
What makes a smash burger different from a regular burger?
The smash method uses an initial forceful press to create a thin patty with a large surface area. That thin profile produces an intense sear and a distinctive crisp edge compared with thicker, formed patties.
Why is the timing of the flip so important?
Flip timing controls crust depth and internal doneness. Flip too early and the crust remains pale; flip too late and you risk overcooking the interior or breaking the patty when lifting.
How does fat ratio affect the result?
An 80/20 lean-to-fat mix is a reliable balance for flavor and moisture. Higher fat improves juiciness and basting action, while leaner blends can produce dry, less flavorful patties.
Can I make smash burgers on an outdoor grill?
You can if you have a solid, flat cooking surface like a griddle plate on the grill. Direct grate cooking reduces surface contact and limits the consistent crust that defines a smash burger.
What pan is best for consistent searing?
A heavy cast-iron pan or a steel griddle works best because they retain and distribute heat evenly. Even thermal mass ensures each patty sees consistent searing conditions every time.
Final note: Mastery comes from repetition. Practice consistent portioning, maintain high surface heat, and apply a confident, quick press. These three variables reproducibly create smash burgers with maximum flavor and ideal texture.
See also: Smash Burger
]]>
- At a glance: smash burgers rely on surface contact, high heat, and the right fat ratio.
- Crust formation: the Maillard reaction produces complex savory compounds.
- Technique matters: quick smashing, minimal handling, and proper seasoning drive results.
Why smash works: surface, heat, and chemistry
The smash burger technique maximizes surface contact between meat and hot metal to force rapid browning. That browning is the Maillard reaction, a chemical process that turns simple amino acids and sugars into dozens of flavorful compounds.
High temperature and thin thickness permit quick crust formation without overcooking the interior. That contrast between a crisp exterior and a tender center creates the defining mouthfeel of a great smash burger.
Key elements that control flavor
Fat content, grind size, and meat temperature determine both flavor intensity and juiciness. Use freshly ground beef at roughly an 80/20 lean-to-fat ratio for balanced flavor and effective rendering.
Equipment also matters: a heavy flat surface gives even heat transfer. A seasoned cast-iron skillet or steel griddle stores heat and resists temperature drop when patties hit the surface.
Ingredients and prep: what to choose and why
Select quality ground chuck or an appropriate blend labeled for burgers; the small amount of connective tissue and intramuscular fat improve flavor release during cooking. For reference, see general notes on ground beef composition and labeling.
Keep meat cold until the moment you cook it. Cold fat holds its shape until it hits the hot surface, allowing controlled rendering and reducing premature flare-ups. Form loose portions; do not compact them.
Cooking technique: step-by-step operational details
Preheat the pan until it is very hot. A hot surface initiates browning immediately and prevents the patty from sticking; maintain a consistent heat source throughout the cook.
Place loosely formed balls of meat on the surface and press firmly with a sturdy, flat spatula to achieve about 1/4-inch thickness. Hold pressure briefly to increase contact area and then release; the patty should not be continuously compressed during the full cook time.
Seasoning and timing
Season the exposed surface immediately after smashing; salt helps extract surface moisture that then aids the Maillard reaction. Avoid salting too long in advance, which can draw excessive moisture into the meat.
Cook the first side undisturbed for 2 to 3 minutes, until the edges brown and crispen. Flip once, add cheese if desired, and finish for another 1 to 2 minutes for medium to medium-rare, depending on thickness.
Cheese and assembly
Place cheese on the patty immediately after flipping to encourage rapid melting into the crusted surface. Use thin-sliced cheeses that melt quickly to preserve the burger’s short cook time and textural contrast.
Toast buns in butter until lightly crisp to add a fat barrier that keeps the bun from sogging. Layer acidic elements—pickles or a tangy sauce—to cut through fat and sharpen perceived flavor.
Tips for success
Handle meat minimally; overworking protein creates dense texture. Form loose portions that will compress when smashed, preserving interior moisture.
Use a firm, flat spatula and apply even pressure. A second spatula or a specialized press helps maintain flatness without tearing the crust.
Expert Insight
Keep the pan hot between batches. If the surface cools too much, the patties will steam rather than sear and the crust will suffer. Allow the pan to regain temperature for 30–60 seconds between batches.
Pro-Caution
Variation ideas and experimentation
Try different blend ratios or introduce a small percentage of brisket or short rib to increase flavor complexity. Test cheeses like sharp cheddar, smoked gouda, or pepper jack for different melting profiles and taste notes.
Adjust smash pressure and hold time to tune crispness. Heavier pressure yields more crust and less interior thickness; lighter pressure retains slightly more juiciness but reduces the characteristic sear.
Serving suggestions and pairing
Keep toppings minimal to let the crusted patty remain the star. Classic pairings include thin-sliced red onion, pickles, and a tang-forward sauce that balances fat.
Serve with fries, coleslaw, or a simple green side to add texture contrast. A cold, acidic beverage works well to cut through the burger’s richness and refresh the palate.
Practical recipe snapshot
Prep time: 10 minutes. Cook time: 8 minutes total for 4 patties. This timing assumes a very hot pan and thin smash thickness.
Yield: Four 4-inch smash patties. Use 1 lb (450 g) ground chuck at 80/20 for optimal fat rendering and mouthfeel.
Nutrition (per serving)
| Nutrient | Per Serving |
|---|---|
| Calories | 650 kcal |
| Protein | 38 g |
| Carbohydrates | 40 g |
| Fat | 38 g |
For techniques on handling beef and grinding at home, visit our internal guide on Ultimate Beef Cooking Guide. To practice pressing and timing, see our step-by-step drills on smash burger techniques.
FAQ
What makes a smash burger different from a regular burger?
Smash burgers use high heat and immediate pressure to create a thin patty with extensive surface contact. This method favors rapid Maillard browning, which produces intense crust flavors not typical of thicker patties.
What fat ratio should I use?
Around 80/20 lean-to-fat gives the best balance of flavor and juiciness for smash burgers. Higher fat renders more liquid fat that bastes the meat and deepens flavor, while too-lean blends can dry out quickly.
When should I season the meat?
Season the exposed surface immediately after smashing. Salt applied at that moment helps surface moisture promote browning without drawing out excessive internal juices before cooking.
Can I make smash burgers on a griddle at home?
Yes. Use a heavy griddle or a well-seasoned cast-iron skillet and preheat until very hot. Maintain temperature between batches and use a sturdy spatula for consistent pressure.
How do I keep the bun from getting soggy?
Toast buns in butter until crisp and serve hot. A light barrier of melted butter or a thin sauce layer helps prevent moisture migration from the patty into the bun.
The way forward
Understanding the interaction of heat, surface area, and fat transforms how you approach burger building. Small technique adjustments yield large flavor gains.
Practice timing, maintain heat, and treat each smash as a focused experiment in surface chemistry. With deliberate technique you can consistently reproduce restaurant-quality smash burgers at home.
See also: smash burger
]]>