- Check gluten development by stretching a small dough piece into a translucent membrane.
- Troubleshoot hydration when dough tears easily or feels stiff during the test.
- Use tactile cues together with proofing time to time your next shaping step.
- Practice builds intuition—repeat the test across recipes to learn flour behavior.
Prep and Cook Time
Planning time helps you schedule kneading, rests, and bulk fermentation. Typical hands-on prep takes about ten minutes, while bulk fermentation often takes one to two hours depending on temperature and yeast activity.
Allow extra time when you test and re-test dough with the windowpane method. Testing does not add much clock time, but it improves outcome reliability and prevents under- or overworked dough.
Yield
This guidance uses a roughly 700 g dough batch, suitable for one artisan loaf. You can scale the ratios proportionally for multiple loaves or different pan sizes.
Adjust hydration and mixing time when you change batch size; larger batches retain heat and may need slightly longer kneading or cooler proofing. Keep notes so you repeat successful results.
Difficulty Level
Medium. The technique itself is simple, but interpreting tactile feedback requires practice. Expect to refine feel, timing, and hydration across several bakes.
Beginners should practice on standard bread formulas first, then try enriched or whole-grain doughs once they understand gluten behavior. Use the windowpane test as a repeatable checkpoint.
Ingredients for Mastering the Windowpane Test
Use a straightforward dough formula to focus on technique: bread flour, water, salt, and a modest amount of yeast. A well-balanced recipe highlights gluten development without masking faults from ingredient overload.
Standard example: 500 g bread flour, 320 g water, 10 g salt, 7 g yeast. Adjust hydration by 2-4% based on your flour and local humidity; document changes in a baking log.
Step-by-Step Instructions to Perform the Windowpane Test with Precision
Follow these steps in sequence to assess gluten strength. Use relaxed, rhythmic handling to avoid tearing the network you want to evaluate.
- Mix the dough: Combine flour and yeast, then add water gradually until all flour hydrates. Mix just until a shaggy mass forms to avoid premature overworking.
- Initial kneading: Turn dough onto a floured surface and knead 8–10 minutes using a push-fold-turn motion. Look for elasticity and a smoother surface as signs of initial gluten alignment.
- Pause and rest: Cover and rest 10 minutes to let strands relax and hydrate. This autolyse-like pause improves extensibility before you add salt or continue kneading.
- Add salt and finish kneading: Sprinkle salt and knead another 5 minutes to strengthen the gluten network. Salt tightens gluten bonds and enhances flavor, so incorporate it evenly.
- First windowpane check: Pinch off a golf-ball sized piece, then gently stretch it between thumbs and forefingers into a thin membrane. Hold it to the light: a translucent pane without immediate tearing indicates developing gluten.
- Bulk fermentation: Place dough in an oiled bowl, cover, and allow to rise until roughly doubled. Fermentation relaxes gluten and develops flavor; timing varies with temperature and yeast.
- Final gluten test: Repeat the windowpane after bulk fermentation to judge maturity before shaping. If the pane is uniformly thin and translucent, move to shaping; if not, extend folds, rest, or light kneading.
Practical tips during each step
When stretching, rotate the dough piece between fingers to test multiple directions. Uniform stretch without immediate tearing shows balanced gluten alignment.
If the dough resists and snaps back, give it short rests to relax. Conversely, if the dough slacks and won’t hold tension, incorporate stronger folds or reduce hydration slightly next time.
Interpreting Results and Adjusting Dough for Perfect Texture
Elasticity, translucency, and failure pattern tell you what to change. Quick tears suggest underdeveloped gluten or low hydration; slack panes suggest over-relaxed gluten or overproofing.
Adjust kneading time in small increments and use brief rests to let gluten realign. Also, modulate hydration by a few percent: add water if dough feels dry; reduce water if it is overly slack for your flour type.
 Pro-Caution
If the membrane forms but shows holes at the edges, practice gentler stretching and longer rests. This pattern often signals adequate development but insufficient extensibility.
Expert Tips to Master Gluten Strength for Artisan Baking Success
High-protein flours generally form stronger gluten networks, but handling and hydration remain decisive factors. Use consistent measurement and keep a baking log to identify patterns.
Temperature influences gluten and yeast activity; warm doughs develop gluten faster and ferment quicker, while cooler doughs slow both processes. Adjust kneading and proof times accordingly.
 Expert Insight
Practice the test across formulas: lean hearth breads, enriched doughs, and whole-grain mixes behave differently. The windowpane is most reliable with wheat-based doughs where gluten forms a continuous network.
Use visual and tactile records: note how the dough looks, feels, and passes the test at each stage. Over time you’ll anticipate proofs and shaping windows more reliably.
Subtle adjustments
Increase strength with additional fold cycles rather than extended intense kneading. Gentle folds align gluten without overheating the dough.
For high-hydration doughs, accept a looser feel but test more frequently. These doughs can produce large open crumb when handled correctly, even if the pane appears slack early on.
Serving Suggestions
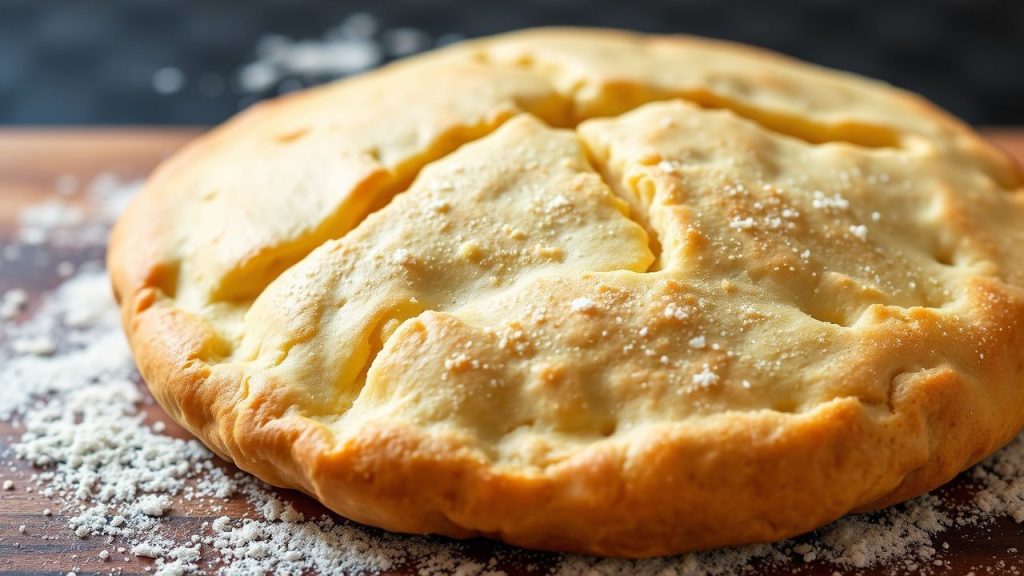
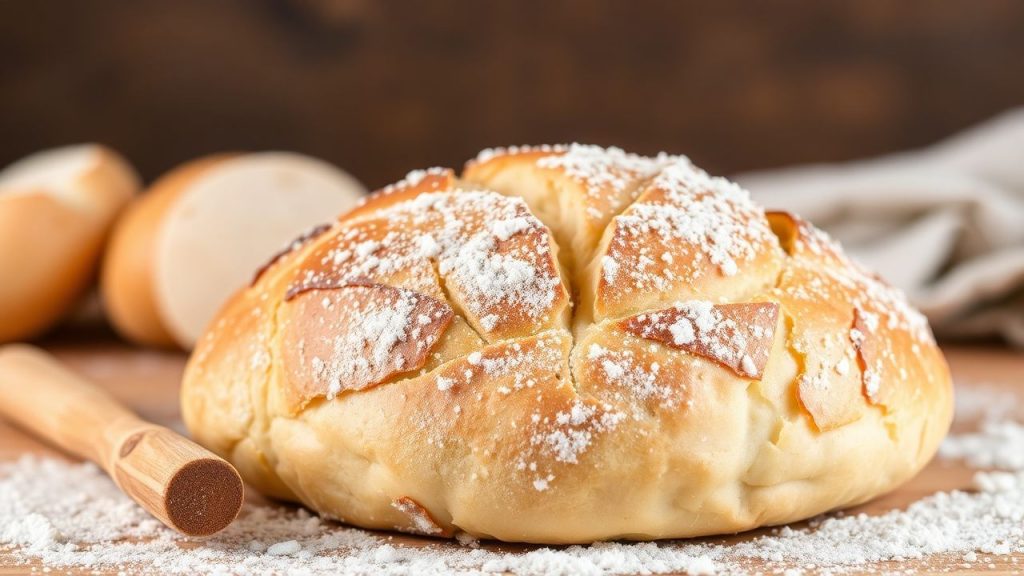
Once your dough passes the final windowpane and bakes into a crusty loaf, slice and serve simply to highlight crumb structure. Fresh butter, olive oil, or a soft cheese complement an open, chewy interior.
Toast slices to evaluate crumb openness and oven spring in subsequent loaves. Sharing notes and photos with other bakers speeds learning and refines your technique.
Resources and Further Reading
For foundational background, consult key references on gluten, dough behavior, and fermentation. These scientific overviews clarify what you feel in the bowl and why it matters during baking.
Read more on gluten, the physical properties of dough, classic bread structure, and how fermentation modifies gluten and crumb. Combine these concepts with hands-on practice to gain consistent results.
Explore internal guides such as Artisan Bread Kneading Techniques and Bread Hydration Guide for recipe-specific adjustments and advanced folding methods.
FAQ
What exactly is the gluten windowpane test?
The windowpane test involves stretching a small dough piece until it becomes thin enough to let light pass through. A translucent, unbroken membrane indicates that gluten strands have formed a continuous, elastic network.
When should I perform the test during my bake?
Test after initial kneading and again after bulk fermentation. Early checks indicate whether to continue kneading; later checks confirm readiness for shaping and final proof.
Why does my dough tear during the test?
Tearing usually means underdeveloped gluten or insufficient hydration. Add short rests or knead gently longer. Small hydration adjustments can make a large difference, especially with whole-grain flours.
Can I use this test for all dough types?
The test works best for wheat-based doughs that form gluten. Low-gluten or gluten-free doughs, and high-rye blends, will not produce a clear windowpane and require alternative readiness checks.
How many times should I test a single batch?
Perform a minimum of two checks: once after initial kneading and again after bulk fermentation. If you make adjustments, test again to confirm their effect before shaping.
Wrapping Up
The windowpane test turns an intuitive skill into a repeatable checkpoint. It helps bakers control crumb, oven spring, and final texture through measured assessment of gluten strength.
Practice this test over multiple recipes and keep simple notes on hydration, kneading time, and test outcomes. With steady practice you will build reliable instincts and bake consistently better loaves.
See also: windowpane test
]]>
- Gluten forms when water hydrates glutenin and gliadin, then mechanical action aligns them.
- Hydration and time often matter more than forceful kneading; temperature speeds enzyme and yeast activity.
- Flour choice sets the baseline: higher protein flours yield stronger gluten.
- Tests and techniques—windowpane, stretch-and-fold, and fermentation control—ensure consistent results.
What Is Gluten and How It Works
Gluten describes the protein network formed mainly from glutenin and gliadin when wheat flour meets water. These proteins bond and create an elastic, extensible matrix that traps carbon dioxide produced by yeast.
Understanding gluten chemistry helps you choose the right methods. For core background on the proteins and structure, see gluten on Wikipedia and use that foundation when you test dough performance.
Key Factors That Develop Gluten
Three variables control gluten strength: hydration, mechanical action, and time. You must balance these elements according to the flour, recipe, and desired crumb.
Adjust any variable to tune dough. For example, increase hydration to develop gluten with gentle handling, or increase kneading time for lower-hydration doughs to reach similar strength.
Hydration: Percentage and Feel
Hydration equals water weight divided by flour weight. Typical ranges: 55–65% for sandwich loaves, 65–75% for artisan loaves.
Higher hydration creates a more extensible gluten network but makes handling trickier. Use wet-hand techniques and stretch-and-fold to manage higher-hydration doughs.
Kneading vs. Time: Methods Compared
Traditional kneading aligns proteins quickly through mechanical action. However, long, slow fermentation can achieve similar gluten structure with minimal kneading.
Use the no-knead approach for hands-off dough, or employ short, periodic stretch-and-folds to build strength while preserving gas and flavor.
Practical Techniques: Tests, Tools, and Timing
Use objective checks rather than guesswork. The windowpane test and a tactile assessment of dough elasticity tell you when gluten has developed enough for shaping.
Temperature control also counts. Aim for a final dough temperature around 24–27°C (75–80°F) to balance yeast activity and enzyme action for most yeasted breads.
Windowpane Test and Benchmarks
Pinch a golf-ball-size piece and stretch it thin. If it forms a translucent, stretchable membrane without tearing, gluten is ready for bulk fermentation.
If it tears, rest the dough for 10–20 minutes and test again. Often, a short autolyse (rest after mixing flour and water) dramatically improves windowpane results.
Tools and Additives
Use a bench scraper, dough hook, or your hands depending on batch size. Bakers sometimes add vital wheat gluten to strengthen weak flours.
Rely first on technique: hydration, autolyse, and fold cycles deliver the best flavor and structure. Reserve additives when you cannot change flour sources.
| Bread Type | Hydration |
|---|---|
| Sandwich loaves | 55–65% |
| Artisan boules | 65–75% |
| Ciabatta | 75–85%+ |
Flour Choice and Its Impact
Protein content dictates potential gluten strength. Bread flour typically contains 12–14% protein, while all-purpose ranges 10–12%. Whole grain flours include bran that can cut gluten strands, yielding denser crumbs.
Blend flours to balance nutrition and texture. For weak flours, a small addition of high-protein flour or vital wheat gluten brings structure without overworking the dough.
Refer to the flour overview at flour on Wikipedia for technical details about milling and protein levels.
Troubleshooting Common Problems
Density, lack of oven spring, and tearing all point to gluten issues or fermentation errors. Diagnose by re-checking hydration, knead time, and proofing temperature.
For instance, dense crumb often means underdeveloped gluten or short fermentation. Conversely, open crumb with large uneven holes can indicate overproofing or very high hydration without sufficient surface tension.
Pro-Caution
After resting the dough, re-evaluate elasticity. Often a controlled, cool bulk ferment fixes structural issues and improves flavor through slower enzyme activity.
Specific Techniques: Stretch-and-Fold, Autolyse, and No-Knead
Stretch-and-fold builds alignment without aggressive kneading. Lift a portion of dough, stretch it over itself, and rotate. Repeat every 20–30 minutes during early bulk fermentation.
Autolyse—mixing water with flour and resting 20–60 minutes before adding salt and yeast—improves hydration and reduces kneading time. The method enhances extensibility and flavor.
Expert Insight
The no-knead method relies on long fermentation to develop gluten passively. It suits high-hydration doughs and yields excellent flavor due to extended enzyme and yeast interaction.
For hands-on guidance, find practical walkthroughs on internal pages like baking techniques and recipe-specific adjustments at bread recipes on this site.
Temperature, Fermentation, and Yeast Control
Yeast performance depends on dough temperature. Warmer dough accelerates fermentation but shortens flavor development. Cooler dough slows activity and improves complexity.
Target dough fermentation temperatures (final dough temp) will vary with your schedule. For baseline reading on yeast species and handling, see baker’s yeast on Wikipedia.
Practical Temperature Ranges
Room-temperature bulk fermentation typically runs 1–4 hours depending on dough strength and yeast amount. Retarding in the fridge overnight yields deeper flavor and easier shaping.
Use a thermometer to calculate water temperature for your mixing target. Control variables and reproduce results reliably across bakes.
Final Shaping and Oven Spring
Proper shaping builds surface tension, which supports oven spring. Tight shaping reduces degassing and helps the loaf rise vertically in the oven.
Score loaves to control expansion. For crust and crumb balance, add steam in the first 10 minutes of baking to delay crust set and maximize oven spring.
FAQ
How do I know when gluten is strong enough?
Perform the windowpane test. If the dough stretches thin and translucent without tearing, it has sufficient gluten. Also check that it holds gas and feels springy when poked.
Can I improve gluten in whole wheat dough?
Yes. Use higher hydration, autolyse, and slightly longer fermentation. Sifted dough or added vital wheat gluten can also improve structure while preserving whole-grain flavor.
Is vigorous kneading always better?
No. Vigorous kneading builds strength fast but can overheat the dough and damage structure. Often, gentle folding and time produce better flavor and an open crumb.
When should I add salt and why does timing matter?
Add salt after autolyse and with yeast if using direct methods. Salt tightens gluten and slows enzyme activity, so adding it too early can reduce extensibility during initial development.
What if my dough never forms a windowpane?
Check flour quality, add short rests (autolyse), and increase hydration slightly. If needed, use small additions of high-protein flour or vital wheat gluten and extend fermentation time.
For additional technical context about fermentation and enzymatic action, consult fermentation (food) on Wikipedia.
Armed with these techniques—controlled hydration, deliberate resting, and measured mechanical action—you can unlock gluten consistently so your loaves rise, slice, and taste like professional-baked bread. Practice the tests, monitor temperature, and adjust flour blends to match your goals. Happy baking and precise measuring yield reliable results.
See also: gluten
]]>