

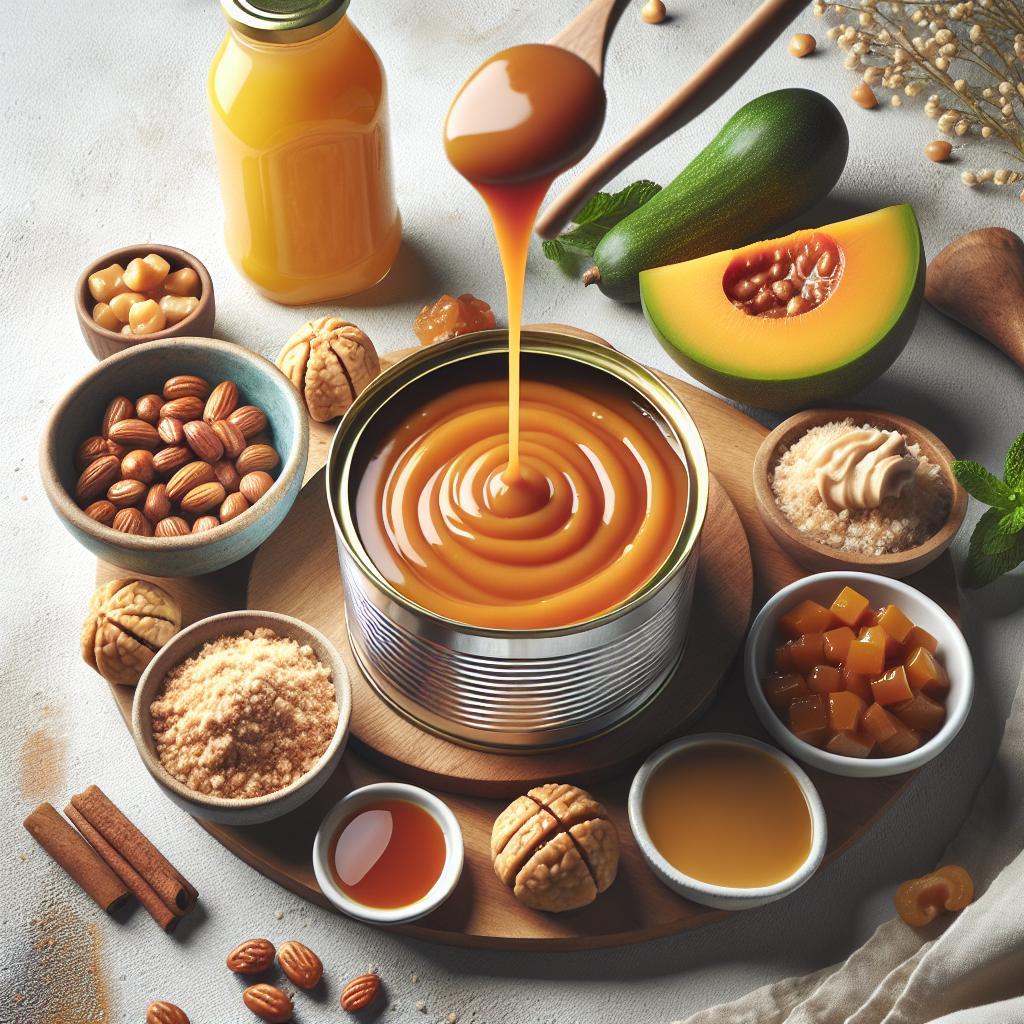
Perfect canned dulce-leche begins with controlled chemistry: sugars, milk proteins, and time. Home cooks who learn the reactions gain repeatable texture, predictable color, and stable flavor.
- Key takeaway: Slow heat and controlled pH steer Maillard pathways and careful caramelization.
- Safety: Follow tested canning and sterilization protocols to prevent spoilage and ensure shelf stability.
- Technique: Use a heavy-bottomed pan, track temperature cues, and favor visual checks over fixed time.
- Result: Consistent stirring plus modest alkali yields smooth, glossy dulce-leche suitable for jars.
Why the Chemistry Matters
The texture and depth of canned dulce-leche arise from a few predictable chemical events. Proteins unfold, sugars react, and water leaves the system, producing a thick, spreadable matrix.
Understanding those events reduces guesswork. Therefore, deliberate control of pH, heat intensity, and evaporation makes results repeatable across batches and pots.
Key Reactions: Maillard Reaction and Caramelization
The dominant browning and flavor development come from the Maillard reaction. This pathway involves reducing sugars reacting with amino groups on milk proteins to form brown pigments and complex flavor compounds.
At higher local temperatures, sugar molecules also undergo caramelization. Both processes act together: Maillard provides savory, roasted notes while caramelization adds nutty, toasty sweetness.
Milk, Proteins, and pH Control
Milk supplies casein and whey proteins that denature and interact as heating concentrates solids. These proteins help build viscosity by forming a colloidal network when water evaporates.
Small additions of alkali shift reaction pathways by raising pH and accelerating the Maillard series. For background on the proteins involved, consult milk protein resources to understand how amino groups participate in browning.
Recipe Details
The recipe below produces roughly two cups of finished dulce-leche and gives predictable control points for color and viscosity. Quantities and technique prioritize stability and flavor over speed.
When scaling, keep the milk-to-sugar ratio roughly constant and extend simmer time as needed. Also, use a wide, heavy pan to encourage consistent evaporation and reduce scorching risk.
Ingredients
4 cups whole milk (about 960 ml). 1 1/2 cups granulated sugar (≈300 g). 1/4 teaspoon baking soda (≈1.25 ml). Add 1 teaspoon vanilla at the finish and a pinch of salt to balance flavor.
Measure with a scale for repeatability. Also, use fresh, full-fat milk for best mouthfeel; skim or low-fat milk alters the protein and fat balance and will thin mouthfeel.
Instructions
Combine milk, sugar, and baking soda in a heavy-bottomed saucepan and dissolve the sugar fully before heat. Start on medium until the mixture moves uniformly, then reduce to a steady low simmer.
Maintain a gentle simmer with surface ripples; avoid rapid boiling to prevent curdling and foaming. Stir frequently early, and increase scraping frequency as the mix thickens; expect 2 to 2.5 hours depending on pot surface area and heat control.
Prep and Cook Time, Yield, Difficulty
Preparation Time: 10 minutes. Cooking Time: 2 to 2.5 hours at a low, consistent simmer. Time varies with pot geometry and burner output.
Yield: Approximately 2 cups (480 ml). Difficulty: Medium — the recipe demands attention and frequent stirring but no special equipment.
Tips for Success
Use a wide, heavy-bottomed stainless pot to distribute heat and shorten evaporation time. A wider surface area speeds concentration and reduces the need for prolonged high heat.
Control temperature instead of toggling heat sharply; steady simmer reduces crystallization and curdling risk. Also, scrape the bottom and sides regularly to prevent local scorching.
Safety and Canning
Home canning of high-sugar dairy products requires strict adherence to tested procedures. The sealed jar environment changes heat transfer compared with open-pot methods, so follow validated processing times for similar-density products.
For an authoritative overview of container processing and safety concepts, consult the general canning reference at canning. Always confirm times and pressures from local extension guides when in doubt.
Common Faults and How Chemistry Explains Them
Grainy dulce-leche usually indicates sugar crystallization. Local supersaturation, contamination with seed crystals, or abrupt cooling can trigger crystallization during or after cooking.
Thin or watery results typically mean insufficient evaporation or incomplete Maillard progression. Therefore, extend gentle heating, use a wider pan, and watch for a glossy, spoon-coating stage rather than relying on exact times alone.
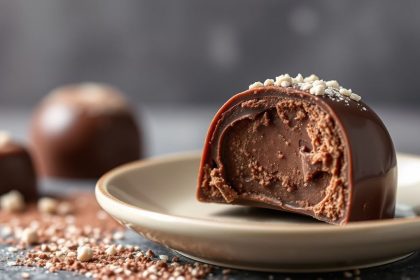
Serving Suggestions
Use dulce-leche as a spread, a sauce, or a baking swirl. It pairs well with neutral creams, fruits, and baked goods where its toasted-sugar notes enhance without overpowering.
For plating, spoon warm dulce-leche over ice cream, fold into batters, or layer it in cheesecakes. Finally, a few flakes of sea salt or toasted nuts heighten contrast and mouthfeel.
Conversions and Measurements
Keep metric measures for accuracy: 4 cups milk ≈ 960 ml; 1 1/2 cups sugar ≈ 300 g; 1/4 teaspoon baking soda ≈ 1.25 ml. Use a scale for repeatable results.
Small ratio changes alter texture and timing. For example, increasing sugar speeds color development and can require more stirring to avoid scorching; changing milk fat shifts mouthfeel and thickening behavior.
FAQ
What exactly is dulce-leche and why does it thicken?
Dulce-leche is reduced, sweetened milk cooked until sugars and proteins form a viscous, spreadable network. Thickening comes from water evaporation and protein-sugar interactions that raise viscosity and create a colloid.
Heat concentrates solids and enhances molecular interactions; hence, the mixture becomes spreadable as it cools and sets.
Why does baking soda help, and how much should I use?
Baking soda raises pH slightly and favors Maillard pathways, which accelerates browning and deepens color. Use only small amounts: roughly 1/4 teaspoon for the 4-cup milk batch to avoid off-flavors.
Too much alkali can break down proteins and produce a thin texture or a soapy taste. Always measure precisely and test small batches when altering alkali levels.
Is canned dulce-leche different from open-pot homemade dulce-leche?
Canned products often receive uniform, prolonged heat inside sealed containers and may include stabilizers in commercial versions. Home open-pot methods rely on evaporation and direct control, which can yield a fresher, more flavorful result when done correctly.
For safety, follow validated home-canning protocols. When sealed properly, jars can keep for months, but store refrigerated after opening.
How can I fix grainy or separated dulce-leche?
Reheat gently and whisk to dissolve sugar crystals; an immersion blender smooths batches quickly. If separation occurs, slow rewarming and vigorous whisking typically recombine the matrix.
Prevention works best: maintain a steady low simmer, avoid seed crystals, and cool slowly to reduce nucleation and crystallization events.
Where can I learn the technical background for these reactions?
Consult primary resources on the Maillard reaction and caramelization for mechanistic details. Also review the milk protein literature for protein participation in browning.
Finally, pair reading with hands-on practice and validated canning guides to build reliable, safe results in home production.

See also: dulce-leche


