

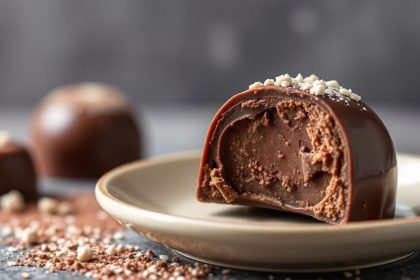
The Sweet Science begins when sugar meets controlled heat and becomes something far more complex than simple sweetness. Caramelization drives color, aroma, and flavor in desserts, sauces, and many savory dishes.
- Heat control determines whether you get glossy caramel or a bitter burn.
- Timing is the difference between golden-amber and charcoal.
- Ingredient temperature affects texture and integration when adding dairy.
- Technique scales from candy to caramelized vegetables and sauces.
What Is Caramelization?
Caramelization is the thermal decomposition of sugars that produces new flavor and color compounds. This chemical process starts at high heat and generates nutty, toffee-like, and complex roasted notes.
For a concise technical overview, see the caramelization entry. Unlike protein-driven browning, caramelization involves pure sugars breaking down under heat to form dozens of aroma compounds.
Prep and Cook Time
Plan for quick, attentive work. Most caramel sauces take 20–25 minutes from start to finish when you include warming the cream and finishing the sauce.
Prep tasks—measuring sugar, warming cream, having butter ready—save time at the stovetop and reduce the risk of burning. Keep a candy thermometer on hand for precise checkpoints.
- Preparation: 5 minutes
- Cooking: 15–20 minutes
- Total Time: 20–25 minutes
Yield
This recipe yields about six generous servings of caramel sauce. Volume varies with evaporation and how long you cook the syrup to reach color.
Store the sauce in an airtight jar. Properly cooled, salted caramel keeps at room temperature for up to a week or refrigerated for longer preservation.
Difficulty Level
Medium. The technique calls for close attention to temperature and timing more than advanced knife work or special equipment.
Use a heavy-bottomed pan for even heat. A candy thermometer helps but reliable visual cues—clear to amber—work with practice.
Ingredients
Each ingredient influences texture and flavor. Use high-quality components for predictable results.
Ingredients (standard salted caramel):
- 1 cup granulated sugar (sucrose is the standard; see sucrose for chemistry)
- 1/4 cup water
- 2 tbsp unsalted butter, softened and cubed
- 1/2 cup heavy cream, gently warmed
- 1/4 tsp fine sea salt
- 1 tsp pure vanilla extract
Instructions
Follow steps closely. Caramelization moves fast once the syrup begins to darken, so prepare all add-ins before you start cooking.
Always remove from heat as soon as the amber stage appears and finish off-stove to avoid bitterness.
- Combine sugar and water in a heavy-bottomed saucepan over medium heat. Stir only until sugar dissolves; then stop stirring to minimize crystallization.
- Let the syrup simmer undisturbed. Swirl the pan occasionally for even cooking. Watch for the color to shift from clear to light gold and then deep amber—this is the key visual cue.
- When the syrup reaches the desired color (around 320°F / 160°C by standard reference), remove it from heat immediately to prevent burning.
- Whisk in butter until melted. The butter adds richness and improves mouthfeel.
- Carefully add the warm cream while whisking. Expect vigorous bubbling; continue whisking until smooth.
- Stir in salt and vanilla. Taste and adjust salt to balance sweetness and highlight complexity.
- Cool slightly, then transfer to a heat-safe jar. Refrigerate for longer storage and reheat gently to serve.
Temperature checkpoints
Use a candy thermometer for consistent results: soft-ball is unnecessary here—aim for visual amber and about 320°F (160°C). A few degrees make a major difference.
If you lack a thermometer, track color and aroma. The moment the syrup emits a sweet toasted scent and deepens to amber, act immediately.
Tips for Success
Small technique choices prevent common failures like crystallization, grainy texture, or burning.
Work with warm dairy and room-temperature butter. Cold dairy can shock the hot sugar and cause seizing.
- Control heat: Moderate heat yields gradual, even caramelization. High heat often burns the exterior before the center reaches amber.
- Prevent crystallization: Stop stirring after syrup boils. Brush down sugar crystals with a wet pastry brush if needed.
- Warm cream: Heat cream first to reduce violent bubbling and promote smooth incorporation.
- Flavor variations: Steep cream with cinnamon or citrus peel, then strain before adding for subtle aromatic notes.
Practice improves judgment. Time of day, altitude, and stove type affect how quickly sugar reaches amber. Note your stove’s behavior and adjust accordingly.
Serving Suggestions
Caramel pairs with neutral or mildly tart bases. It balances fatty and acidic elements and adds visual shine.
Drizzle over plain ice cream, fold into yogurt, spoon over poached fruit, or use as the topping for classic desserts.
The signature crack of a brûlée comes from thin molten sugar burned to glass; see crème brûlée for the classic technique and presentation.
For layered recipes, use thicker cooked caramel (longer cooking) for fillings and thinner caramel for drizzles.
Internal resources: explore our related technique guide at Molecular Cooking Techniques and dozens of recipe variations at Caramel Recipes to adapt texture and flavor for pastries and savory dishes.
Storage and Reheating
Store caramel in an airtight jar. At room temperature, use within one week; refrigerated, it will keep several weeks and thaw to a pourable consistency when gently reheated.
Rewarm in a saucepan over low heat or in short bursts in the microwave while stirring. Add a splash of cream if the sauce becomes too thick after refrigeration.
Nutrition Snapshot
Caramel is energy-dense. A small serving delivers sugar and fat concentrated into a small volume, so moderate portions are sensible.
Adjust portion size and salt level to suit dietary needs and to balance flavor intensity.
| Nutrient | Amount per Serving |
|---|---|
| Calories | 180 kcal |
| Protein | 1 g |
| Carbohydrates | 22 g |
| Fat | 9 g |
Q&A
The mechanics behind caramelization raise frequent questions. Clear answers speed learning and reduce mistakes at the stove.
Below are concise responses to common practical concerns when working with sugar and heat.
Q1: What exactly is caramelization?
A1: It’s the heat-driven breakdown of sugars into new aromatic and colored compounds. This process produces the toffee, butterscotch, and roasted notes associated with caramel.
Q2: How does it differ from the Maillard reaction?
A2: Caramelization involves sugars alone; the Maillard reaction requires amino acids reacting with reducing sugars and typically creates savory browning like roasted meat crusts.
Q3: Which sugars are easiest to caramelize?
A3: Sucrose (table sugar) is standard because it caramelizes cleanly. Fructose and glucose have different temperatures and flavor outcomes; blends balance color and taste.
Q4: Why does caramel sometimes seize or crystallize?
A4: Introducing solids or stirring too aggressively can trigger crystal formation. Brushing down side crystals with a wet brush and avoiding late additions of water prevents graininess.
FAQ
How can I tell when caramel is ready?
Watch for a change from clear to golden to deep amber. Aroma shifts from sweet to toasted. Use a candy thermometer for precision or rely on color and smell with practice.
Can I make caramel without a thermometer?
Yes. Control color and use small test drops in cold water to check set. Practice observing visual and aromatic cues to develop reliable instincts.
Is caramelization safe on different stovetops?
Electric, gas, or induction all work. The key is even heat distribution, so use a heavy-bottomed pan and moderate heat settings to avoid hot spots.
What tweaks make caramel less sweet and more savory?
Add salt to taste and use browned butter or toasted nuts for savory depth. Reducing sugar slightly and increasing butter or cream balances sweetness with richness.
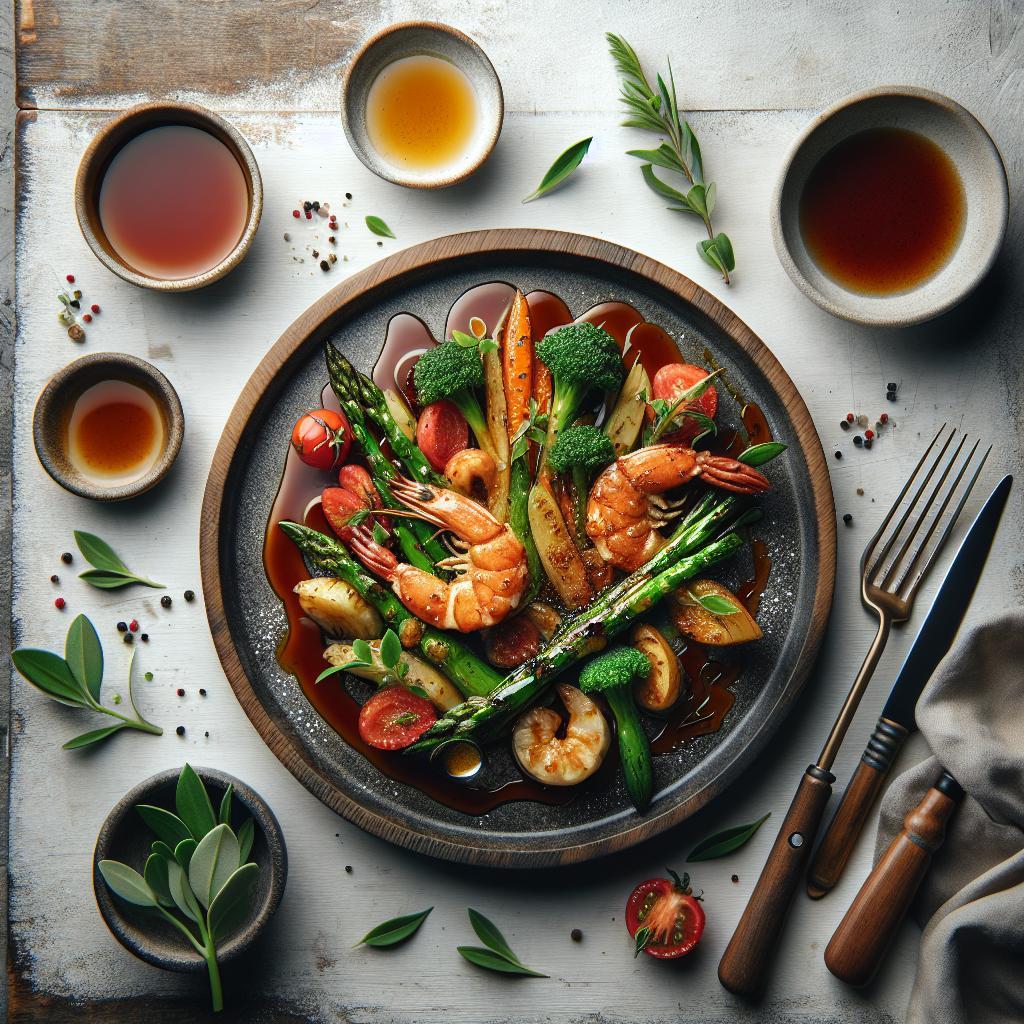
Can caramel be used in savory dishes?
Absolutely. Caramelized onions, roasted root vegetables, and glazes for meats rely on natural sugar caramelization to build depth and umami-like complexity.
If you want to expand technique and recipes, consult the internal guides linked above and the authoritative sources cited. Practice controlled heat, warm dairy, and decisive timing to make consistent, glossy caramel every time.
See also: Caramelization


