

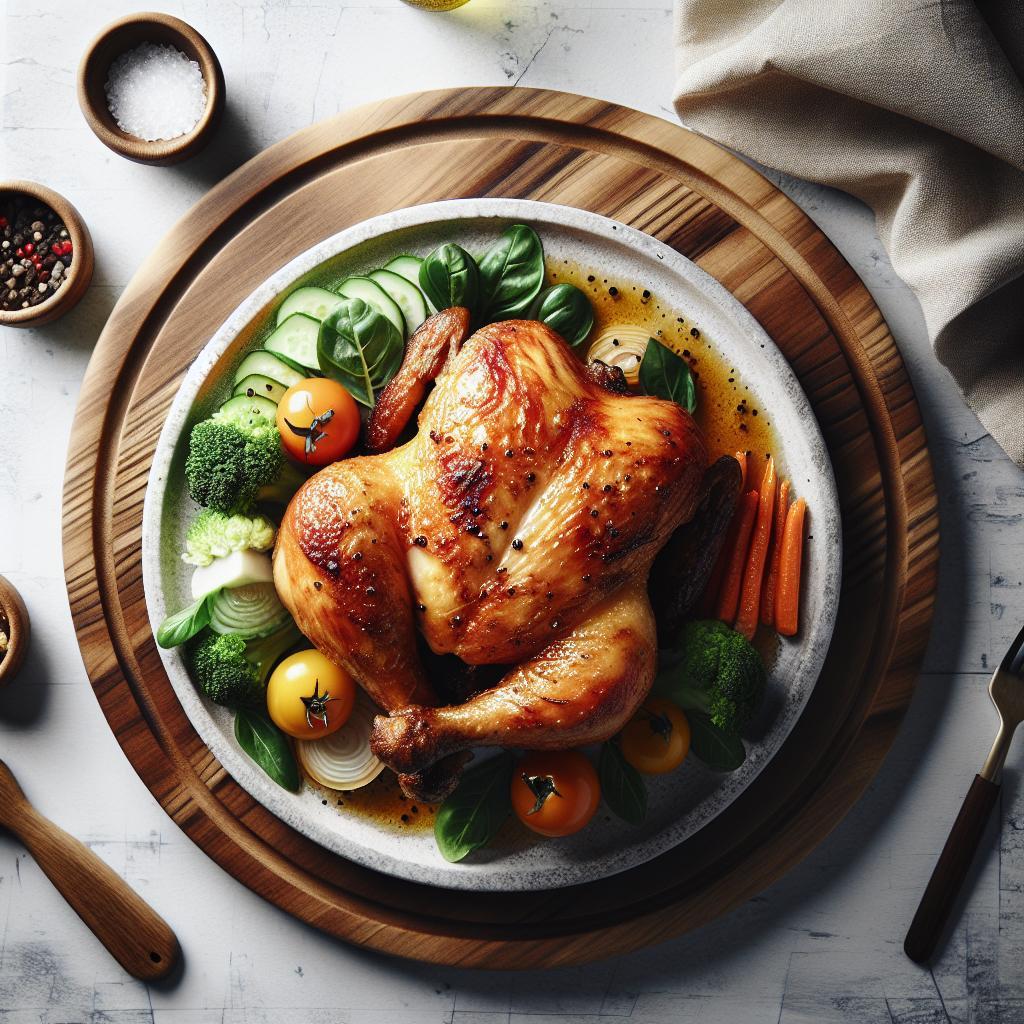
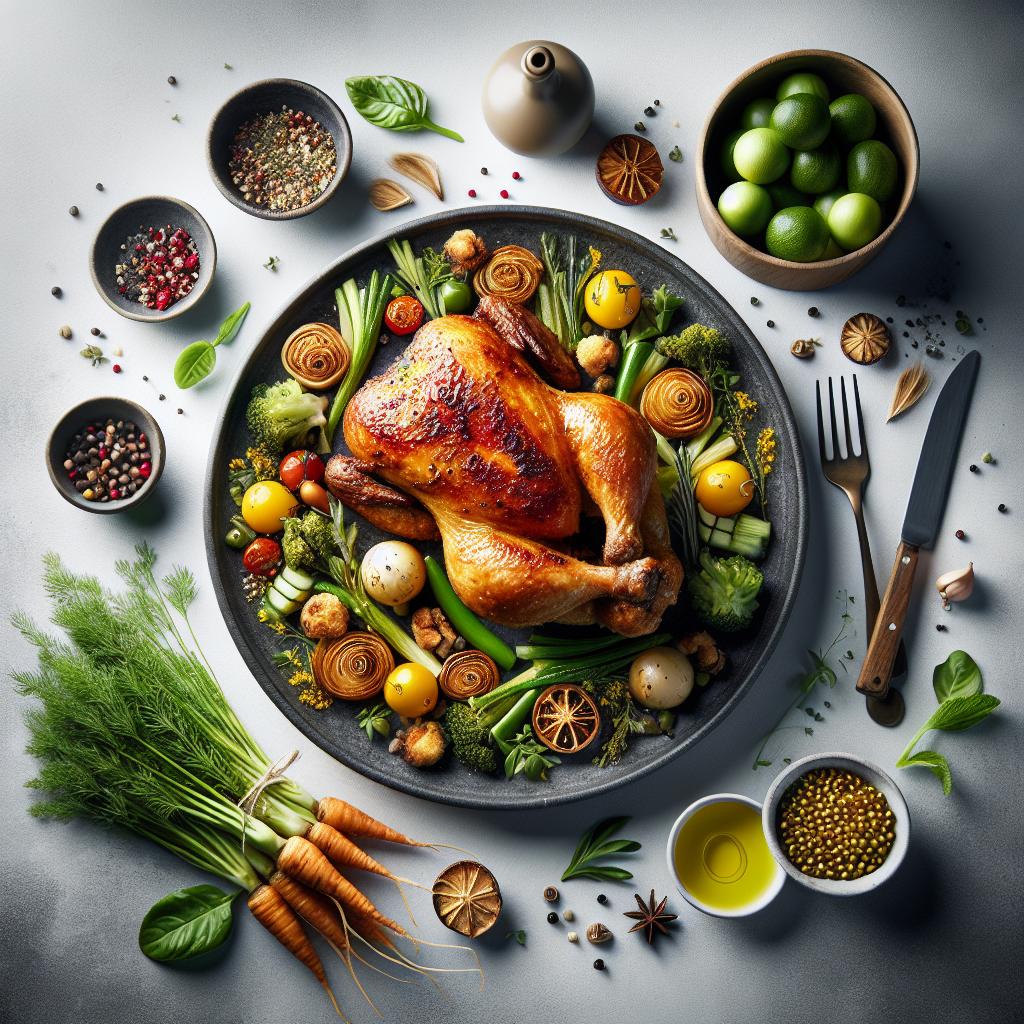
There is nothing quite like biting into chicken with skin that crackles and yields a deep, savory hit. Achieving that texture relies on precise control of moisture, seasoning, and heat. These steps make crisp skin repeatable across pan-searing, roasting, or air-frying.
- Dry skin first: Drying transforms texture and accelerates browning.
- Use small chemistry: Baking powder or cornstarch helps render fat and raise crispness.
- Control heat: Start skin-side down; finish at moderate heat to hit 165°F (74°C).
- Rest and finish: Rest on a rack and finish with flaky salt for texture contrast.
Why skin crispness matters
Texture defines how we perceive a dish. Crisp skin gives a contrast to tender meat, amplifying flavor and mouthfeel in every bite.
Beyond pleasure, crisp skin signals proper fat rendering and browning chemistry, chiefly the Maillard reaction, which generates complex aroma and color during cooking.
Choose the right cut and initial prep
Start with bone-in, skin-on pieces for steady cooking and superior texture. Thighs and legs hold moisture and tolerate longer render times than boneless cuts.
Where available, pick well-raised poultry for firmer skin; learn more about the bird itself at chicken. Trim excess fat or loose skin to avoid uneven blistering.
Drying and seasoning: the mechanics
Pat skin thoroughly with paper towels and, when possible, air-dry uncovered in the fridge for at least one hour. Drying reduces surface moisture and speeds fat rendering.
Use a light dusting of baking powder or cornstarch blended with salt and spices. The alkaline lift from baking powder helps break proteins at the surface, improving crisp formation.
Heat control and cooking methods
Heat strategy depends on your chosen method but follows the same principle: render fat slowly, then increase temperature to finish browning. Start skin-side down in a cold pan and let fat release steadily.
Use a heavy pan like cast iron or a hot oven at 425°F (220°C) to finish. For background on broader techniques, consult cooking overviews.
Pan-searing specifics
Preheat the pan until oil shimmers but doesn’t smoke. Press thighs briefly to ensure full skin contact and leave undisturbed to form a uniform crust.
After deep golden color, flip and reduce heat so the interior reaches 165°F (74°C) without burning the skin. An internal thermometer gives consistent safety and quality.
Rendering fat and choosing oils
Render slowly to turn subcutaneous fat into clear liquid. Too-high initial heat seals the surface and keeps fat trapped, yielding chewy skin instead of crispness.
Select a stable cooking medium with a high smoke point. For background on oils, see cooking oil. Clarified butter or neutral oil both work; the pan temperature and time matter most.
Final touches: resting, finishing salt, and serve
After cooking, rest the pieces on a paper towel-lined plate or, better, on a wire rack. Resting allows juices to redistribute while the skin stays crisp.
Finish with flaky sea salt and a bright garnish such as lemon or fresh herbs. The tiny salt crystals add a final crunch and heighten perceived savoriness.
Pro techniques
Small, intentional steps elevate outcomes. Use a light oil spray, remove excess skin pockets, and score tough areas to promote even rendering.
Experiment with spice blends. Smoked paprika and garlic powder pair well with baking powder, but keep the coating thin to avoid insulating the skin from heat.
Chef’s Notes
Variations include using the same method on wings or drumsticks; the technique scales well across cuts. Adjust times: smaller pieces crisp faster, larger pieces need more render time.
Substitutions: if baking powder is unavailable, cornstarch works as a drying aid but gives a slightly different texture. Always test once before scaling for guests.
Practical troubleshooting
If skin remains soft, confirm it actually dried in the fridge and that the pan was hot at contact. Moisture and low heat are the usual culprits for soggy skin.
Watch for excess oil pooling; that indicates incomplete rendering. Increase the initial sear time or briefly finish under a hot broiler to revive a limp surface.
Serving suggestions
Serve crispy thighs on creamy mashed potatoes, a bright slaw, or roasted vegetables to contrast textures. A drizzle of herb yogurt or chimichurri adds acid to cut the fat.
For more recipe pairings, explore our internal guides: crispy chicken recipe collection and a focused pan-searing technique guide. Those pages include step-by-step photos and timing charts.

| Nutrition per Serving | Amount |
|---|---|
| Calories | 320 kcal |
| Protein | 28g |
| Carbohydrates | 1g |
| Fat | 22g |
FAQ
How long should I dry chicken skin in the fridge?
Pat dry, then refrigerate uncovered for at least one hour. For best results, dry overnight; longer drying tightens the skin and improves render.
Can I get crispy skin without oil?
Yes. Dry roasting or using an air fryer can crisp skin without added oil, though a light coating improves heat transfer and color. Oil also carries seasonings for more even flavor.
Is baking powder safe to use on chicken skin?
Yes, use aluminum-free baking powder sparingly. It raises surface pH and helps achieve a crisp exterior without changing taste when used correctly.
What internal temperature ensures safety and juiciness?
Cook to 165°F (74°C) in the thickest part. Use an instant-read thermometer to avoid overcooking while ensuring safe, juicy meat.
Will brining ruin my chances for crispy skin?
Brining improves juiciness but adds moisture to the skin. If you brine, dry the skin thoroughly afterward and refrigerate uncovered to restore dryness before cooking.
Follow these tested steps and you will hit consistent, restaurant-level crispness. The process hinges on drying, measured chemistry, and deliberate heat control. Practice yields reliable, crunchy reward.
See also: chicken skin


