

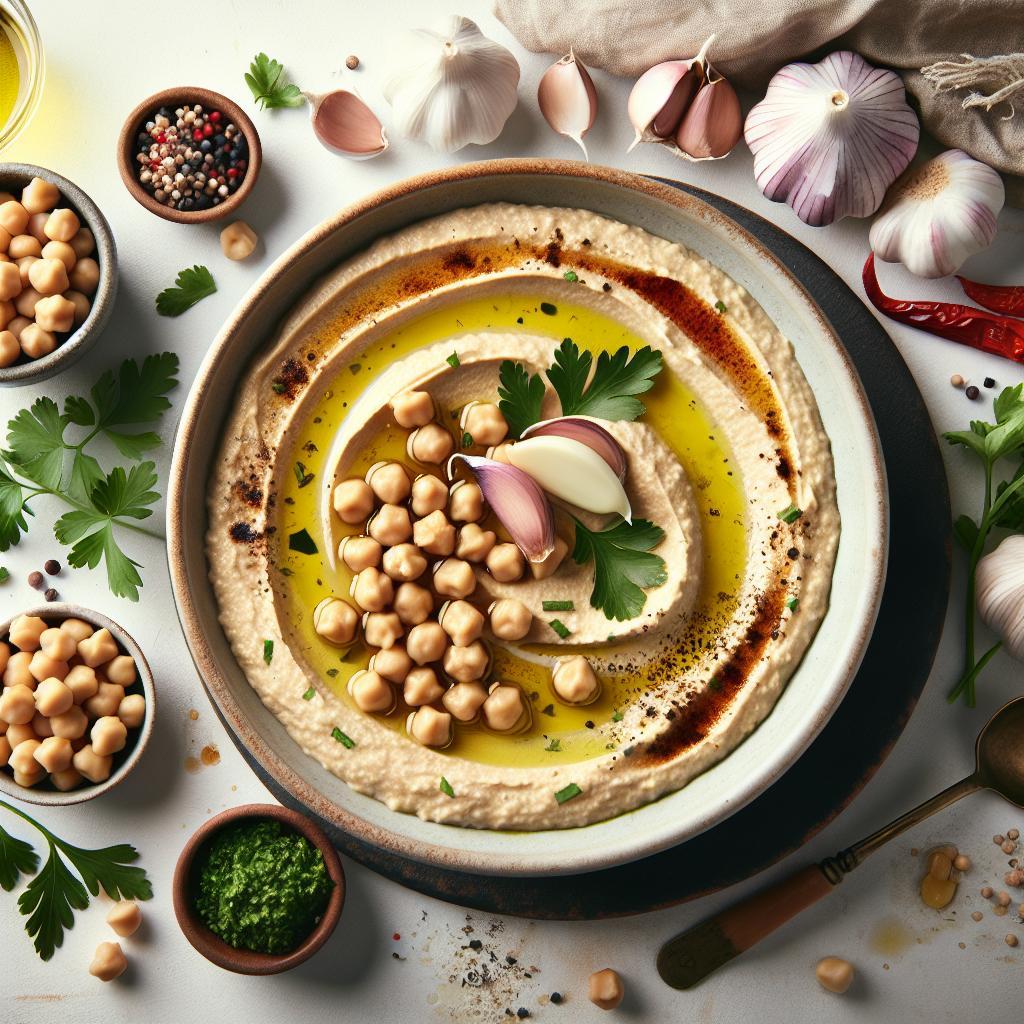
There’s something magical about roasted garlic-the way its mellow, caramelized sweetness transforms ordinary dishes into unforgettable delights. Now, imagine that subtle richness blended into the creamy, nutty goodness of classic hummus. Welcome to the world of creamy roasted garlic hummus dip, a velvety spread that effortlessly elevates snacks, appetizers, and even meals with its luscious texture and bold flavor. In this article, we’ll unlock the secrets to crafting your very own batch of this irresistible dip, guiding you step-by-step to a homemade creation that’s both simple to make and spectacularly satisfying. Get ready to tantalize your taste buds and impress your guests with a dip that’s bursting with flavor and smooth as silk.
Unlock Flavor: How to Make Creamy Roasted Garlic Hummus Dip
Unlock flavor in your kitchen with this creamy roasted garlic hummus dip that transforms simple ingredients into a velvety, savory delight. Rooted in Middle Eastern culinary traditions, this dip showcases how the humble garlic bulb elevates the familiar chickpea base into an indulgently smooth spread. As a food stylist, I’ve learned the art of coaxing rich, buttery depth from roasting garlic, and balancing ingredients perfectly – all essential for creating a hummus that’s both luscious and layered with complexity. Prepare to impress guests or elevate weekday snacks with a dip that’s as beautiful as it is flavorful.
Prep and Cook Time
- Preparation: 10 minutes
- Roasting: 40 minutes
- Blending: 5 minutes
- Total: 55 minutes
Yield
Approximately 2 cups (serves 6-8)
Difficulty Level
Easy
Ingredients
- 2 medium heads garlic, unpeeled
- 1 can (15 oz) chickpeas, drained and rinsed
- 1/3 cup tahini (well-stirred)
- 1/4 cup fresh lemon juice (about 1-2 lemons)
- 1/4 cup extra virgin olive oil, plus more for drizzling
- 1/2 teaspoon ground cumin
- 1/2 teaspoon fine sea salt, adjust to taste
- 3-4 tablespoons cold water (or aquafaba from chickpeas)
- Fresh herbs such as parsley or cilantro for garnish
- Smoked paprika or za’atar for finishing touches (optional)
Instructions
- Preheat your oven to 400°F (200°C). Place each garlic head on a square of aluminum foil, drizzle with 1 teaspoon olive oil, and wrap tightly.
- Roast the garlic in the oven for 35-40 minutes until cloves are tender and deeply golden, offering a sweet, mellow aroma. Let cool completely.
- Squeeze the softened garlic cloves from the skins into a food processor. The roasting turns garlic from pungent to creamy and almost caramel-like-this is the flavor anchor of your hummus.
- Add chickpeas, tahini, lemon juice, olive oil, cumin, and salt to the processor. Blend on high until smooth. Pause to scrape sides with a spatula for an even texture.
- Slowly add cold water or aquafaba, one tablespoon at a time, blending until reaching your desired silky consistency. This step is key to achieving ultimate creaminess without bitterness.
- Adjust seasoning by tasting and adding more salt, lemon, or cumin as needed. Blend briefly again.
- Transfer hummus to a serving bowl. Drizzle with extra olive oil, sprinkle smoked paprika or za’atar, and top with chopped fresh herbs for vibrant color and a fresh aromatic touch.
Tips for Success
- Choosing garlic: Select firm, plump bulbs with tight skins for roasting-they yield the sweetest flavors and creamier texture when blended.
- Roasting technique: Wrap the garlic tightly to trap steam, which softens cloves perfectly; avoid over-roasting to prevent bitterness.
- Ingredient balance: Tahini provides smoothness, lemon juice brings brightness, and cumin adds warmth-finding harmony here is the secret to luxurious hummus.
- Customization: Experiment by stirring in finely chopped roasted red peppers, smoked paprika, or fresh herbs directly to create gourmet variations.
- Make-ahead tip: Hummus flavors deepen after a day in the fridge. Store airtight for up to 4 days.
Serving Suggestions
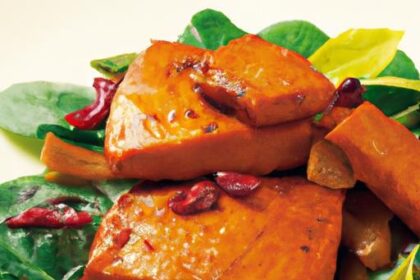
This creamy roasted garlic hummus dip dazzles when served on a rustic wooden board surrounded by warm pita wedges, crunchy vegetable sticks, or drizzled atop grain bowls. Add a handful of toasted pine nuts or a sprinkle of za’atar for eye-catching texture contrast. For a colorful presentation, surround the bowl with vibrant olives, sun-dried tomatoes, or roasted artichoke hearts. It’s equally perfect as a flavorful spread on sandwiches or wraps, or alongside grilled veggies for an easy appetizer.
| Nutrient | Per Serving (1/8 cup) |
|---|---|
| Calories | 90 |
| Protein | 3g |
| Carbohydrates | 8g |
| Fat | 6g |

For more delicious dip recipes that highlight bold flavors and smooth textures, check out our Ultimate Classic Hummus Recipe. For further tips on garlic roasting techniques, explore the detailed guide from Serious Eats.
Q&A
Q&A: Unlock Flavor – How to Make Creamy Roasted Garlic Hummus Dip
Q1: What makes roasted garlic essential for a creamy hummus dip?
A1: Roasted garlic transforms from sharp and pungent to sweet, mellow, and deeply aromatic. This caramelized softness blends seamlessly into hummus, creating a lush, velvety texture and a flavor profile that’s rich yet gentle – a total game-changer for your dip.
Q2: How do you roast garlic to get that perfect creamy base?
A2: Begin by trimming the garlic bulb’s top to expose the cloves, drizzle with olive oil, and wrap it in foil. Roast at 400°F (200°C) for about 35-40 minutes until cloves are golden and buttery soft. Once cooled, the roasted garlic squeezes right out, ready to infuse your hummus with magic.
Q3: Which ingredients complement roasted garlic in hummus without overpowering it?
A3: Classic chickpeas, creamy tahini, fresh lemon juice, a pinch of salt, and just enough olive oil form the perfect supporting cast. These ingredients balance the sweet garlic, while lemon juice adds brightness and tahini contributes nuttiness, keeping the dip harmonious and crave-worthy.
Q4: Any secret tips to achieve that ultra-smooth, creamy consistency?
A4: Yes! For silky hummus, soak dried chickpeas overnight and boil until tender or use high-quality canned beans, rinsed well. Blend the base ingredients while drizzling warm water or aquafaba slowly to reach that ideal texture. Also, using an immersion blender or food processor for several minutes ensures a luscious finish.
Q5: How can you customize roasted garlic hummus to suit different palates?
A5: Spice lovers can add a dash of smoked paprika or cayenne; herb enthusiasts might swirl in fresh parsley or cilantro. For a tangy twist, a touch of sumac or a sprinkle of za’atar blends beautifully. The roasted garlic acts as a versatile foundation, inviting endless flavor adventures.
Q6: What’s the best way to serve and store your creamy roasted garlic hummus?
A6: Serve chilled or at room temperature with warm pita bread, crunchy veggies, or as a sandwich spread. Drizzle extra virgin olive oil on top and garnish with parsley or toasted pine nuts for that extra finesse. Store leftovers in an airtight container in the fridge for up to 5 days – the flavors only deepen with time.
Q7: Why should everyone make this creamy roasted garlic hummus at home?
A7: Because it’s simple, soul-satisfying, and utterly delicious! Homemade hummus means you control texture, flavor intensity, and freshness – plus, it’s a wholesome dip packed with plant-based protein, healthy fats, and antioxidants. Roasted garlic turns a basic recipe into a culinary masterpiece you’ll crave again and again.
To Conclude
As you embark on your creamy roasted garlic hummus journey, remember that the magic lies not just in the ingredients, but in the love and patience you pour into every step. This dip, with its luscious texture and deep, savory notes, is more than a simple snack-it’s a gateway to richer gatherings, vibrant conversations, and a celebration of homemade goodness. So grab your pita, veggies, or crackers, and unlock a new world of flavor right from your kitchen. Your taste buds-and your guests-will thank you.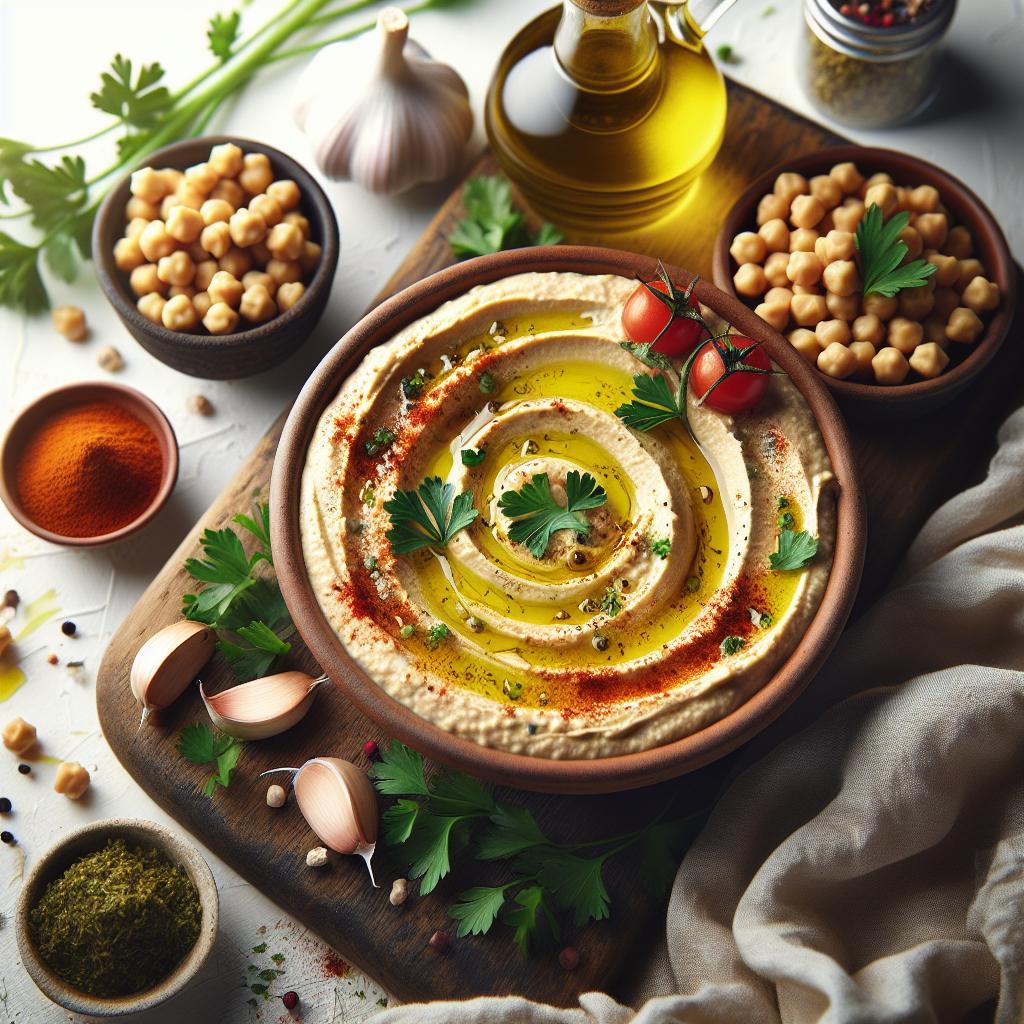


