

There is nothing more deflating than a pie crust that bites back. You expect tender, flaky layers that yield with the fork, yet you get a dense, chewy rim that ruins the bite.
- Control gluten by minimal mixing and cold ingredients.
- Chill thoroughly to relax gluten and solidify fat.
- Choose fats smartly—butter for flavor, shortening or lard to soften texture.
- Bake hot and fast enough to steam layers before gluten firms.
Why Is My Pie Crust Tough?
Pie crust toughness stems from a few predictable causes: excess gluten, melted fat, and rushed or rough handling. Those factors change dough structure and rob the crust of flakiness and tenderness.
Understanding the mechanics makes troubleshooting simple. Treat dough like fragile architecture: keep elements cold, move slowly, and let time do the finishing work.
Gluten development: the mechanical cause
Gluten forms when water hydrates flour proteins and movement aligns them into stretchy strands. Excess hydration or vigorous mixing increases gluten, which tightens the dough and yields chewiness instead of flake.
Read about the protein chemistry behind this process on Gluten. The practical takeaway is simple: mix only until the dough just holds together.
Fat behavior and temperature
Fat creates layers. When pieces of cold fat remain intact through rolling, they melt in the oven and create steam pockets that lift the dough into flakes. If fat melts early, the dough becomes uniform and dense.
The role of common fats is explained at Butter and related entries. Keep fat cold and measured; that preserves layers and tenderness.
Ingredients
Use reliable components: all-purpose flour for structure, cold unsalted butter for flavor, and a small amount of ice water to bring dough together. A touch of acid—vinegar or lemon juice—can slightly weaken gluten for a softer crumb.
Optional substitutes help tweak texture: blending a portion of cake flour or using some shortening will reduce protein content and soften the final crust. For background on milling and flour types, see Flour.
Measured ingredient list
2 1/2 cups all-purpose flour, sifted
1 tsp salt, 1 tbsp sugar (optional), 1 cup unsalted butter, cold and cubed. 1/4–1/2 cup ice water and 1 tsp vinegar or lemon juice.
Fat choices and their effects
Butter gives flavor and crisp flake. Shortening or lard gives more tender, less intensely flavored results. A 50/50 blend often balances flavor and tenderness.
Adjust fat type to match the pastry: use more butter when flavor is priority, more shortening when you need tenderness for delicate fillings.
Step-by-Step Instructions
Work quickly and deliberately. Toss dry ingredients, cut in cold butter until you see pea-size lumps, then add ice water sparingly until the dough barely comes together.
Form two disks, wrap tight, and chill at least one hour. Chill both before rolling to keep fat solid and gluten relaxed.
- Combine dry ingredients: Whisk flour, salt, and sugar evenly to ensure consistent seasoning.
- Cut in cold fat: Add cold cubed butter and cut with a pastry cutter or fingertips until the mix looks like coarse crumbs with pea-size pieces of fat.
- Mix acid and water: Stir vinegar or lemon into ice water. The acid helps relax proteins and improves tenderness.
- Add liquid a tablespoon at a time: Drizzle half first, then add more until dough clumps. Stop when the dough holds when pinched.
- Form into discs: Gather without kneading and flatten gently. Overworking tightens the dough.
- Chill: Wrap tightly and refrigerate at least 1 hour. Proper chilling firms fat and calms gluten.
- Roll and assemble: Roll from the center outward on a lightly floured surface. Rotate to keep an even circle and avoid pressing too hard.
- Bake: Follow the filling recipe’s temperature. Aim for a starting oven temperature in the 190–220°C range (375–425°F) to set layers quickly.
Rewrap and chill any warm dough immediately. If the dough resists rolling or springs back, let it rest again in the fridge to relax.
For troubleshooting, keep a simple log: temperature, mixing time, and oven behavior. Small adjustments produce big texture changes.
Chef’s Notes
Gluten balance: Aim for minimal hydration and gentle mixing. The dough should be cohesive but not smooth like bread dough.
Resting time: Allowing the dough to rest hydrates flour uniformly and relaxes gluten. Never skip the chill step if you want a tender finish.
Prevent overworking: Use a bench scraper to lift and fold rather than vigorous kneading. Press and patch rather than reworking a torn edge.
Freeze for convenience: Dough discs freeze well for up to a month. Thaw overnight in the refrigerator before rolling to preserve texture.
Serving Suggestions
For sweet pies, serve short after cooling to avoid soggy bottoms. A scoop of vanilla ice cream or lightly whipped cream complements a tender crust.
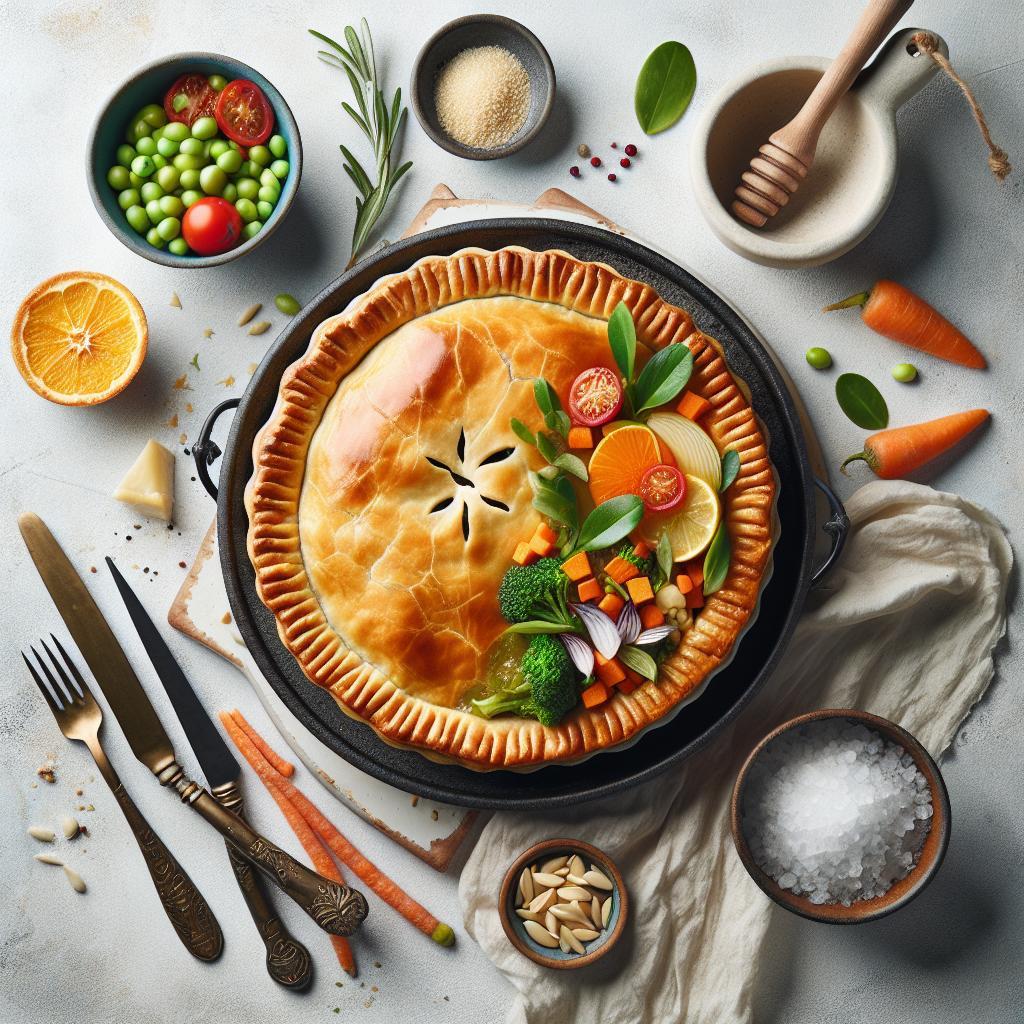
For savory pies, add fresh herbs or a light sauce. Present on a warming board or a classic ceramic plate to showcase the golden layers. For more technique notes, see our internal guide on How to Make Flaky Pie Crust and practical pie baking tips.
Nutrition
| Nutrient | Per Serving |
|---|---|
| Calories | 280 kcal |
| Protein | 3 g |
| Carbohydrates | 28 g |
| Fat | 18 g |

For reference on related pastry techniques, consult general pastry information at Pastry and context on pies at Pie (food).
FAQ
Why does my pie crust turn out tough instead of flaky and tender?
Tough crust most often means overdeveloped gluten or melted fat. Mix only until the dough binds and keep ingredients and hands cold to prevent fat from smearing into the flour.
Does the type of fat matter for texture?
Yes. Butter gives the best flavor and good flake when handled cold. Shortening and lard produce a more tender, less flavorful crust. Blending fats balances flavor and tenderness.
Is water temperature really important when making pie dough?
Absolutely. Cold water keeps fat intact and slows gluten formation. Use ice water and add it gradually so you only use what the dough needs.
How long should I chill the dough?
Chill at least one hour for best results. Longer chilling (several hours or overnight) improves handling and final texture by fully relaxing gluten and firming fat.
Any quick fixes for a dough that feels tough before baking?
If the dough is springy or resists rolling, stop working it and rest it in the fridge for 30–60 minutes. If baked already and tough, serve thinly sliced with moist toppings to mask chewiness.
Apply these steps consistently and you will convert troublesome crusts into reliably tender, flaky pastry. Precision and restraint in handling deliver repeatable results.
See also: pie crust


