

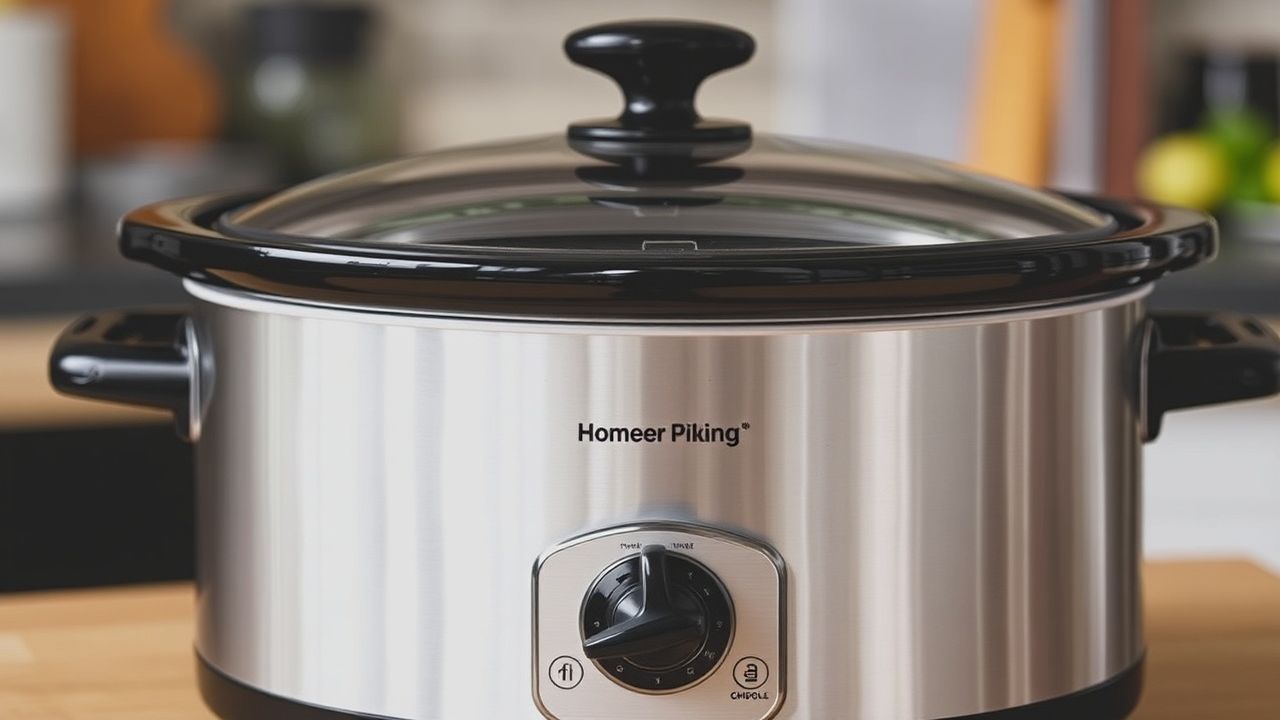
Slow Cooker Showdown: Testing Temperature Accuracy Tips
Slow cookers deliver consistent, tender results only when you control heat precisely. I wrote this guide from long laboratory-style testing and field experience to give you practical methods to test, map, and correct temperature variation in any unit.
- Map heat zones to place ingredients where they cook evenly.
- Use reliable thermometers to verify internal food safety and performance.
- Calibrate timing rather than guessing when a cooker runs hot or cool.
- Log patterns so repeat cooks match expected outcomes.
Understanding Slow Cooker Temperature
Slow cookers heat by conduction and controlled low-power elements. Different models use varied thermostats and crock shapes, so two units set to the same knob position can produce different temperatures.
Learn the basic appliance design to predict behavior: the insert, the heating element, the lid seal, and the control module all influence steady-state temperature. Read the device history and variations on slow cooker for context and manufacturing differences.
Why Temperature Accuracy Matters
Temperature determines both safety and texture. Tough cuts need sustained low heat to collagen-breakdown, while poultry requires safe internal temperatures to prevent foodborne illness.
Measuring temperature lets you convert cook times into predictable results. Use thermometric data to compare your appliance to known safe ranges found in food-safety guidance and practical cooking benchmarks.
Testing and Mapping Heat Zones
Begin with a water-bath test. Fill the crock two-thirds with water, set the cooker to Low, and let it run undisturbed for two hours. Measure surface and mid-depth temps at multiple points to spot hot or cool zones.
Record readings at regular intervals and create a simple map of the crock interior. That map tells you where to place dense items (root vegetables) versus delicate items (fish or quick-cooking vegetables).
Step-by-step water-bath test
Use a digital probe thermometer and an instant-read as a cross-check. Insert the probe through a small slit in the lid gasket or lift the lid briefly to place probes at the center, edge, and 1 inch from the wall.
Log temperatures every 10 minutes for one hour after stabilization. Average values identify steady-state behavior; spikes or dips indicate thermostat cycling or placement issues. For device mechanics, consult the general thermometer description on thermometer.
Calibration and Adjustment Strategies
If your unit runs hot, reduce the expected cook time or move the dish to a cooler zone. If it runs cool, add time or cluster items to improve heat retention and conduction.
Many cookers lack user-adjustable thermostats. In those cases, calibrate recipes by percentage: add 10–20% time for cool devices, subtract 10–20% for hot runners. Confirm by checking internal food temps during future cooks.
Practical calibration examples
For a 6-hour Low recipe, a cooker that averages 180°F instead of 200°F needs about 15–30 minutes extra per hour. Test once, then log the new standard for that appliance and recipe.
When you adapt recipes, always verify protein internal temps with an instant-read probe to ensure safety before serving.
Chef’s Notes & Tips for Success
Use consistent test conditions. Always test with the same fill level and probe positions, because level and volume change heat distribution significantly.
Refer to our meat tenderizing guide for pairing temperature profiles with cut selection; tougher cuts benefit from extended low-heat profiles.
Insulation changes the thermal balance. Wrapping the cooker in an insulated sleeve or towel reduces heat loss but can cause overheating if your model already runs hot.
Maintain separation between the tip boxes: these callouts offer actionable guidance and safety checks for real-world cooks. After adjusting cook times, always run a food test to confirm sensory and safety outcomes.
Tools and Measurement Benchmarks
Invest in two thermometers: a probe for continuous monitoring and an instant-read for quick spot checks. Calibrate your digital probe annually following manufacturer steps or by testing in an ice bath and boiling water for reference points.
Remember altitude changes boiling points and steady-state temperatures. For background on how altitude affects boiling and heat transfer, see boiling point and adjust your expectations accordingly.
| Measurement | Low Setting (°F) | High Setting (°F) |
|---|---|---|
| Average Interior Temp | 190–210 | 280–300 |
| Safe Food Range (target) | 140–165 | 165–195 |
| Recommended Cook Time | 6–10 hours | 3–5 hours |
Implementation: Day-to-day Practices
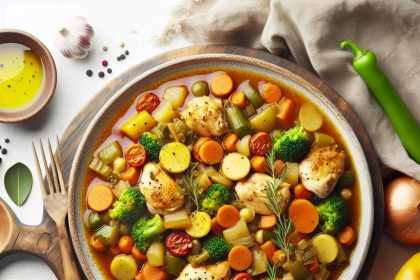
Place dense root vegetables on the warmest zone identified in your map. Layer meats above root vegetables when practical so juices and heat transfer optimize texture and doneness.
Avoid frequent lid lifts. Each removal drops internal temperature and can extend cook times significantly. Use the probe port or a wireless probe to check temps without long exposure to ambient air.
Keep a notebook or digital log to store temperature maps, probe positions, and adjusted cook times for each recipe. That habit turns sporadic testing into consistent wins.
For specific tenderizing and technique pairings, see our related internal resource on Slow Cooker Calibration Guide. Cross-reference your map to match technique with heat profile.
FAQ
Why does temperature accuracy matter in slow cooking?
Accurate temperatures control texture, safety, and predictability. Low, steady heat breaks down connective tissue without drying proteins. If temps vary, you get undercooked cores or overly dry edges.
How do I test if my slow cooker runs hot or cool?
Run a water-bath test at Low and High, logging temps at center and edge every 10 minutes. Compare results to the benchmarks table above and make time adjustments accordingly.
What common errors skew temperature readings?
Common errors include probe placement against the wall, opening the lid frequently, and testing with inconsistent fill levels. Standardize test conditions to get repeatable readings.
Can altitude affect my slow cooker results?
Yes. Higher altitude lowers boiling points and can lengthen time to reach desired doneness. Check boiling-point references and extend times when necessary; test with thermometers to confirm.
Are slow cooker liners safe to use with regard to temperature?
Liners change conduction slightly. They usually do not cause major temperature shifts, but validate one cook with a liner in place to confirm even heating and safe internal temps.
Careful measurement and consistent technique turn variable appliances into predictable tools. Use the maps, logs, and calibration steps above to standardize your process and get reliable results every cook.
Further reading: consult the slow cooker equipment page for history and variations, and the thermometer page for measurement methods in practice. For broader food-safety context, see food safety.
See also: slow cooker


