

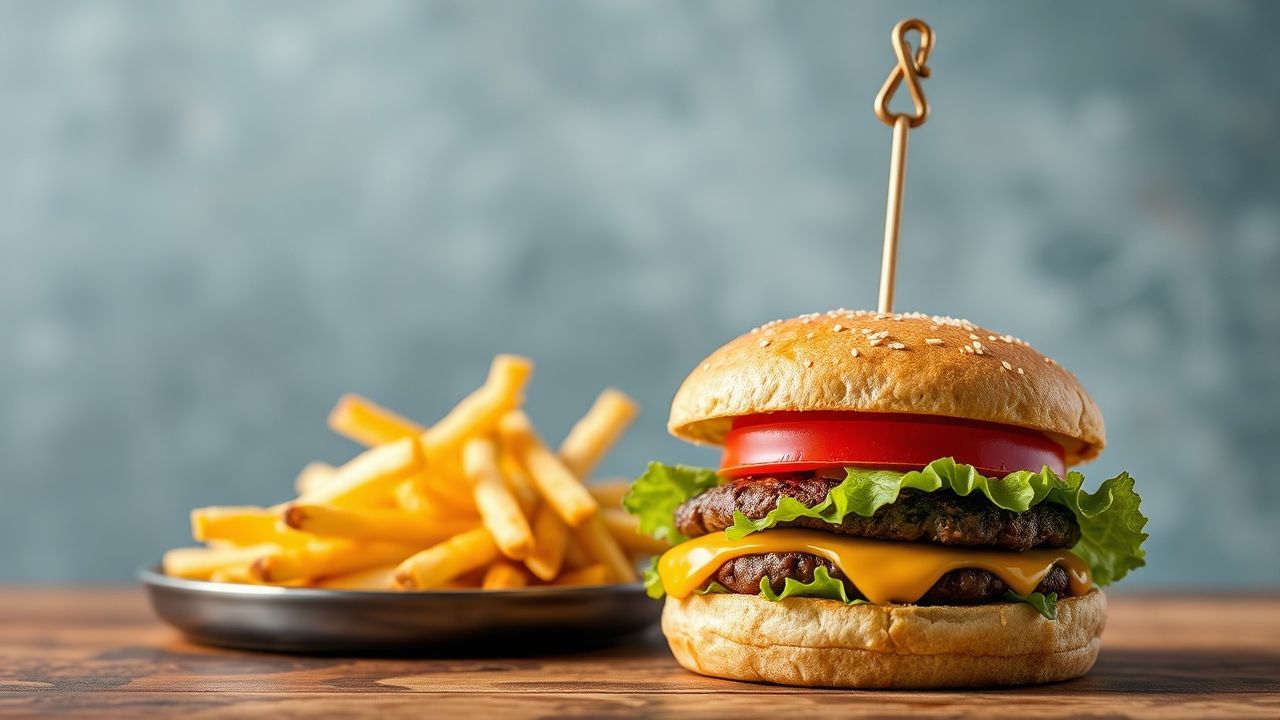
There is something undeniably magical about the first bite of a well-made smash burger: the intense crust, the rich aroma, and the immediate contrast of crisp and juicy textures. This recipe-style guide explains the science that creates those flavors and gives precise, actionable technique to reproduce them at home.
- Why smash works: surface, heat, and chemistry
- Key elements that control flavor
- Ingredients and prep: what to choose and why
- Cooking technique: step-by-step operational details
- Tips for success
- Variation ideas and experimentation
- Serving suggestions and pairing
- Practical recipe snapshot
- Nutrition (per serving)
- FAQ
- What makes a smash burger different from a regular burger?
- What fat ratio should I use?
- When should I season the meat?
- Can I make smash burgers on a griddle at home?
- How do I keep the bun from getting soggy?
- The way forward
- At a glance: smash burgers rely on surface contact, high heat, and the right fat ratio.
- Crust formation: the Maillard reaction produces complex savory compounds.
- Technique matters: quick smashing, minimal handling, and proper seasoning drive results.
Why smash works: surface, heat, and chemistry
The smash burger technique maximizes surface contact between meat and hot metal to force rapid browning. That browning is the Maillard reaction, a chemical process that turns simple amino acids and sugars into dozens of flavorful compounds.
High temperature and thin thickness permit quick crust formation without overcooking the interior. That contrast between a crisp exterior and a tender center creates the defining mouthfeel of a great smash burger.
Key elements that control flavor
Fat content, grind size, and meat temperature determine both flavor intensity and juiciness. Use freshly ground beef at roughly an 80/20 lean-to-fat ratio for balanced flavor and effective rendering.
Equipment also matters: a heavy flat surface gives even heat transfer. A seasoned cast-iron skillet or steel griddle stores heat and resists temperature drop when patties hit the surface.
Ingredients and prep: what to choose and why
Select quality ground chuck or an appropriate blend labeled for burgers; the small amount of connective tissue and intramuscular fat improve flavor release during cooking. For reference, see general notes on ground beef composition and labeling.
Keep meat cold until the moment you cook it. Cold fat holds its shape until it hits the hot surface, allowing controlled rendering and reducing premature flare-ups. Form loose portions; do not compact them.
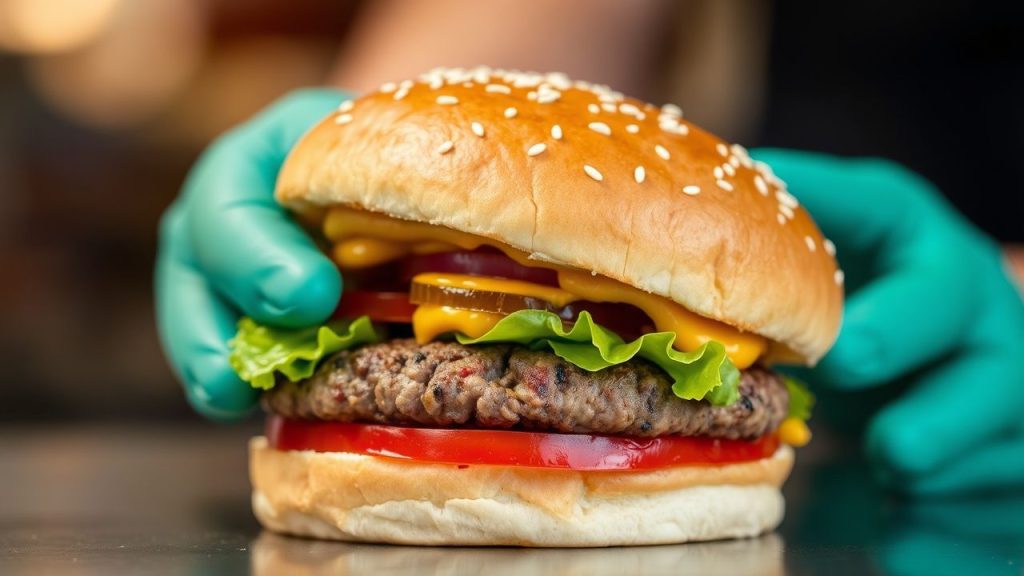
Cooking technique: step-by-step operational details
Preheat the pan until it is very hot. A hot surface initiates browning immediately and prevents the patty from sticking; maintain a consistent heat source throughout the cook.
Place loosely formed balls of meat on the surface and press firmly with a sturdy, flat spatula to achieve about 1/4-inch thickness. Hold pressure briefly to increase contact area and then release; the patty should not be continuously compressed during the full cook time.
Seasoning and timing
Season the exposed surface immediately after smashing; salt helps extract surface moisture that then aids the Maillard reaction. Avoid salting too long in advance, which can draw excessive moisture into the meat.
Cook the first side undisturbed for 2 to 3 minutes, until the edges brown and crispen. Flip once, add cheese if desired, and finish for another 1 to 2 minutes for medium to medium-rare, depending on thickness.
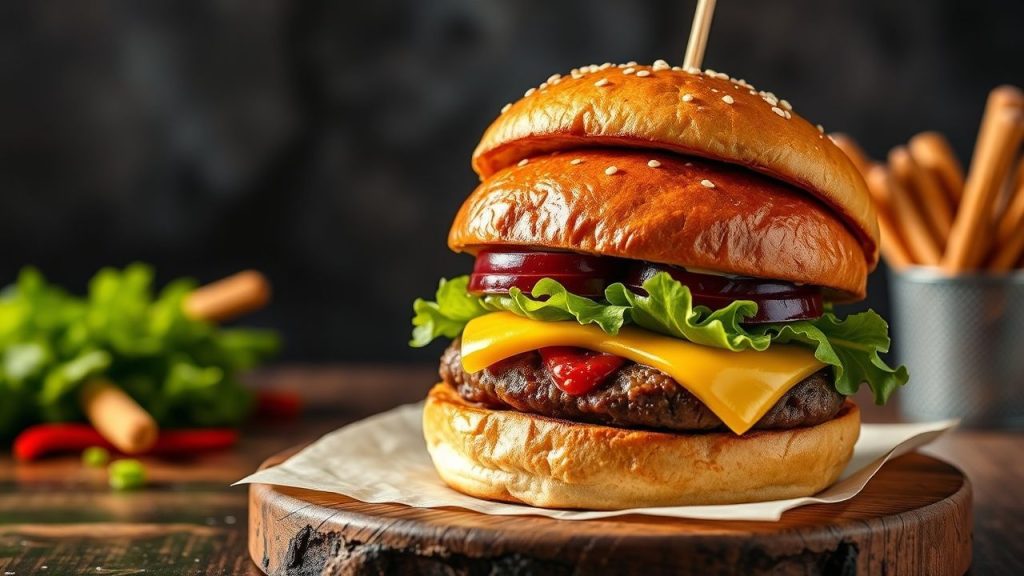
Cheese and assembly
Place cheese on the patty immediately after flipping to encourage rapid melting into the crusted surface. Use thin-sliced cheeses that melt quickly to preserve the burger’s short cook time and textural contrast.
Toast buns in butter until lightly crisp to add a fat barrier that keeps the bun from sogging. Layer acidic elements—pickles or a tangy sauce—to cut through fat and sharpen perceived flavor.
Tips for success
Handle meat minimally; overworking protein creates dense texture. Form loose portions that will compress when smashed, preserving interior moisture.
Use a firm, flat spatula and apply even pressure. A second spatula or a specialized press helps maintain flatness without tearing the crust.
Keep the pan hot between batches. If the surface cools too much, the patties will steam rather than sear and the crust will suffer. Allow the pan to regain temperature for 30–60 seconds between batches.
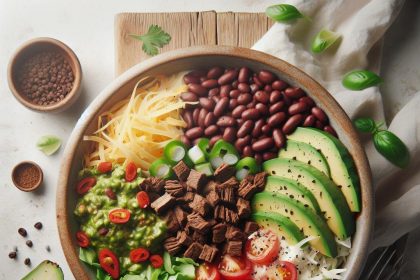
Variation ideas and experimentation
Try different blend ratios or introduce a small percentage of brisket or short rib to increase flavor complexity. Test cheeses like sharp cheddar, smoked gouda, or pepper jack for different melting profiles and taste notes.
Adjust smash pressure and hold time to tune crispness. Heavier pressure yields more crust and less interior thickness; lighter pressure retains slightly more juiciness but reduces the characteristic sear.
Serving suggestions and pairing
Keep toppings minimal to let the crusted patty remain the star. Classic pairings include thin-sliced red onion, pickles, and a tang-forward sauce that balances fat.
Serve with fries, coleslaw, or a simple green side to add texture contrast. A cold, acidic beverage works well to cut through the burger’s richness and refresh the palate.
Practical recipe snapshot
Prep time: 10 minutes. Cook time: 8 minutes total for 4 patties. This timing assumes a very hot pan and thin smash thickness.
Yield: Four 4-inch smash patties. Use 1 lb (450 g) ground chuck at 80/20 for optimal fat rendering and mouthfeel.
Nutrition (per serving)
| Nutrient | Per Serving |
|---|---|
| Calories | 650 kcal |
| Protein | 38 g |
| Carbohydrates | 40 g |
| Fat | 38 g |
For techniques on handling beef and grinding at home, visit our internal guide on Ultimate Beef Cooking Guide. To practice pressing and timing, see our step-by-step drills on smash burger techniques.
FAQ
What makes a smash burger different from a regular burger?
Smash burgers use high heat and immediate pressure to create a thin patty with extensive surface contact. This method favors rapid Maillard browning, which produces intense crust flavors not typical of thicker patties.
What fat ratio should I use?
Around 80/20 lean-to-fat gives the best balance of flavor and juiciness for smash burgers. Higher fat renders more liquid fat that bastes the meat and deepens flavor, while too-lean blends can dry out quickly.
When should I season the meat?
Season the exposed surface immediately after smashing. Salt applied at that moment helps surface moisture promote browning without drawing out excessive internal juices before cooking.
Can I make smash burgers on a griddle at home?
Yes. Use a heavy griddle or a well-seasoned cast-iron skillet and preheat until very hot. Maintain temperature between batches and use a sturdy spatula for consistent pressure.
How do I keep the bun from getting soggy?
Toast buns in butter until crisp and serve hot. A light barrier of melted butter or a thin sauce layer helps prevent moisture migration from the patty into the bun.
The way forward
Understanding the interaction of heat, surface area, and fat transforms how you approach burger building. Small technique adjustments yield large flavor gains.
Practice timing, maintain heat, and treat each smash as a focused experiment in surface chemistry. With deliberate technique you can consistently reproduce restaurant-quality smash burgers at home.
See also: smash burger


