

Crafting a sugar cage transforms ordinary granulated sugar into a rigid, decorative shell. This process blends controlled heat, timing, and technique to produce fragile yet striking edible architecture.
- Prep and Cook Time
- Yield
- Difficulty Level
- Ingredients
- Instructions
- Expert Tips for Crafting Durable and Aesthetic Sugar Structures
- Understanding the Chemistry Behind Sugar Cage Formation
- How Regular Sugar Transforms in Heat and Moisture
- Key Factors Influencing the Stability of Sugar Cages
- Serving Suggestions
- Chef’s Notes: Tips for Success
- Nutritional Table
- Practical Links and Further Reading
- FAQ
- Key takeaway: Temperature control at the hard-crack stage yields the strongest strands.
- Key takeaway: Humidity ruins finished sugar work rapidly; store in dry containers.
- Key takeaway: Acid additions reduce crystallization and produce smooth, glassy surfaces.
- Key takeaway: Regular granulated sugar (sucrose) gives the best clarity and snap.
Prep and Cook Time
Preparation: 15 minutes plus setup for molds and safety gear. Organize tools and have a candy thermometer within reach to avoid delays.
Cooking (Caramelization & Shaping): 10–15 minutes. The active cooking window is short; monitor temperature and visual cues closely to hit the hard-crack stage.
Yield
This recipe yields enough sugar cage material to decorate four individual desserts or one large centerpiece. Adjust quantities proportionally if you need multiple cages.
For finer strands, divide the syrup into smaller batches. Smaller batches let you work faster and maintain consistent strand thickness.
Difficulty Level
Advanced. You need precise timing, temperature control, and steady hands to pull thin strands and assemble a cage. Expect a learning curve; practice with small shapes first.
Safety and speed both matter. Hot sugar can cause severe burns, so plan for safe pouring and cooling zones before you begin.
Ingredients
Use simple, pure ingredients to predictably control melting and solidifying behavior. Regular granulated sugar provides the most reliable clarity and texture.
Measure precisely. Small shifts in water or acid content change boiling behavior and final strand strength.
- 2 cups granulated sugar (regular sucrose)
- ½ cup water
- 1 tsp lemon juice (optional, acid to reduce crystallization)
- Neutral oil or non-stick spray (for greasing molds)
Instructions
Prepare your workspace and safety gear, including heat-resistant gloves and a stable surface for molds. Grease the work surface lightly to ensure easy release.
Follow the steps precisely. The syrup transitions quickly near the hard-crack range, so have utensils ready to shape strands the moment you remove the pan from heat.
- Combine ingredients: In a heavy-bottomed saucepan, mix 2 cups sugar, ½ cup water, and 1 tsp lemon juice. Dissolve the sugar over medium heat.
- Stop stirring: Once the sugar dissolves, stop stirring and allow the syrup to climb in temperature. Use a candy thermometer and monitor visual color changes.
- Reach hard-crack: Heat until the syrup reaches 300–310°F (149–154°C). Look for a pale to warm amber color as an additional cue.
- Cool slightly: Remove from heat and let the syrup rest 20–30 seconds to thicken so it draws into strands rather than pooling.
- Create strands: Use a fork, whisk, or metal ladle to drizzle thin strands over a greased bowl or mold. Work quickly; sugar sets fast.
- Assemble the cage: Layer strands in alternating directions to build a lattice that supports itself. Use balloon forms, bowls, or wire frames for consistent shapes.
- Set and store: Let the cage cool fully for at least 10 minutes before handling. Store in an airtight, moisture-proof container until use.
Expert Tips for Crafting Durable and Aesthetic Sugar Structures
Control the environment. Work in a room with low humidity and keep the finished pieces away from steam, open windows, or cold surfaces that can cause condensation.
Practice strand thickness. Thinner strands look delicate but break more easily; thicker strands add durability. Vary thickness to balance aesthetics and strength.
- Humidity: Sugar is hygroscopic, so it absorbs moisture and becomes tacky in humid air. Dehumidify your workspace if possible.
- Color control: Pull earlier for pale amber or wait slightly longer for a richer tone; darker syrup increases bitterness due to deeper caramelization.
- Anti-crystallization: A small acid addition reduces unwanted graininess by interfering with sucrose reformation; this affects the clarity and smoothness of strands. Read about sucrose behavior for chemical context.
- Molds and frames: Bowls, balloons, or wire supports let you form repeatable domes and arches without touching the hot sugar extensively.
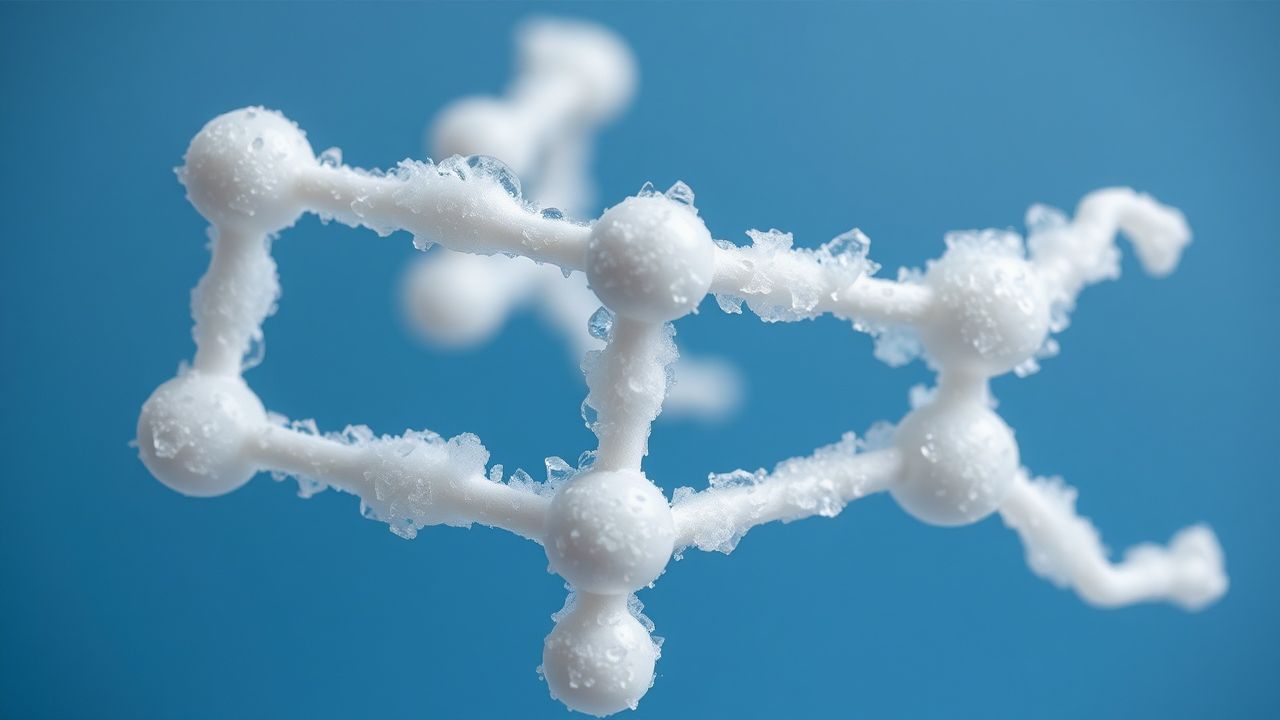
Understanding the Chemistry Behind Sugar Cage Formation
How Regular Sugar Transforms in Heat and Moisture
When sucrose dissolves in water and heats, the mixture concentrates as water evaporates. As the temperature climbs, molecular bonds break and new compounds form; this process drives color and flavor changes.
At the hard-crack range, the concentrated syrup behaves like molten glass. On cooling, it solidifies into a brittle, amorphous material rather than a crystalline solid; that behavior links to dehydration reactions that change sugar structure. See dehydration reactions for related chemistry concepts.
Key Factors Influencing the Stability of Sugar Cages
Moisture content during and after cooking dictates long-term stability. Any residual water increases stickiness and encourages recrystallization, which weakens structure.
Temperature accuracy matters. Undercooked syrup yields a soft, tacky product; overcooked syrup becomes bitter and fragile. A reliable thermometer and visual cues together predict the best result.
Serving Suggestions
Place a sugar cage over mousse, panna cotta, or small fruit arrangements for dramatic reveal and texture contrast. Break the cage tableside to create theater and aroma release.
Pair sugar cages with moist or chilled fillings to contrast the brittle shell. Use edible flowers or berries for color points inside the cage without adding moisture to the sugar itself.
Chef’s Notes: Tips for Success
Substitutions matter. Superfine sugar can yield finer strands, but avoid sugars containing molasses, such as brown sugar, because extra moisture and impurities change melting behavior.
Plan plating in advance. A sugar cage adds visual height; ensure the dessert beneath can support the weight and that service timing prevents humidity buildup.
- Troubleshooting crystallization: If crystals appear, gently reheat with water and a small acid addition, then restart the process.
- Make ahead: Prepare sugar cages hours ahead and store in airtight, moisture-proof containers. Add silica packets for long-term storage when appropriate.
- Safety first: Treat hot sugar like molten glass. Use heat-resistant gloves and keep a first-aid plan for scalds.
Nutritional Table
| Nutrient | Per 50g Serving |
|---|---|
| Calories | 194 kcal |
| Carbohydrates | 50 g |
| Protein | 0 g |
| Fat | 0 g |
Practical Links and Further Reading
Explore our internal primer on sugar techniques to expand your skills in pulled and blown sugar. Visit sugar art techniques for step-by-step projects that complement cage building.
Read our storage and safety guidance at sugar storage & safety to protect finished pieces from humidity and handling damage.
FAQ
What exactly is a sugar cage?
A sugar cage is an edible, decorative structure formed from molten sugar that solidifies into a brittle, glass-like shell. It often takes domes or lattices that sit over desserts or encapsulate small components.
The cage forms by drawing thin strands or by pouring into a mold. Proper cooling locks the structure into its final shape.
Why is regular granulated sugar recommended?
Regular granulated sugar offers predictable melting and clear results because it is mostly pure sucrose. That purity yields better glass-like clarity and cleaner flavor than unrefined or molasses-containing sugars.
Impurities change boiling behavior and can produce grainy textures or darker color prematurely.
How long does a sugar cage last?
Stored correctly in airtight, moisture-proof containers, a sugar cage can last several hours to days without significant deterioration. High humidity dramatically reduces this window.
For best texture, assemble and serve within a short timeframe. Use desiccants when long storage is necessary for display purposes.
Can beginners create a sugar cage?
Yes. Beginners should practice with small batches and simple forms. Learning to read temperature and color cues reduces failed attempts.
Start with basic domes and progress to more complex lattices as you master speed and strand control.
What common mistakes should I avoid?
Avoid cooking sugar at inconsistent temperatures and exposing finished pieces to steam or humidity. Both lead to tacky finishes or collapse.
Also, do not attempt large-scale cages on your first tries; scale up progressively once you can reliably hit the hard-crack stage.
Crafting a sugar cage rewards precise technique and careful planning. Use the methods and safety notes above to produce consistent, show-stopping sugar architecture.
See also: Sugar Cage


