

Biscuits sit at the crossroads of chemistry and craft. Understanding how fat, flour, hydration, and temperature interact will let you choose whether a biscuit melts or separates into crisp layers.
- Prep and Cook Time
- Yield and Difficulty
- Ingredients
- Instructions
- 1. Combine dry ingredients
- 2. Cut in the fats
- 3. Add liquids carefully
- 4. Turn out and fold for layers
- 5. Cut and arrange
- 6. Bake
- The Role of Fat Types and Cutting Techniques in Biscuit Texture
- How Hydration Levels Influence Tenderness and Flakiness
- Balancing Gluten Development for Optimal Fluffy Layers
- Baking Temperatures and Timing for Perfect Crusts
- Chef’s Notes: Practical Tips
- Serving Suggestions
- Nutritional Snapshot
- Further Reading and Internal Resources
- Key Scientific Concepts
- Q&A
- Control fat size to choose flakiness or tenderness.
- Measure hydration precisely for consistent crumb and lift.
- Use cold ingredients and high initial oven heat for layered rise.
- Limit mixing to avoid excess gluten and toughness.
Prep and Cook Time
Prep: 15 minutes. Keep tools ready and fats chilled to save time and preserve structure.
Cook: 12–15 minutes at 425°F (220°C). A hot oven creates quick steam and sets crust for a golden finish.
Yield and Difficulty
Makes 10–12 standard biscuits. This yield is reliable for a single-sheet bake and scales predictably.
Difficulty: Medium. The techniques require attention but reward careful practice with repeatable results.
Ingredients
Use standard pantry ingredients, but choose types with intent. For example, butter gives flavor and steam; shortening gives tenderness by limiting gluten formation.
Below are the tested quantities for a balanced tender-flaky biscuit base.
- 2 cups all-purpose flour, sifted
- 1 tablespoon baking powder, fresh and active (baking powder chemistry matters)
- 1 teaspoon fine sea salt
- 6 tablespoons cold unsalted butter, cubed (for flakiness)
- 3 tablespoons cold vegetable shortening, cubed (optional for tenderness)
- 1 cup whole milk or buttermilk, chilled (buttermilk adds acidity and tenderness)
- 1 teaspoon sugar, optional
Instructions
Follow the sequence of steps precisely. Each step controls a single variable—fat distribution, gluten alignment, moisture balance, or heat exposure.
Work quickly while keeping the dough cold; short handling preserves both tenderness and lift.
1. Combine dry ingredients
Whisk flour, baking powder, and salt in a large bowl. This distributes leavening so biscuits rise evenly.
Use a fine-mesh sieve if you want a lighter texture; sifting reduces lumps and aerates the flour.
2. Cut in the fats
Drop cold butter and shortening into the flour and work until the mixture resembles coarse peas. Leave some larger pieces for flaky pockets.
If you want more tenderness, cut the fats smaller; for more visible layers, keep larger pea-sized pieces intact.
3. Add liquids carefully
Pour chilled milk or buttermilk gradually and stir with a fork just until the dough holds. The dough should be shaggy and slightly sticky.
Too much mixing or liquid activates gluten and risks toughness. Stop when the dough first comes together.
4. Turn out and fold for layers
Lightly flour a work surface and pat the dough into a 1-inch rectangle. Fold it in half like a letter and repeat 2–3 times for layered lift.
Each fold aligns fat pockets and gluten without excessive development. For tender biscuits, limit folds to one or skip folding.
5. Cut and arrange
Use a sharp, floured cutter and press straight down without twisting. Twisting can seal the edge and impede vertical rise.
Place biscuits close together for taller sides, or spaced apart for crisper edges. Bake immediately after cutting for best results.
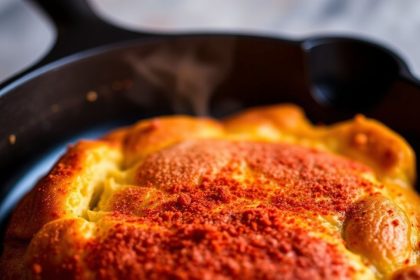
6. Bake
Preheat oven to 425°F (220°C). A high initial temperature generates rapid steam and sets the crust, preserving interior moisture.
Bake 12–15 minutes until golden. Check several minutes early if your oven runs hot; overbaking dries the crumb.
The Role of Fat Types and Cutting Techniques in Biscuit Texture
Fat controls both flavor and physical structure. Butter melts and releases steam to separate layers, while shortening coats proteins and limits gluten network strength.
Cutting technique sets fat particle size. Aim for a mix of small crumbs and pea-sized bits to create both tenderness and flaky separation.
How Hydration Levels Influence Tenderness and Flakiness
Hydration governs dough extensibility and crumb openness. Slightly higher liquid produces softer crumb; too much collapses layers during bake.
Measure liquids by weight where possible. Add them incrementally and judge the dough’s feel—shaggy but not wet.
Balancing Gluten Development for Optimal Fluffy Layers
Gluten forms the structure that traps gases from leaveners. Minimal mixing prevents over-development and keeps biscuits tender.
Folding aligns strands without continuous kneading. For flaky results, allow more folding. For tender results, keep folds minimal.
Baking Temperatures and Timing for Perfect Crusts
A high initial oven temperature gives the best lift by converting water into steam quickly. This creates the internal push that expands layers.
Finish time should be controlled. Pull biscuits when the tops are golden and the bottoms sound slightly hollow when tapped.
Chef’s Notes: Practical Tips
Butter vs. shortening: Use all butter for maximum flavor. Combine butter and shortening for a tender-flaky hybrid.
Keep everything cold: Chill fats, liquids, and metal bowls. Cold fats delay melting and preserve layer structure.
Use a digital scale to reproduce results. Volume measurements vary; weights keep ratios consistent.
If you plan ahead, make-and-cut the dough, then chill the tray for up to 12 hours. Bake directly from chilled for a slightly flakier outcome.
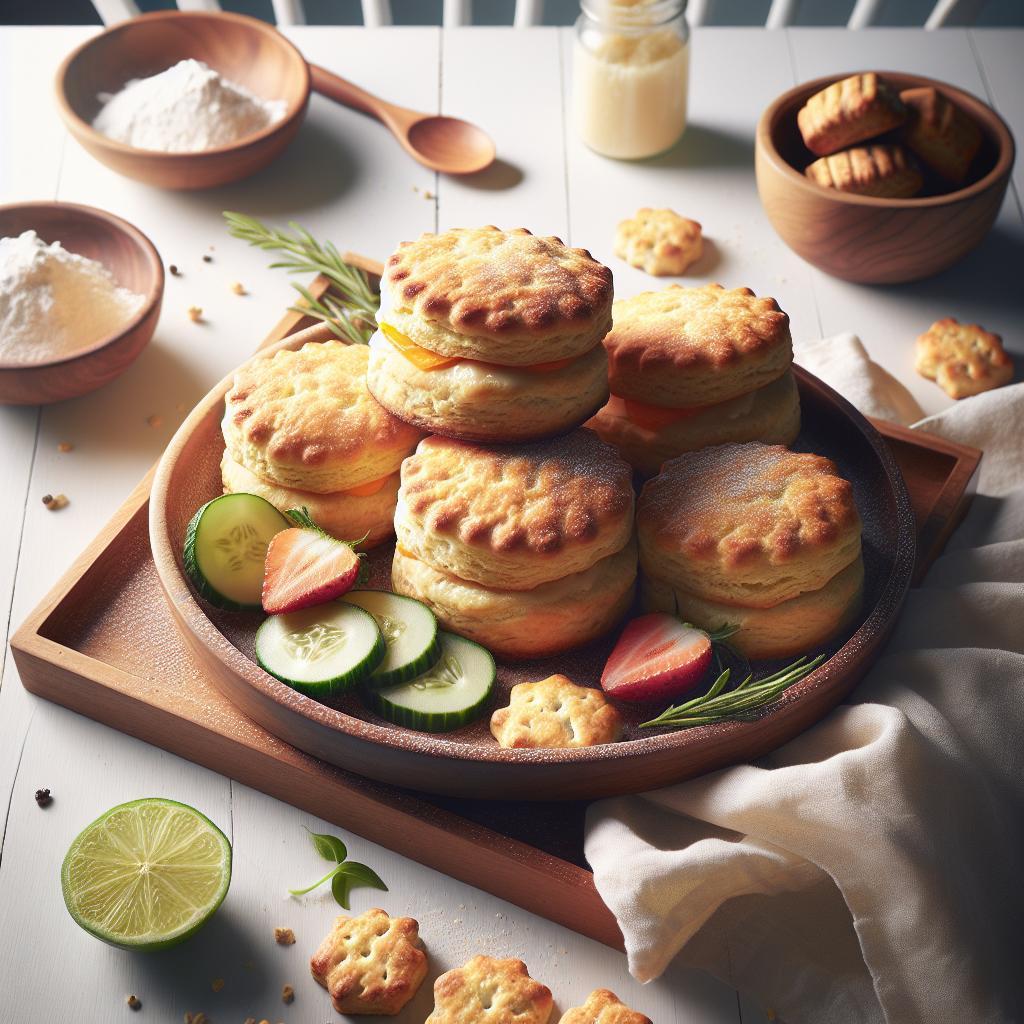
Serving Suggestions
Serve warm for best texture contrast. Buttered tops and a light spread of preserves showcase both tender crumbs and crisp edges.
For savory service, split warm biscuits and ladle hot sausage gravy; for a lighter twist, layer with ripe tomatoes and herbs.
Nutritional Snapshot
Approximate per biscuit: 190 kcal, 4 g protein, 24 g carbs, 8 g fat. Values vary with ingredient substitutions and portion size.
To reduce fat, use part-skim milk and reduce added fat, but be aware this changes texture and shelf life.
Further Reading and Internal Resources
Explore step-by-step tips in our Biscuit Baking Tips guide for technique photos and troubleshooting.
Compare fat choices in our detailed Butter vs Shortening Guide to decide on flavor and texture trade-offs.
Key Scientific Concepts
Understand the ingredients at a molecular level. Gluten protein formation and steam expansion are the physical drivers of rise and texture.
Read more about these fundamentals via authoritative summaries, such as gluten structure and the action of chemical leaveners for context.

Q&A
What is the main difference between tender and flaky biscuits?
Texture stems from fat distribution and handling. Tender biscuits have fat more fully integrated to limit gluten; flaky biscuits keep fat in pockets to create steam-driven layers.
How cold should ingredients be?
Fats should be as cold as possible without freezing—firm but workable. Liquids cold from the fridge help keep the dough temperature down during mixing.
Can I make both styles from the same recipe?
Yes. Adjust fat particle size and folding. Reduce folds and cut fats smaller for tender biscuits; increase pea-sized pieces and folds for flaky layers.
Why does folding help flakiness?
Folding creates thin fat layers separated by dough. During baking, steam expands these fat-rich interfaces, producing visible separation and crisp layers.
How do I store leftovers?
Cool completely, then store in an airtight container at room temperature for 1–2 days. For longer storage, freeze wrapped biscuits and reheat in a hot oven to refresh texture.
Mastering biscuits means making measured choices about ingredients and technique, then repeating those choices reliably. Use the sensing touch—cold, tack, and lift—to judge each stage, and your results will improve predictably.
See also: biscuits


