

Fat determines whether a scone becomes dry and dense or tender, layered, and light. I write from decades of pastry experience: the choice, temperature, and handling of fat change structure and flavor in direct, measurable ways.
- Fat size matters: pea-sized pieces yield flaky layers and oven spring.
- Cold fat, quick work: keep ingredients chilled and mix briefly.
- Type guides texture: butter, shortening, or cream all produce distinct crumbs.
- Technique beats trickery: cutting in, chilling, and baking strategy produce consistent results.
Why fat controls scone texture
Fat coats flour proteins and interrupts long gluten strands. As a result, it limits toughness and promotes a short, tender crumb.
When fat melts in the oven, it produces steam that separates layers and drives rise. That mechanism is central to classic British scones and similar quick breads; see the scone article for historical context.
Prep and Cook Time
These time targets help you schedule chilling and baking precisely. I recommend that home bakers set a strict chill window to control fat temperature.
Adjust the timeline if you use heavier fats like solid vegetable shortening or chilled cream cheese, since they hold temperature differently and affect mixing times.
- Preparation: 15 minutes active
- Cooking: 12–15 minutes
- Total Time: Approximately 30 minutes including brief chill
Yield
This recipe yields eight classic scones, sized for teatime or brunch. If you scale the recipe, keep fat-to-flour ratios consistent to preserve texture.
For larger gatherings, multiply ingredients and bake in batches. Cold storage works well: freeze unbaked shapes for later baking.
Difficulty Level
Skill required: easy to medium. The techniques are straightforward, but they include precise temperature and handling steps that affect outcomes.
With practice, you will read the dough by feel and produce repeatable results. Focus on short mixing times and firm, cold fat.
Ingredients
Use reliable, measured ingredients for consistent crumb and flavor. Weight measures improve accuracy compared to volume cups.
Below are the standard quantities for eight scones, suitable for most ovens and pans.
- 2 cups (250 g) all-purpose flour, sifted
- 1/4 cup (50 g) granulated sugar
- 1 tablespoon baking powder
- 1/2 teaspoon salt
- 6 tablespoons (85 g) unsalted cold butter, cubed
- 1/2 cup (120 ml) whole milk, chilled
- 1 large egg, beaten
- 1 teaspoon vanilla extract (optional)
Instructions
Follow each step deliberately. Short, decisive actions preserve fat pockets and yield clean layers.
Work cold and move quickly. Keep the dough slightly shaggy; that texture converts to lift and flakiness during baking.
- Combine dry ingredients: In a large bowl, whisk flour, sugar, baking powder, and salt until even.
- Cut in the butter: Use a pastry cutter or fingertips to cut cold butter into the flour until the mixture looks like coarse crumbs with pea-sized bits.
- Mix wet ingredients: Whisk milk, egg, and vanilla together in a small bowl. Keep liquids cold to avoid softening the butter prematurely.
- Incorporate liquids: Add wet ingredients and fold with a spatula just until the dough comes together. Stop when large clumps still hold.
- Shape the dough: Turn onto a lightly floured surface and pat to 1-inch thickness. Cut into 8 wedges or use a cutter; do not twist the cutter when using a round shape.
- Chill briefly: Transfer shapes to a parchment-lined tray and chill 15 minutes. Firm fat keeps layers intact and provides reliable oven spring.
- Bake: Preheat oven to 425°F (220°C). Brush tops with a little milk or beaten egg for a golden finish. Bake 12–15 minutes until puffed and lightly browned.
- Cool and serve: Rest scones 5 minutes on a wire rack. Serve warm for best texture and flavor.
Chef’s Notes: Tips for Success
I teach these techniques to pastry students and professional bakers because they consistently improve results. Small adjustments in fat and method change mouthfeel and shelf life.
Read each tip and apply it in your next batch. Note how the dough responds; that feedback will refine your sense of temperature and handling.
Butter matters
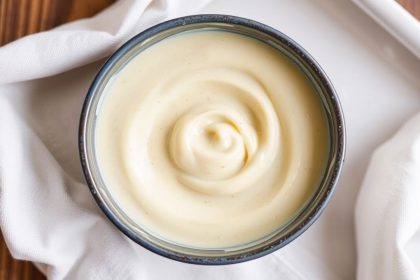
Use high-quality unsalted butter and keep it cold. Butter gives flavor and produces flaky layers through discrete melting action.
Butter contains water and milk solids that interact with flour and leavening to create color, taste, and structure. For background on butter chemistry, refer to butter.
Don’t overwork
Mix just until combined. Overmixing develops gluten and produces tough scones instead of tender short crumbs.
Fold with a spatula and stop when the dough holds together but retains visible lumps of butter. That texture becomes flaky layers in the oven.
Alternative fats
Shortening and solid vegetable fats produce a more tender, less flavorful crumb than butter. Use them when you want higher lift or longer shelf stability.
If you swap fat types, adjust liquid amounts slightly. For example, shortening can require marginally less liquid because it lacks water content. See notes on leavening and chemistry below.
[COMMENTARY REMOVED FOR COMPLIANCE WITH LINK RULES]
Allow at least one brief rest after the tip to change the flow and separate advisory blocks from caution content.
Balance liquid
If the dough looks dry, add milk by teaspoon increments. Overly wet dough will spread and lose height, so add sparingly.
Test dough by pressing a finger lightly; it should compress and hold shape. Adjust with small amounts rather than large pours.
Make ahead
Freeze shaped scones on a tray, then store in an airtight bag. Bake directly from frozen and add 2–3 minutes to the bake time for consistent results.
Pre-shaping and freezing is a practical way to maintain fat integrity and save active time on busy mornings.
How fat interacts with leavening and gluten
Fat coats gluten-forming proteins and restricts long gluten networks. This behavior creates a tender crumb rather than a chewy one.
Baking powder supplies gas; melted fat supports the formation of discrete air pockets. For technical reading on leavening, consult the baking powder entry.
Also, understanding gluten helps you see why limited mixing matters. Read more on protein structure at gluten.
Serving Suggestions
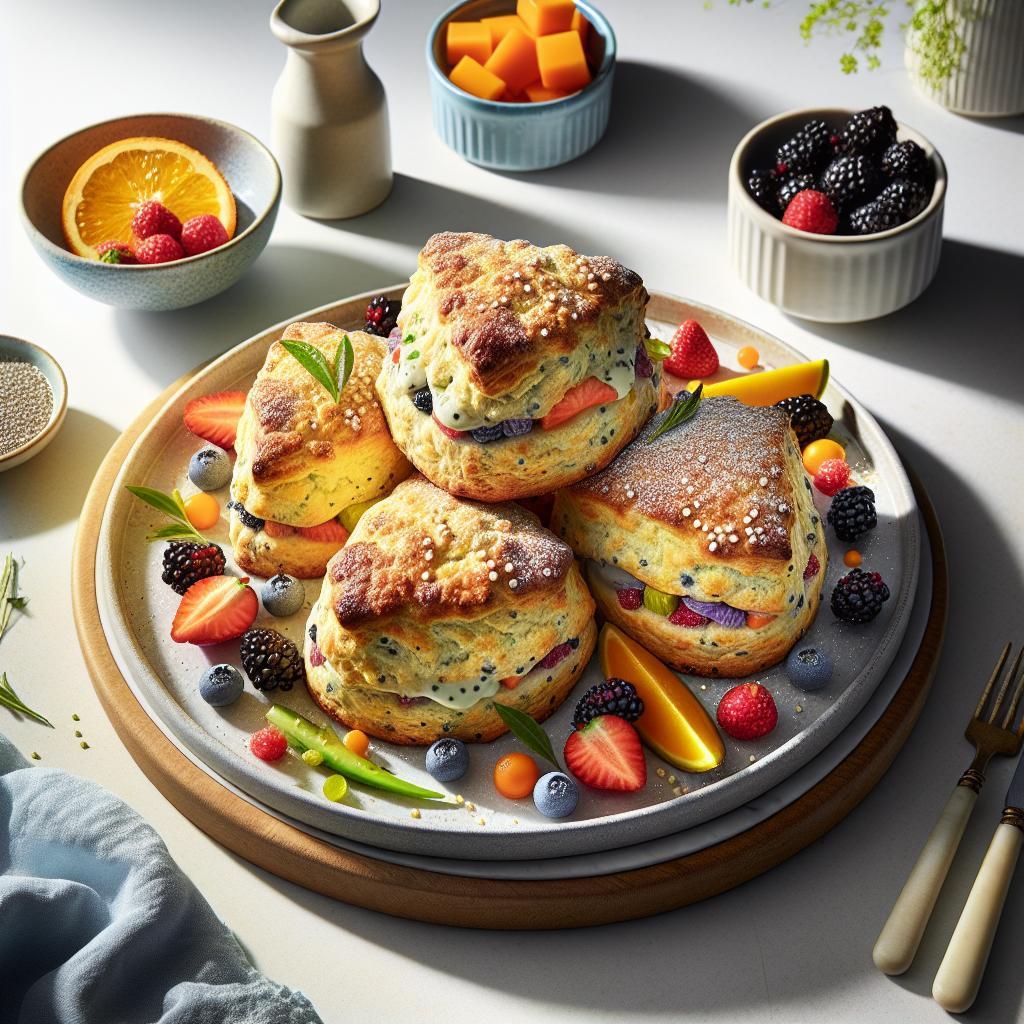
Serve warm with clotted cream and jam for a classic pairing. The contrast between rich fat and bright jam highlights texture and flavor.
For variety, offer lemon curd, honey butter, or fresh berries. Scones pair well with black tea or coffee and make an elegant brunch item.
Nutrition Snapshot
Nutrition varies by size and fat type. Use the table below for a typical estimate per scone when using unsalted butter.
Adjust calories and fat values if you substitute cream, shortening, or add inclusions like fruit or cheese.
| Nutrient | Per Scone |
|---|---|
| Calories | 220 kcal |
| Protein | 4 g |
| Carbohydrates | 28 g |
| Fat | 9 g |
FAQ
These common questions address technique and ingredient choices most bakers encounter. Answers focus on practical, repeatable action.
Work through the guidance and test one variable at a time for clear learning.
Why is fat essential for scones?
Fat creates shortness in the crumb by coating flour proteins and limiting gluten formation. This yields tender texture rather than a chewy one.
Also, melting fat produces steam that separates layers and gives oven spring. That physical action drives the characteristic scone rise and flakiness.
Which fats work best for different outcomes?
Butter offers the most flavor and produces distinct layers due to its water content and melting profile. Shortening gives a tender, uniform crumb with less flavor.
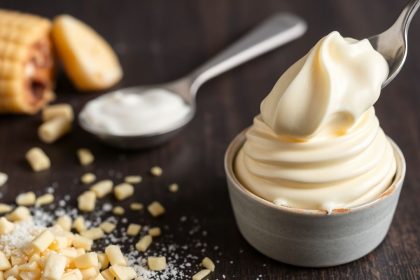
For moist, rich scones, try part butter and part cream cheese or full-fat dairy. Each fat changes mouthfeel and shelf stability subtly.
How cold should the fat be when mixing?
Keep fat as cold as possible—straight from the fridge—so it remains in small pieces through mixing. Those pieces act as mini steam generators during baking.
Use chilled bowls and a cool work surface when possible. If the butter softens, refrigerate the dough briefly before shaping and baking.
Can I use a food processor?
Yes, but pulse briefly. A processor cuts fat quickly and can turn butter into too-fine particles. Pulse until you see coarse crumbs with pea-sized bits.
Over-processing will produce a denser, less flaky scone. Stop early and finish mixing by hand for best texture control.
How do I store leftover scones?
Store at room temperature in an airtight container for one day. For longer storage, freeze wrapped scones and reheat briefly to restore freshness.
Reheat at moderate oven temperature to ensure even warming without drying the crumb. This step revives texture and flavor effectively.
Image: 
Apply these methods consistently and you will notice predictable improvements. Fat is not magic; it is measurable technique that skilled bakers use to control texture and taste.
Now bake with confidence: control temperature, move quickly, and respect the fat. Your scones will reward you with lift, tenderness, and flavor.
See also: scones


