

Cooking by the Book: Precision Cooking Method for Recipes
Precision cooking treats each recipe as a reproducible experiment: measure inputs, control one variable at a time, and log outcomes so you can repeat success across cooks and teams.
- Why precision cooking improves recipes
- Core benefits of precision cooking
- Prep and Cook Time with precision cooking in mind
- Yield and portion control for repeatability
- Difficulty level and who should use precision cooking
- Ingredients: standardize for control
- Precision cooking instructions: a controlled sequence
- 1. Combine dry ingredients
- 2. Blend wet ingredients
- 3. Incorporate and rest
- 4. Heat management and cooking
- Measurement, logging, and quality control in precision cooking
- Common troubleshooting with precision cooking
- Serving and presentation testing
- Relevant food science links
- Nutritional snapshot and lab records
- FAQ
- What is precision cooking?
- How do I start testing if I’m a beginner?
- Which tools are essential for precision cooking?
- How does the scientific method fit into kitchen practice?
- Where can I read more about the concepts in this article?
- Final notes
- At a glance: Use weight, time, and temperature as primary controls for repeatability.
- One-variable tests: Change only one element per run to isolate cause and effect.
- Short logs: Date, change, weight, temp, and a two-word sensory tag speed learning.
Why precision cooking improves recipes
Precision cooking converts intuition into quantifiable results. You form a hypothesis, run a controlled trial, measure outcomes, and refine the procedure to reduce variance.
Practitioners in test kitchens use the same cycle to scale recipes and maintain consistency across shifts. For foundation reading, review the scientific method to align kitchen testing with proven experimental steps.
Core benefits of precision cooking
When you adopt precision cooking, you lower waste and accelerate mastery. Controlled testing shortens the learning curve and builds a clear link between input and result.
Consistent metrics let you hand a recipe to another cook and expect similar results. Use concise records to prevent repeated mistakes and to compare batches objectively.
Prep and Cook Time with precision cooking in mind
Preparation: 15 minutes | Cooking: 30 minutes | Total: 45 minutes. These estimates assume a single-cook workflow and room-temperature ingredients.
Allow extra time when testing—accurate weighing, logging, and temperature checks add minutes but save dozens of failed runs. Note ambient conditions; they influence hydration and rise.
Yield and portion control for repeatability
Standardize portion size to isolate other variables. For the pancake example, keeping 1/4-cup portions ensures batter distribution and cook time remain consistent between tests.
Record exact yield by weight as well as count. Slight yield shifts can indicate absorption changes, ingredient drift, or measurement error that affect texture and final appearance.
Difficulty level and who should use precision cooking
Difficulty: Medium. Precision cooking requires basic knife skills and comfort with scales, timers, and thermometers. It rewards attention to detail rather than advanced technique.
Beginners should adopt one rule at a time: weigh flour first, then log rise times, then control heat. Each small step builds reproducible habits and reliable outcomes.
Ingredients: standardize for control
Use fresh leavening agents and measure solids by weight for true reproducibility. Weighing eliminates the up to 20% variance introduced by inconsistent volume measures.
Keep a master list of ingredient weights and note brand or batch when you experiment. Flour protein and moisture vary by season; record that detail to understand hydration changes over time.
Precision cooking instructions: a controlled sequence
Follow the sequence: prepare, combine, rest, heat, observe. For each run, change only one variable—temperature, time, or proportion—to attribute outcomes to that change.
Write a concise hypothesis before each test: what you will change, why, and how you expect the result to differ. That clarity makes analysis faster and decision-making objective.
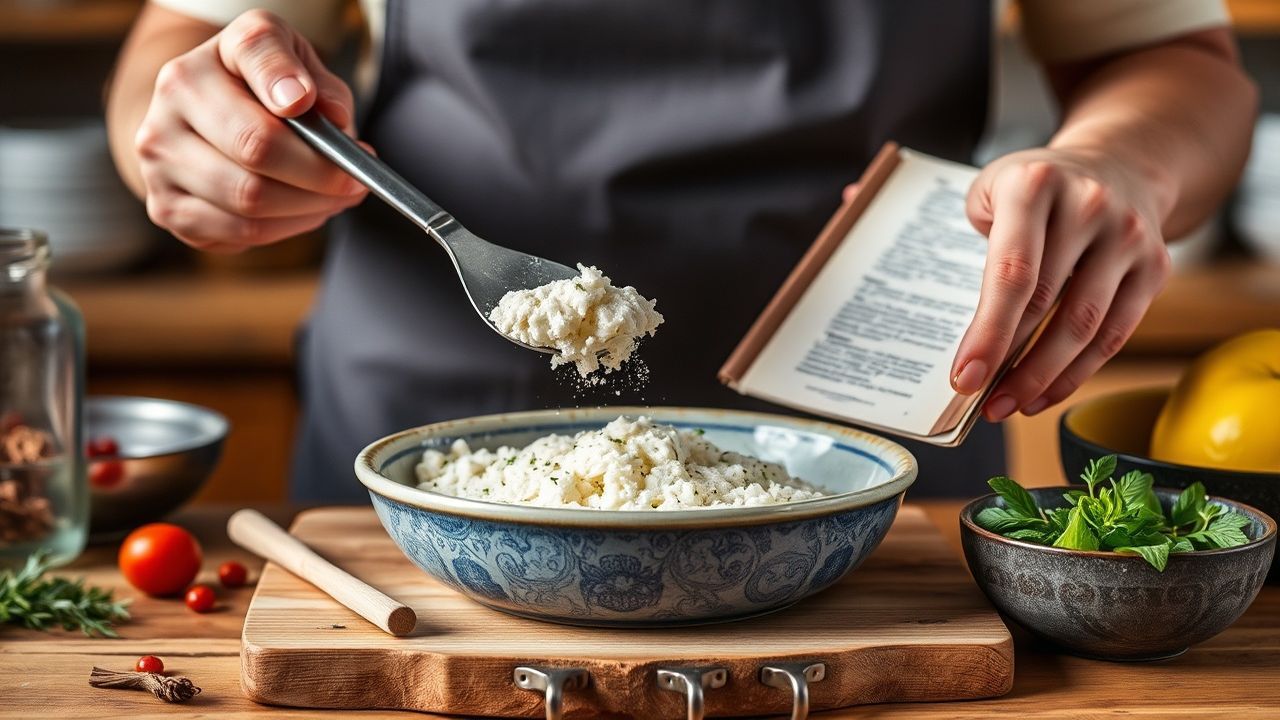
1. Combine dry ingredients
Whisk flour, leavening, and salt until homogeneous. Even distribution of leavening prevents local over-rise or flat spots in the final product.
When testing, weigh the baking powder and use a fresh container; expired leavening skews results. Log batch codes and manufacturing dates if available.
2. Blend wet ingredients
Whisk butter, milk, egg, and any sweetener until uniform. Room-temperature liquids integrate more consistently and reduce uneven gluten development.
If you change the fat or milk, substitute only that ingredient and keep everything else identical. Record both objective measures and a short sensory tag after cooking.
3. Incorporate and rest
Fold wet into dry until just combined; stop when no large lumps remain. Overmixing develops gluten, which tightens crumb and increases density.
Let batter rest for five minutes for full hydration. Rest time alters tenderness and surface formation when heat is applied, so log the exact rest length for each run.
4. Heat management and cooking
Preheat your skillet and maintain consistent pan temperature. Use a probe thermometer or a small batter test drop to calibrate and keep records of pan temperature during each batch.
Cook set portions for a fixed time; flip when bubbles appear and edges set. Track pan temperature, flip point, and time; small deviations affect color, texture, and moisture retention.
Measurement, logging, and quality control in precision cooking
Use a digital scale for solids and a probe thermometer for internal temperatures. These instruments turn qualitative guesses into repeatable numbers you can analyze.
Adopt a short log format: date, variable changed, weights, temperatures, and a 1–3 word sensory tag (for example: “fluffy, slightly gummy”). This format keeps iteration fast and usable.
Run a standard control batch regularly to anchor your data. The control batch serves as the baseline against which all tweaks compare and speeds diagnosis of drifting results.
Common troubleshooting with precision cooking
Flat products usually trace to expired leavening, overmixing, or dense packing of flour. Confirm freshness, weigh precisely, and test one fix at a time to isolate the true cause.
Gummy interiors often indicate undercooking or excess hydration. Verify pan temperature, cook time, and ingredient weights against your control batch to find the mismatch.
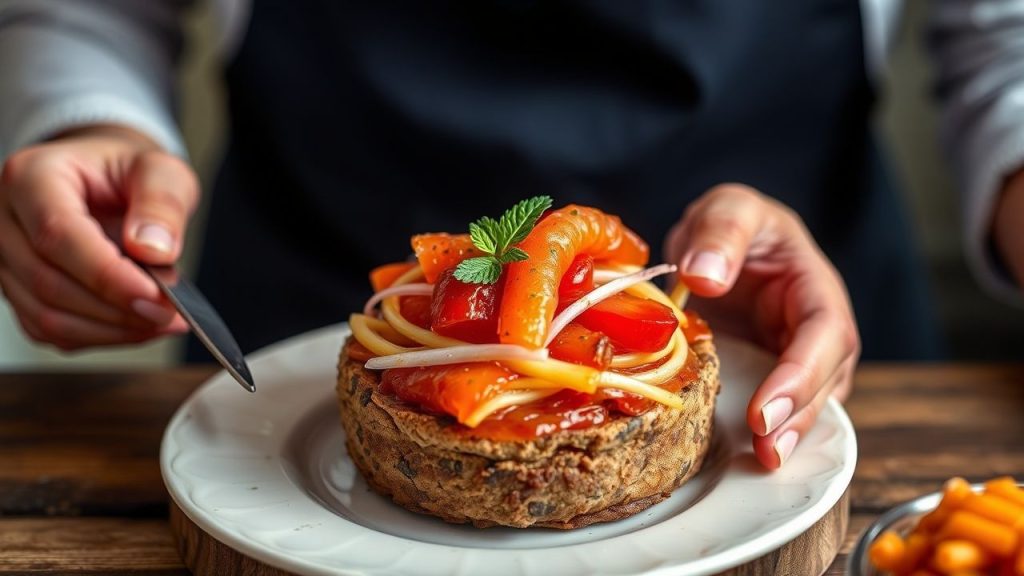
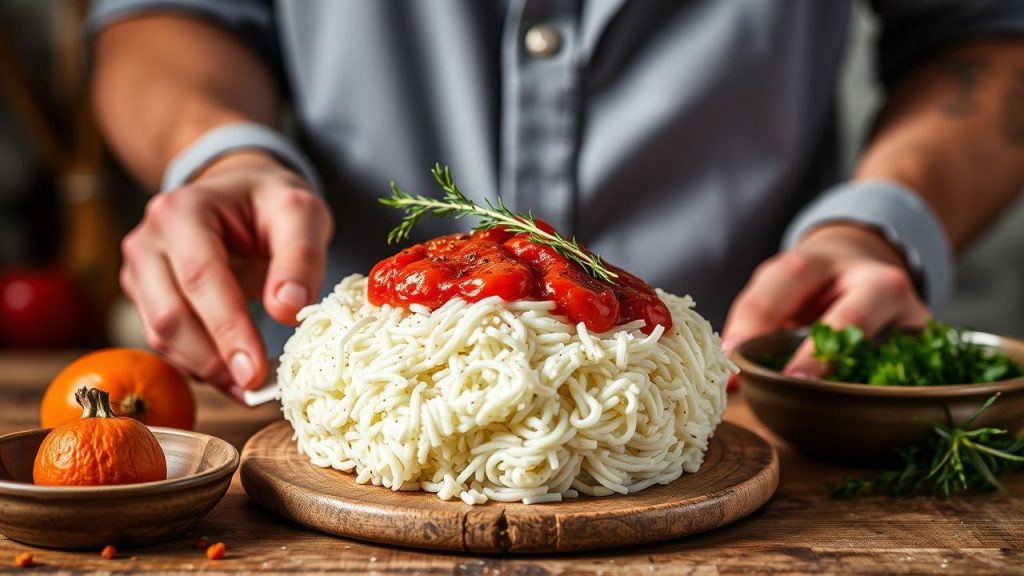
Serving and presentation testing
Texture contrasts improve perceived quality: crisp edges paired with a tender interior score higher in taste tests. Use consistent plating and lighting for comparison photos.
Photograph each plate from the same distance and angle and file images with your log. Visual records paired with sensory notes accelerate memory and sharpen decisions across iterations.
Relevant food science links
To understand the underlying mechanisms you test, review food chemistry basics. The food chemistry overview explains starch gelatinization and protein coagulation.
For baking-specific phenomena, consult the general baking page. It clarifies how heat transforms starches and proteins and why timing and temperature matter.
Nutritional snapshot and lab records
Track per-serving estimates for portion control and menu labeling. Record calories and macronutrients in your log so you can match sensory outcomes to nutrition targets.
Use a simple spreadsheet or lab notebook to join weights, photos, and sensory tags in one place. Over time, these records build a robust database for recipe scaling and menu engineering.
| Nutrient | Per Serving |
|---|---|
| Calories | 220 |
| Protein | 6g |
| Carbohydrates | 28g |
| Fat | 8g |
For context on cooking methods, the general cooking page covers basic techniques that interact with your precision tests.
FAQ
What is precision cooking?
Precision cooking is a method that treats recipes as controlled experiments. It uses measurement, single-variable testing, and concise logs to make results repeatable.
By recording exact weights, temperatures, and times, cooks reduce variance and can replicate outcomes across teams and kitchens.
How do I start testing if I’m a beginner?
Start with a control batch and change only one factor on the next run. For example, weigh flour for the control, then on the second batch change only the resting time.
Keep notes short and consistent; three fields—what changed, the numeric value, and a short sensory tag—suffice for rapid learning.
Which tools are essential for precision cooking?
Core tools include a digital kitchen scale, probe thermometer, and a stopwatch. These give objective measures that replace guesswork.
Advanced teams may add humidity sensors and camera documentation, but the basic tools eliminate most variance drivers for home and professional cooks alike.
How does the scientific method fit into kitchen practice?
Use the scientific method to form a clear hypothesis about what will change when you adjust an ingredient or step. Then test, measure, and adjust based on data.
This structured approach turns subjective judgments into objective improvements and shortens the path from a good recipe to a reliable one.
Where can I read more about the concepts in this article?
Start with the Wikipedia pages linked above: the scientific method, food chemistry, and baking overviews provide solid theoretical background for kitchen experiments.
Combine that reading with disciplined, single-variable tests. Over time, your logs will form a practical manual specific to your ingredients and equipment.
Final notes
Adopting precision cooking raises the reliability of any recipe. Keep experiments simple, change one factor at a time, and record concise results to convert intuition into predictable, repeatable food.
Over successive runs you reduce variance and improve quality. The discipline of measurement and logging pays back in fewer failed batches and more consistent dishes across cooks.
See also: precision cooking tag and internal guides for templates and worksheet downloads.
See also: precision cooking

