

Detecting hot spots in a fondue pot keeps melts smooth and prevents burnt patches that ruin texture and flavor. This guide gives proven, hands-on tests you can run with household tools to map heat precisely.
- Map heat visually before cooking to avoid scorch points.
- Use thermometry at multiple points for repeatable results.
- Adjust the heat source and repeat tests until readings stabilize.
Prep and Cook Time
Preparation: 10 minutes. Gather tools and pick the heat source you normally use to get realistic data.
Testing and Monitoring: 20 minutes. Run multiple short tests and record readings to spot patterns instead of single anomalies.
Yield and Difficulty
This procedure suits a single fondue pot and supports 4–6 servings when used as part of normal meal prep. Testing does not change your recipe; it only ensures even heating during service.
Difficulty is medium because accurate mapping needs patience and consistent measurement. Anyone comfortable with a probe thermometer and basic kitchen safety can perform these checks.
Ingredients and Tools
Use common items: a digital probe thermometer, small drops of vegetable oil, aluminum foil strips, and optionally thermochromic paint or liquid for visual mapping. These let you observe surface behavior and measure temperature gradients.
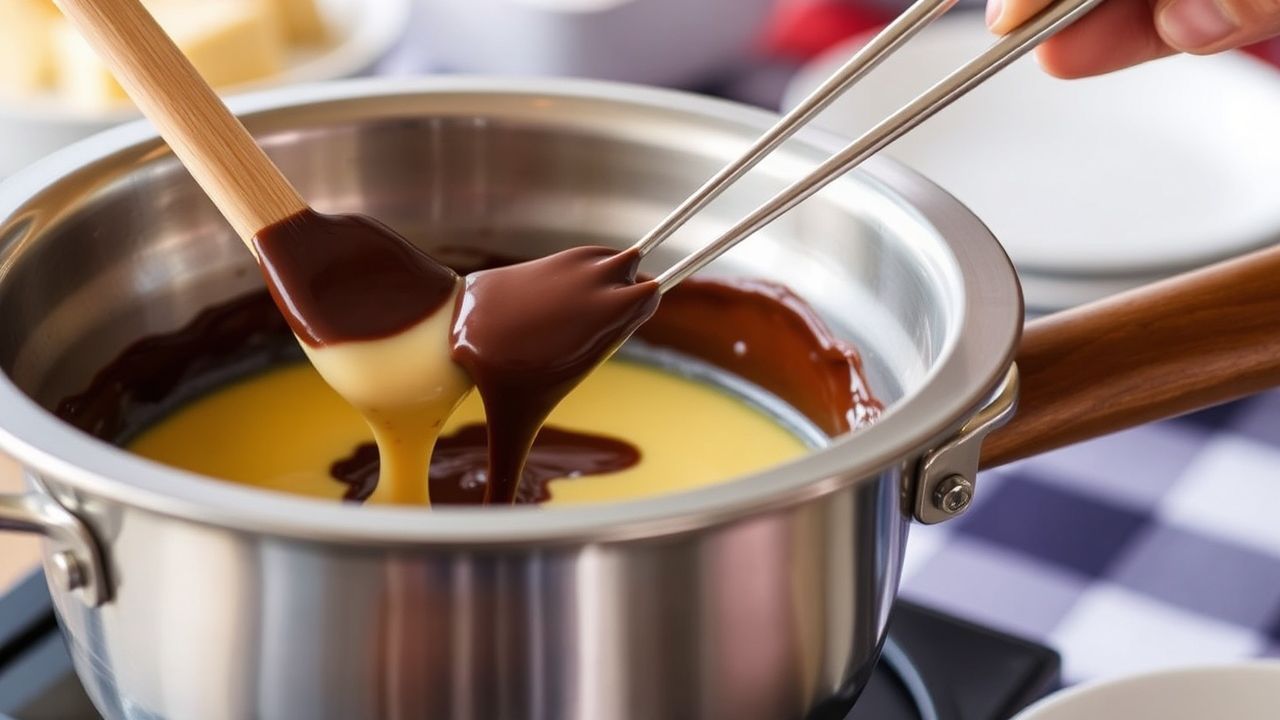
Choose a test medium such as 2 cups of water to simulate fondue fluid without wasting ingredients. Water prevents immediate burning and transmits heat in the same way cheese or chocolate does, giving useful comparative results.
Instructions
Run the sequence slowly and repeat each subtest once or twice to confirm findings. Keep notes and label any consistent hot zones on the pot rim or base.
Work with the same heat source settings you will use for service to ensure test results translate to real cooking conditions. Small changes in flame or electric setting create large differences in hotspot behavior.
Set up and baseline
Place the cleaned fondue pot on your usual heat source and add 2 cups of room-temperature water to cover the bottom. Insert a digital probe in the center and wait for the readout to reach a steady baseline for five minutes.
Record the center temperature and then place the probe 1–2 cm from the side to capture an edge reading. Repeat at opposite edges to build a simple thermal map of the pot interior.
Visual mapping methods
Scatter a few small drops of vegetable oil across the water surface and watch where the oil drifts; oil moves toward warmer areas and reveals circulation patterns. Oil tests are nondestructive and fast, useful for spotting lateral heat flow toward a hotspot.
For clearer visual cues, lay small strips of aluminum foil flat on the cooled interior before reheating; brighter discoloration or faster darkening indicates hotter zones. This method produces durable marks you can reference in future sessions.
Thermometric mapping
Probe temperatures at the center, mid-radius, and edge every five minutes during a controlled heat cycle. Log the data and look for consistent deltas greater than 5–8 °C, which usually indicate meaningful hotspots that affect melting.
If you use thermochromic paint or liquid for a heat map, apply it in thin sections and watch for color shifts during heating. Thermochromism gives immediate, high-resolution feedback on temperature differences across the interior surface; refer to the chemistry at thermochromism for how color change correlates to temperature.
Recording and adjustment
Log times, set points, and locations in a simple table so you can repeat tests and compare results. Consistent documentation turns one-off checks into a maintenance plan you can follow before each service.
When hotspots appear, try a diffuser plate, lower the heat setting, or shift the pot slightly on the burner and retest. For electric bases, change power settings incrementally and rerun mapping until readings converge within an acceptable band.
Tips for Success
Test in short intervals and avoid long continuous runs during the diagnostic phase to prevent accidental scorching. Short cycles expose transient hotspots and let you adjust faster without wasting ingredients.
Keep a small notebook for repeated checks and add dates so you can track changes after seasoning or maintenance work. Repeated tests after cleaning or seasoning confirm whether adjustments had the intended effect.
Maintenance and Safety
Maintain pot surfaces through proper cleaning and recommended seasoning routines to avoid residue that alters heat transfer. Residue and build-up act as insulators and can produce false hotspot patterns over time.
Use a silicone mat under fuel burners and stabilize the pot on the heat source to prevent tipping and uneven contact. Stable, repeatable positioning reduces the chance of localized overheating caused by gaps or angular contact.
Serving Suggestions
Once you achieve even heating, use that stability to focus on texture control and timing during service. Consistent thermal behavior lets you keep cheese or chocolate at ideal viscosity without frequent stirring.
Pair your fondue with a curated set of dippers so guests can enjoy variety without crowding the pot. Overloading the pot can change thermal balance quickly, so serve in batches if you expect heavy traffic.
Pot Types and Heat Behavior
Different materials heat and hold temperature in distinct ways; consult material properties when choosing mitigation strategies. For an overview of the dish and its history, see fondue.
Cast iron retains and spreads heat more evenly once hot, while thin-wall stainless steel can develop hotspots faster due to lower thermal mass. For more on cast-iron behavior, read cast-iron insights and consider a heavier base to smooth peaks.
Thermal conduction and convection within the pot drive hotspot patterns; understanding basic heat transfer helps you select tests and interpret results. See heat transfer for the governing principles that predict how energy moves through fluids and solids.
Internal Resources
For related upkeep steps, consult our internal guide on kitchen tool care. That page outlines cleaning, seasoning, and storage practices that influence heating behavior.
To align testing with everyday cooking, review our basic fondue techniques before guests arrive so you test under real service conditions. Internal consistency between tests and service yields reliable results.
FAQ
What are hot spots and how do they form?
Hot spots are localized areas of higher temperature inside the pot where energy concentrates. They form from uneven contact with the heat source, variable wall thickness, or insulating build-up on the interior surface.
Which quick test is most reliable without special tools?
The oil drift test plus a shallow water boil gives fast, nondestructive feedback and highlights circulation and point heating. Combine that with foil strips to create a durable visual record.
Can seasoning or cleaning change hotspot patterns?
Yes, surface condition affects heat transfer significantly. Proper cleaning and seasoning remove insulating residue and improve thermal contact, often reducing apparent hotspots.
When should I use a diffuser plate?
Use a diffuser plate when persistent hotspots appear along one side or when using thin-walled pots on high-intensity burners. A diffuser spreads flame or element heat more evenly across the pot base.
How often should I retest my pot?
Run a quick check after any major cleaning, after long storage, or before important service events. Regular spot-checks keep your heat profile predictable and prevent surprises during service.
Applying these methods turns hotspot detection from guesswork into a routine check that fits into normal prep. Use measured tests, document results, and adjust heat sources until thermal readings match the ideal profile for smooth, consistent fondue.
See also: fondue pot


