


Beneath the humble surface of dough lies a world of science and artistry waiting to be discovered. For bakers, both novice and expert, mastering the texture of dough is like unlocking a secret code – and at the heart of this mystery is the gluten windowpane test. This simple yet revealing technique lets you peek into the dough’s inner strength, revealing whether the gluten has developed enough to create that perfect, airy crumb or if it still needs a little more love and kneading. Join us as we unravel the gluten windowpane test, transforming what seems like kitchen wizardry into a clear, step-by-step guide that will elevate your baking from good to unforgettable.
- Prep and Cook Time
- Yield
- Difficulty Level
- Ingredients for Mastering the Windowpane Test
- Step-by-Step Instructions to Perform the Windowpane Test with Precision
- Interpreting Results and Adjusting Dough for Perfect Texture
- Expert Tips to Master Gluten Strength for Artisan Baking Success
- Serving Suggestions
- Q&A
- Wrapping Up
Unlocking Dough Secrets: The Gluten Windowpane Test Explained opens a fascinating gateway into mastering the art and science of gluten development – the crucial element behind supple, elastic doughs that yield artisan breads with perfect crumb and crust. Whether you’re a home baker or a seasoned professional, understanding how gluten forms and behaves is essential to transforming simple flour and water into culinary magic. Today, we dive deeply into the windowpane test-a tried-and-true tactile method that reveals the very strength and maturity of your dough’s gluten network.
Prep and Cook Time
- Prep Time: 10 minutes
- Resting/Proofing Time: Varies depending on recipe (typically 1-2 hours)
- Total Time: Approximately 2 hours (including resting)
Yield
- Enough dough to test and bake 1 artisan loaf (approx. 700g dough)
Difficulty Level
- Medium – Requires practice to perfect feel, tension, and gluten strength interpretation
Ingredients for Mastering the Windowpane Test
- 500g bread flour (high-protein, preferably 12-14%)
- 320g water (lukewarm, about 25-30°C / 77-86°F)
- 10g salt (fine sea salt)
- 7g active dry yeast or instant yeast
Step-by-Step Instructions to Perform the Windowpane Test with Precision
- Mix the dough: In a large bowl, combine the bread flour and yeast. Pour in water gradually while stirring with a wooden spoon or your hand until all flour is moistened.
- Initial kneading: Turn the dough onto a lightly floured surface and knead using the heel of your palm in a rhythmic push-fold-turn method for 8-10 minutes to develop gluten strands.
- Pause and rest: Let the dough rest covered for 10 minutes to relax and hydrate fully-this rest enhances gluten extensibility.
- Add salt and finish kneading: Sprinkle salt evenly and knead for another 5 minutes to combine and strengthen the gluten network.
- First windowpane check: Pinch off a small piece of dough (about the size of a golf ball). Gently stretch it between your fingers, forming a thin membrane. Hold it up to the light-the “windowpane.” If it stretches thinly without tearing easily, your gluten is developing well. If it tears or feels brittle, continue kneading and resting as needed.
- Bulk fermentation: Place the dough in a lightly oiled bowl, cover with plastic wrap or a damp towel, and allow to rise until doubled (about 1-2 hours depending on temperature).
- Final gluten test: Perform the windowpane test again after bulk fermentation to assess gluten maturity. A strong, translucent membrane indicates readiness for shaping.
Interpreting Results and Adjusting Dough for Perfect Texture
When stretching the dough during the windowpane test, the elasticity and translucency tell the story of its gluten strength. If the dough tears quickly or feels stiff, it may be under-kneaded or too dry-add a splash of water and knead gently more. If the dough passes easily, but feels slack and weak, it may have been overworked or needs more resting time. Each dough type reacts differently based on flour protein content, hydration levels, and ambient temperature, so honing your touch is key. Aim for a dough that stretches to a nearly transparent membrane without breaking, signaling robustness and ideal gluten alignment.
Expert Tips to Master Gluten Strength for Artisan Baking Success
- Use high-protein bread flour to ensure a strong gluten matrix essential for artisan loaves with open crumb.
- Hydrate gradually: Adjust water absorption based on your flour type-hard wheat may need slightly more water to loosen gluten development.
- Rest periods are vital: Allow the dough to rest between kneading cycles; this aids gluten relaxation and extensibility.
- Don’t rush the windowpane test: Gentle handling prevents rupturing the gluten prematurely.
- Temperature control: Warmer doughs develop gluten faster; cooler doughs require more kneading time but yield better flavor.
- Visual and tactile cues matter: Trust the feel of your dough over strictly timing; “listening” to your dough is an artisan’s secret weapon.
- Practice regularly: The windowpane test is an invaluable skill. Consistent practice builds the confidence to handle any bread dough, from rustic country loaves to enriched brioche.
Serving Suggestions
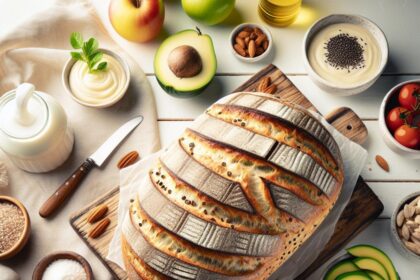
Once your dough has passed the windowpane test and baked into a gorgeous artisan crusty loaf, serve slices accompanied by creamy cultured butter and slow-roasted garlic. Garnish with fresh rosemary sprigs or olive oil drizzle to elevate the sensory experience. Toast for breakfast with smashed avocado and flaky sea salt or simply enjoy alongside a bowl of homemade soup to truly celebrate your gluten mastery.

| Nutrient | Per Serving (1 slice) |
|---|---|
| Calories | 150 kcal |
| Protein | 5 g |
| Carbohydrates | 28 g |
| Fat | 1 g |
Explore more precision tips in our Artisan Bread Kneading Techniques guide and deepen your baking knowledge. For scientific insight into gluten’s molecular behavior, visit ScienceDirect: Gluten Overview.
Q&A
Q&A: Unlocking Dough Secrets – The Gluten Windowpane Test Explained
Q1: What exactly is the gluten windowpane test?
A1: Think of it as the dough’s spotlight moment! The windowpane test involves gently stretching a small piece of dough until it becomes thin enough to let light shine through without tearing. This translucent “window” reveals that the gluten strands have developed enough strength and elasticity-a crucial milestone for perfect bread.
Q2: Why is the windowpane test important for bakers?
A2: It’s the ultimate dough checkpoint. Without proper gluten development, bread can turn out dense and flat. The windowpane test helps bakers know when their dough has reached that magical elasticity, ensuring a chewy crumb and ideal rise.
Q3: How do I perform the gluten windowpane test at home?
A3: Pull a small piece of dough about the size of a golf ball. Gently stretch it with your fingers, rotating as you go, until it thins into a translucent sheet. If it stretches without tearing and you can see light through it, your dough has passed the test! If it breaks easily, it needs more kneading or resting.
Q4: Can the windowpane test be done with any type of dough?
A4: Best suited for bread doughs rich in gluten, like those made with wheat flour. Doughs with low gluten content-like rye or gluten-free variants-won’t form that perfect window, so the test isn’t very effective for them.
Q5: What does it mean if my dough fails the windowpane test?
A5: No worries-it simply means your gluten network isn’t strong enough yet. You might need to knead longer, give the dough more rest for gluten to relax and align, or adjust hydration levels. Like any great artist, dough needs patience and practice!
Q6: Is the windowpane test foolproof?
A6: While it’s a trusted technique, it’s not the only indicator of readiness. Factors like fermentation time, hydration, and flour type also play roles. But for a quick, hands-on check, the windowpane test remains a baker’s best friend.
Q7: Can I use the windowpane test to improve my baking skills?
A7: Absolutely! It’s like a secret handshake with your dough, deepening your understanding of texture and gluten strength. Over time, it hones your intuition, guiding you toward that perfect loaf every single time. Happy stretching!
Wrapping Up
As you master the art of the gluten windowpane test, you’re not just checking dough-you’re unlocking the very structure that gives bread its soul. This simple yet revealing stretch is your passport to perfect texture, guiding you from sticky mess to elastic masterpiece. So next time your fingers gently pull and your dough stretches thin without tearing, savor that translucent moment: it’s the silent shout of gluten readiness, whispering that your baking journey is well on its way to delicious success. Keep practicing, stay curious, and let every windowpane illuminate the path to better bread.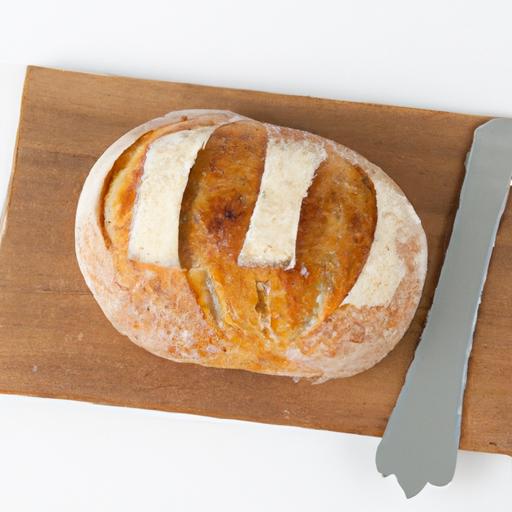


