

Picture a steak or chicken breast with a mahogany crust and the promise of a juicy interior. The phrase sealing juices persists in home kitchens, but the claim requires context and correction.
- Historical Origins
- The Science Explained
- The Myth Versus Measurable Reality
- Practical Cooking Strategy
- Ingredients and Simple Recipe Baseline
- Prep, Timing, and Temperature
- Step-by-Step Instructions
- Yield and Timing Summary
- Difficulty and Tools
- Chef’s Notes
- Modern Techniques and Testing
- Serving Suggestions
- Nutritional Snapshot
- FAQ
- Key takeaway: Searing creates flavor and texture; it does not form a watertight barrier.
- Practical focus: Final internal temperature and resting time determine moisture retention.
- Chef action: Rely on a calibrated probe thermometer and carryover cooking, not an initial flash sear.
- Modern methods: Techniques that control temperature evenly, such as low-and-slow or precision baths, deliver consistent juiciness.
Historical Origins
The idea that a quick, high-heat sear locks in juices likely began as a teaching shorthand in early culinary instruction. Traditional culinary texts and classroom demos favored vivid metaphors to help students remember sequential steps in cookery.
Those memorable phrases spread through cookbooks and domestic advice columns. For background on formal culinary teaching and practices, review the history of cooking and vocational instruction.
The Science Explained
Searing initiates surface browning through the Maillard reaction, which generates complex aromas, deeper color, and textured crusts. That chemical process concentrates flavor at the surface but does not create a physical wall that traps internal water.
Heat causes muscle proteins to denature and fibers to contract, forcing water along thermal gradients toward cooler zones. For a primer on the molecules involved, consult material on protein chemistry and its response to heat.
The Myth Versus Measurable Reality
Controlled kitchen tests show that moisture loss correlates with final internal temperature, not the speed of the initial sear. Searing can slightly reduce surface evaporation, but the effect is marginal compared with overcooking.
Research and practical trials in food labs and test kitchens confirm this pattern. The anatomy and thermal behavior of meat explain why juices migrate rather than remain trapped under a crust.
Practical Cooking Strategy
Stop chasing the idea of an instant seal. Focus instead on three controllable factors: target internal temperature, removal timing, and a proper rest period. These steps govern how much moisture remains when you slice.
Use a sear to add texture and flavor contrast. Use measured cooking to control doneness. Together, those approaches produce both aroma and juiciness.
Actionable Rules
Rule 1: Preheat the pan until the fat shimmers and the surface is stable. A predictable surface temperature promotes efficient browning without burning.
Rule 2: Pat proteins dry and season before searing to maximize crust formation. Surface moisture inhibits browning and encourages steaming rather than a proper sear.
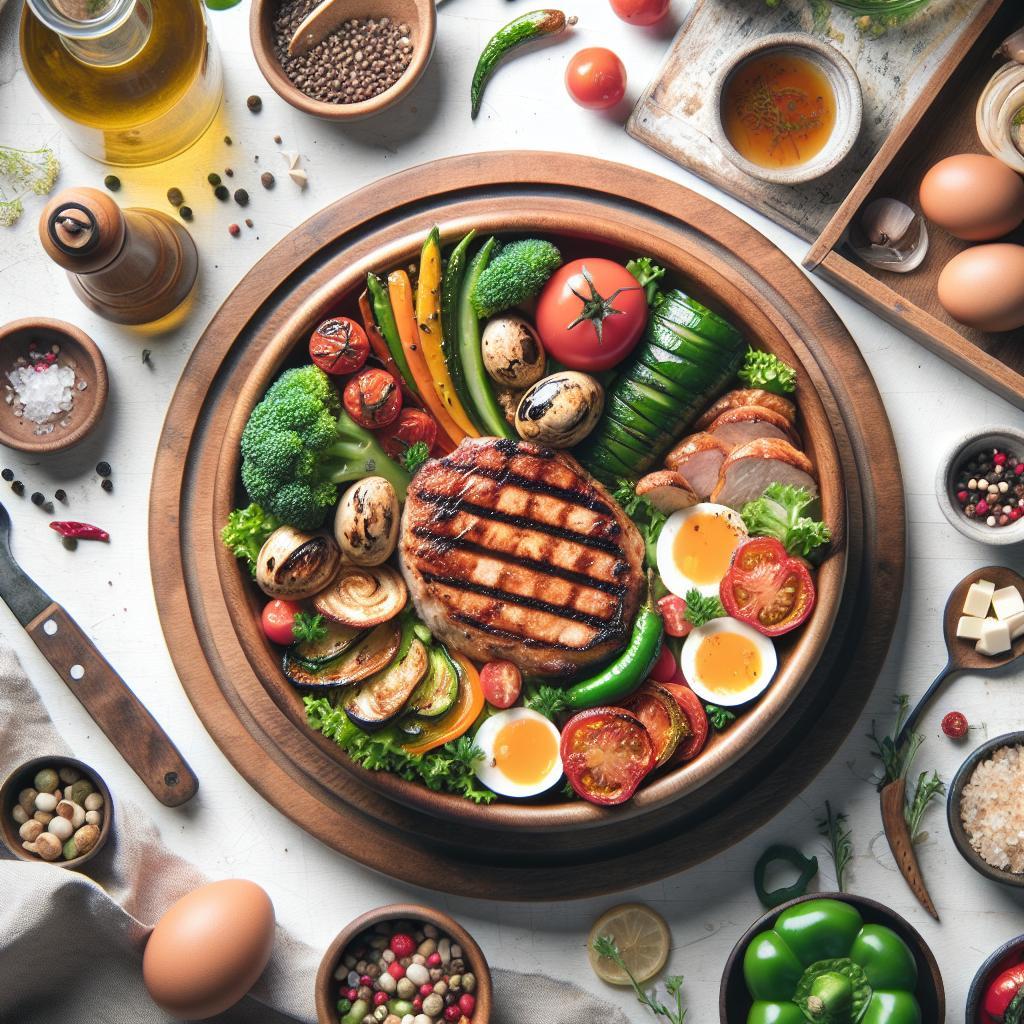
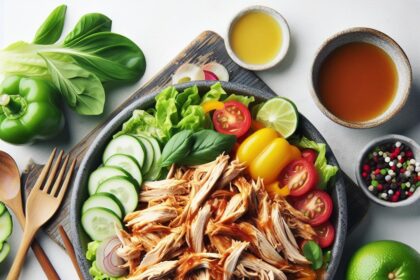
Ingredients and Simple Recipe Baseline
This example uses four boneless, skinless chicken breasts to illustrate timing and temperature. Keep ingredients minimal so the technique and temperature control remain the focus.
- 4 boneless chicken breasts, patted dry
- Salt and freshly ground black pepper, to taste
- 2 tablespoons neutral oil (or clarified butter for higher heat)
- 3 cloves garlic, minced; 1 tsp fresh rosemary, chopped
- 1 tablespoon unsalted butter and juice of 1 lemon for finishing
These single-protein recipes scale by weight. Increase pan space or cook in batches to avoid crowding, which drops pan temperature and impairs browning.
Prep, Timing, and Temperature
Prep: Allow 10–15 minutes for seasoning and brief tempering toward room temperature when safe. Dry the surface thoroughly with paper towels; this step improves crust formation.
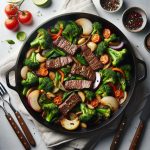
Cooking: Sear 3–5 minutes per side over medium-high heat to build a golden crust, then reduce heat to finish. For poultry, aim for an internal reading of 165°F (74°C) before resting.
Step-by-Step Instructions
These steps emphasize measured doneness and a deliberate rest to preserve moisture. Follow the thermometer rather than visual cues alone to ensure safe and juicy results.
Cooking Sequence
- Season both sides generously and let the meat sit briefly if appropriate.
- Heat oil in a heavy skillet until it shimmers but does not smoke; place the protein carefully and leave undisturbed to form a crust.
- Sear 3–5 minutes per side depending on thickness; flip and brown the opposite face.
- Lower the heat, add butter and aromatics, and baste briefly to infuse flavor without burning the aromatics.
- Probe the thickest point with a calibrated thermometer and remove 5–10°F (2–6°C) below your target to allow for carryover.
- Rest the protein on a warm plate for 4–6 minutes so internal juices redistribute before slicing against the grain.
Yield and Timing Summary
Preparation: 15 minutes. Cooking: 25 minutes. Total: 40 minutes. This timing fits a family meal for four; adjust as you scale up pieces or shift to thicker cuts.
When working with thicker steaks or roasts, sear on the stovetop then finish in a moderate oven to reach even doneness without burning the crust.
Difficulty and Tools
Skill level: intermediate. The method requires attention to temperature and timing rather than technical dexterity. A digital probe thermometer makes the process reliable and repeatable.
Use a heavy-bottom skillet to hold heat, and choose cooking fats that match your searing temperature—neutral oil for moderate heat, clarified butter for higher heat tolerance.
Chef’s Notes
Why fat matters: The right fat improves heat transfer and flavor. Clarified butter or high-smoke-point oils tolerate searing temperatures better than regular butter.
Resting matters more: Resting allows internal temperature to stabilize and juices to migrate inward. That redistribution, not an instant seal, preserves tenderness and moisture.
Modern Techniques and Testing
Controlled comparisons—seared-then-rested versus non-seared—cooked to identical internal temperatures reveal consistent results: the seared sample offers superior aroma and texture but similar moisture when temperature matches. Those repeatable tests underpin professional practice.
Precision methods, such as sous-vide cooking, decouple doneness from surface browning by holding proteins at exact temperatures before finishing with a sear. This approach demonstrates that temperature control dictates juiciness.
When testing at home, take notes on weight, start temperature, pan heat, and probe readings. Those data points reveal patterns and improve predictability on subsequent cooks.
Serving Suggestions
Highlight the crust by pairing seared proteins with softer components—creamy mashed potatoes, polenta, or steamed greens. The contrast enhances mouthfeel and perception of juiciness.
Build a simple pan sauce from the fond, a splash of stock or wine, and a squeeze of acid to balance fat and uplift flavors. Acid brightens the plate and complements browned aromatics.
Nutritional Snapshot
A typical serving from the recipe above yields moderate protein and controlled fat when using measured oil and butter. Nutrient values shift with portion size and substitutions, so treat estimates as directional.
For meal planning, calculate calories and macros by weight and adjust fats or sides to match dietary targets.
FAQ
What does the ‘sealing juices’ phrase actually mean?
The phrase implies a sear creates a barrier that traps internal moisture. In practical terms, searing forms a flavorful crust but does not prevent internal fluid movement during cooking.
Does searing ever help moisture retention?
Searing slightly reduces surface evaporation and adds texture, but the dominant factor for moisture retention is the final internal temperature and how you rest the meat. Avoid overcooking to preserve succulence.
How do I make meat juicy every time?
Control internal temperature with a probe, remove meat a few degrees shy of target, and rest before slicing. Combine searing for texture with measured finishing for consistent juiciness.
Can I rely on low-and-slow methods instead?
Yes. Slow, steady heat reduces the gradient-driven expulsion of moisture and yields even doneness. Many chefs use low-temperature finishes followed by a hot sear to combine tenderness with a crisp crust.
Where can I read more about the chemistry behind browning?
For technical background, read about the Maillard reaction and protein behavior under heat. Those topics explain why flavor and moisture do not always align.
See also: Searing


