

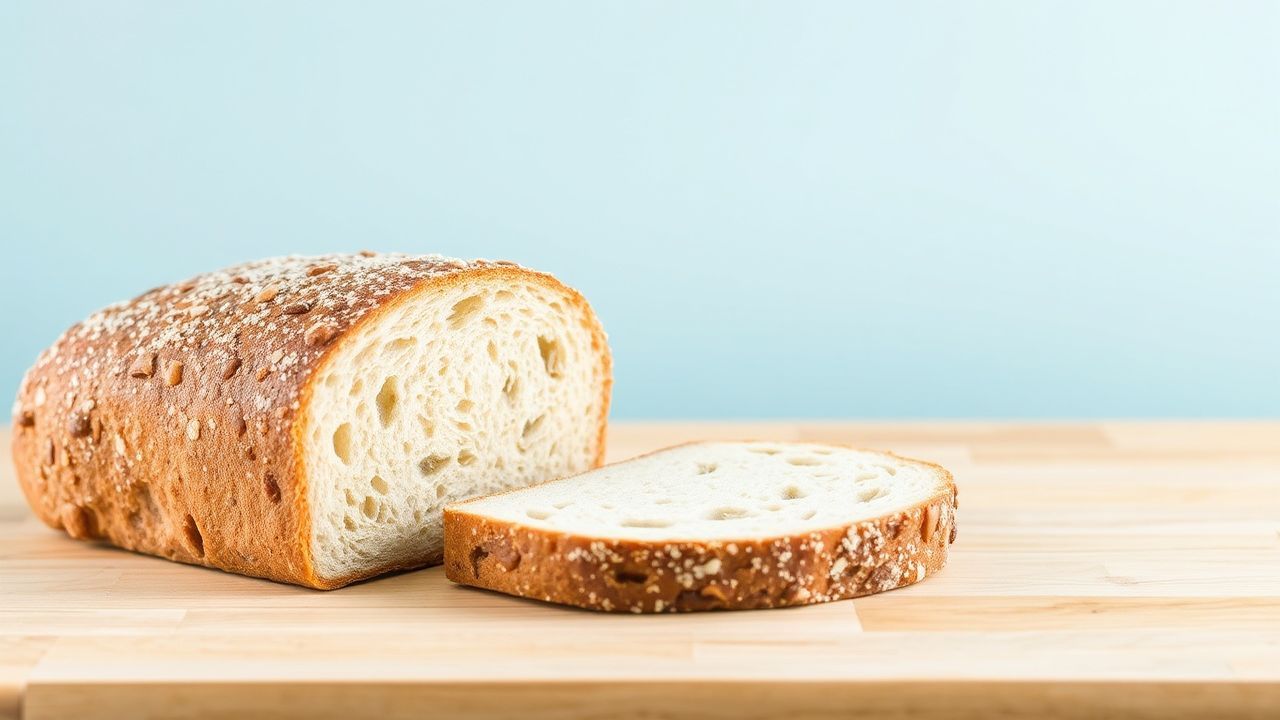
There is nothing more deflating than biting into a loaf that tastes dry and papery. You expect warmth, subtle sweetness, and a pleasant crumb, but instead you get a bland, cardboard-like experience. This guide explains the practical causes and reliable fixes so you can return to flavorful bread with predictable results.
- Check hydration and proofing: small changes make big flavor differences.
- Inspect ingredients: flour age and yeast activity shape taste.
- Adjust baking and storage: bake times, steam, and proper storage preserve freshness.
- Revive smartly: quick oven reheat or repurposing restores usability.
Understanding the Role of Ingredients in Bread Flavor
Bread flavor begins with the raw materials. Flour supplies starch and protein; its type and freshness directly influence aroma and crumb. For a primer on basic flour types, see flour on Wikipedia.
Protein level matters: higher-protein bread flour builds structure and chew, while lower-protein flour produces a softer but less flavorful crumb. Whole grain flours add oils and phenolic compounds that create richer, nuttier notes.
Yeast contributes both lift and flavor through fermentation. Active, healthy yeast yields alcohols and organic acids that build complexity over time. For background on the organism, see yeast on Wikipedia.
Salt tightens gluten and enhances perceived sweetness by suppressing bitterness. Omitting or reducing salt produces flat, insipid results. Small additions of fats, dairy, or sugar boost mouthfeel and aroma; leaving them out will make the loaf taste thinner.
How Baking Techniques Influence the Taste and Texture
Oven conditions shape the final sensory profile. Crust color stems from the Maillard reaction and caramelization; those browned notes provide toasted, savory flavors. Learn more about the chemistry at Maillard reaction on Wikipedia.
Temperature and time balance moisture retention. Underbaking leaves gummy interior; overbaking strips moisture and concentrates a papery taste. Steam during the first minutes of baking improves crust development and helps trap interior moisture for a softer crumb.
Fermentation time also controls depth. Short, fast fermentations create simple flavors. Conversely, long cold ferments or mature sourdough starters produce organic acids and esters that make bread taste alive rather than flat.
Tools and technique matter: baking on a hot stone or steel yields more even heat and better oven spring. Simple steps like proper scoring and using the correct hydration keep the crumb light and flavorful rather than dense and dull.
Common Storage Mistakes That Lead to Cardboard-Like Bread
Staling is a physical process: starch molecules recrystallize, pushing moisture outward and creating a dry, firm crumb. This process accelerates in cool environments like refrigerators and is described under staling on Wikipedia.
Putting bread in the fridge speeds retrogradation; the crumb firms and the mouthfeel becomes papery. Wrapping a crusted loaf in plastic traps moisture and kills the crust; leaving it exposed dries the loaf. Aim for a balance: a paper bag or a dedicated bread box often works best.
Freezing halts staling and preserves flavor when done correctly. Slice before freezing for convenience, and thaw gently at room temperature or refresh briefly in a moderate oven to revive texture. Avoid repeated freeze–thaw cycles, which harm structure and taste.
Storage choices can obscure ingredient and technique issues. If a loaf tastes cardboard on day one, the root cause likely sits in the recipe or bake rather than storage alone.
Expert Tips to Revive and Enhance Your Bread’s Flavor
Revival tactics work well and often restore palatability. Lightly misting the crust, wrapping in foil, and warming at 175°C (350°F) for 10–15 minutes reintroduces moisture and softens the crumb. Toasting slices concentrates caramelized notes and improves perceived richness.
Repurposing stale bread gives it new life: make croutons, panzanella, bread pudding, or French toast. These preparations add moisture and complementary flavors that mask dryness and improve enjoyment.
Small finishing touches elevate taste. A light brush of high-quality olive oil or a sprinkle of flaky sea salt on warm slices sharpens flavor. Pairing with butter, aged cheeses, or tangy preserves masks minor dryness better than neutral spreads.
If you bake often, keep multiple flour batches on rotation and note mill dates. Fresh, properly stored flour and active yeast reduce the risk of flat, cardboard-like loaves.
Basic Loaf Recipe and Practical Notes
This straightforward loaf highlights key variables: hydration, protein, salt, and fermentation. It serves as a test bed: tweak one variable at a time to isolate flavor problems.
Use this recipe as a baseline and adjust fermentation or hydration to improve taste. For advanced methods like sourdough or autolyse, see our internal resources linked below.
Prep and Cook Time
- Preparation: 15 minutes
- Proofing: 1.5–2 hours (or overnight cold ferment)
- Baking: 30–35 minutes
Yield
Produces 1 standard loaf (about 8–10 slices).
Difficulty Level
Medium — requires attention to timing, hydration, and oven performance.
Ingredients
- 3 cups bread flour
- 1 ½ tsp salt
- 2 tsp instant yeast
- 1 1/4 cups warm water (about 43°C)
- 1 tbsp olive oil or melted butter
- 1 tsp sugar (optional)
Instructions
- Mix dry ingredients: Combine bread flour, salt, sugar, and yeast in a bowl.
- Add liquids: Stir in warm water and oil until a shaggy dough forms.
- Knead: Knead 8–10 minutes by hand or 6–7 minutes in a mixer.
- First rise: Place dough in an oiled bowl and proof until doubled.
- Shape and second rise: Shape into a loaf and proof again until puffy.
- Bake: Slash the top, bake at 200°C (400°F) for 30–35 minutes until golden and hollow-sounding.
- Cool: Cool fully on a wire rack to set the crumb before slicing.
Storage and Serving Recommendations
For same-day use, store crusty loaves in a paper bag or bread box to keep crust crisp and crumb soft. For longer storage, slice and freeze; refresh in a moderate oven when needed.
Serve warm with butter or combine with flavors that complement the loaf. If you need structured guidance, consult our internal pages on Sourdough Bread Techniques and Bread Storage Tips.
FAQ
Why does my bread taste like cardboard?
A cardboard taste usually indicates low moisture, stale ingredients, overbaking, or inadequate fermentation. Address each step: check flour freshness, boost hydration slightly, confirm yeast activity, and avoid overbaking to restore flavor.
Can the type or age of flour cause off flavors?
Yes. Old or rancid whole-grain flours contain oxidized oils that mute flavor. Fresh, properly stored flour yields better aroma and structure; store flour in a cool, dry place or refrigerate whole-grain flour for long-term storage.
Does refrigeration ruin bread?
Refrigeration speeds starch retrogradation and makes bread go stale faster than room temperature storage. Use the fridge only when necessary; freeze instead for longer preservation.
How do I test if my yeast is still active?
Bloom dry yeast in warm water with a pinch of sugar for 5–10 minutes. Active yeast will foam and smell yeasty. If it remains flat, replace it to avoid under-fermented, bland bread.
What are quick ways to make bland bread taste better?
Lightly toast or reheat slices with a splash of water in foil, then add butter, olive oil, or strong-flavored toppings. For stale loaves, transform them into croutons, bread pudding, French toast, or panzanella to recover lost flavor.
By methodically checking ingredients, fermentation, bake conditions, and storage, you can eliminate the cardboard problem and produce bread with consistent flavor and texture. Small, targeted changes yield noticeable improvement.
See also: bread taste


