

There is a near-magical instant when raw meat meets a hot pan: a sharp sizzle, the surface browning, and aromas that promise depth. The sensory payoff follows predictable chemistry and heat transfer principles that chefs rely on to build flavor efficiently. This article explains why searing works, what variables matter, and how to repeat great results in a home kitchen.
- Science of Searing
- Prep and Cook Time
- Yield and Difficulty
- Ingredients
- Equipment and Heat
- Step-by-Step Instructions
- Tips for Success
- Serving Suggestions
- Nutritional Information
- FAQ
- What exactly happens when meat hits a hot pan?
- Does searing lock in juices?
- How hot should my pan be for a proper sear?
- Can searing improve cheaper cuts?
- How long should I rest steak after searing?
- To Wrap It Up
- Controlled high heat triggers the Maillard reaction to create a savory crust.
- Dry surface and room temperature speed consistent browning and even cooking.
- Appropriate fat and pan mass prevent sticking and preserve surface temperature.
- Resting redistributes juices and finishes texture without overcooking.
Science of Searing
Searing converts amino acids and reducing sugars on the meat surface into hundreds of flavorful compounds in a process known as the Maillard reaction. That reaction requires temperatures well above simple warming, which is why intense pan heat matters.
Heat also drives rapid evaporation of surface moisture; this prevents steaming and lets browning proceed. Understanding these two mechanisms—chemical transformation and moisture control—lets you manipulate flavor predictably.
Prep and Cook Time
Plan the workflow: seasoning, resting at room temperature, searing, and resting after cooking. Each stage contributes to even heat penetration and flavor development.
Preparation: 15 minutes
Cooking: 10–12 minutes
Total Time: 25–27 minutes
Yield and Difficulty
This method yields four well-seared portions with a medium-rare target. It suits cooks with basic pan technique and timing control.
Serves: 4
Difficulty: Medium — requires attention to pan temperature and timing.
Ingredients
Ingredient choice focuses on meat quality, salt for surface seasoning, and a neutral oil with a high smoke point. These elements create a favorable surface chemistry for browning.
Use firm cuts with some marbling for both crust and juiciness; trim only large silver skin or excess fat that might cause uneven splatter.
- 4 ribeye steaks, about 1-inch thick, brought to room temperature
- 2 tsp kosher salt
- 1 tsp freshly ground black pepper
- 2 tbsp high-smoke-point oil (e.g., grapeseed or avocado)
- 2 tbsp unsalted butter
- 3 cloves garlic, gently crushed
- 2 sprigs fresh thyme or rosemary
Equipment and Heat
Choose heavy cookware that stores and transfers heat evenly. A massy pan holds temperature when meat hits the surface, which preserves the conditions needed for browning.
A classic choice is a cast-iron skillet or a heavy stainless steel pan. For more pan comparisons, see our internal guide on best pans for searing.
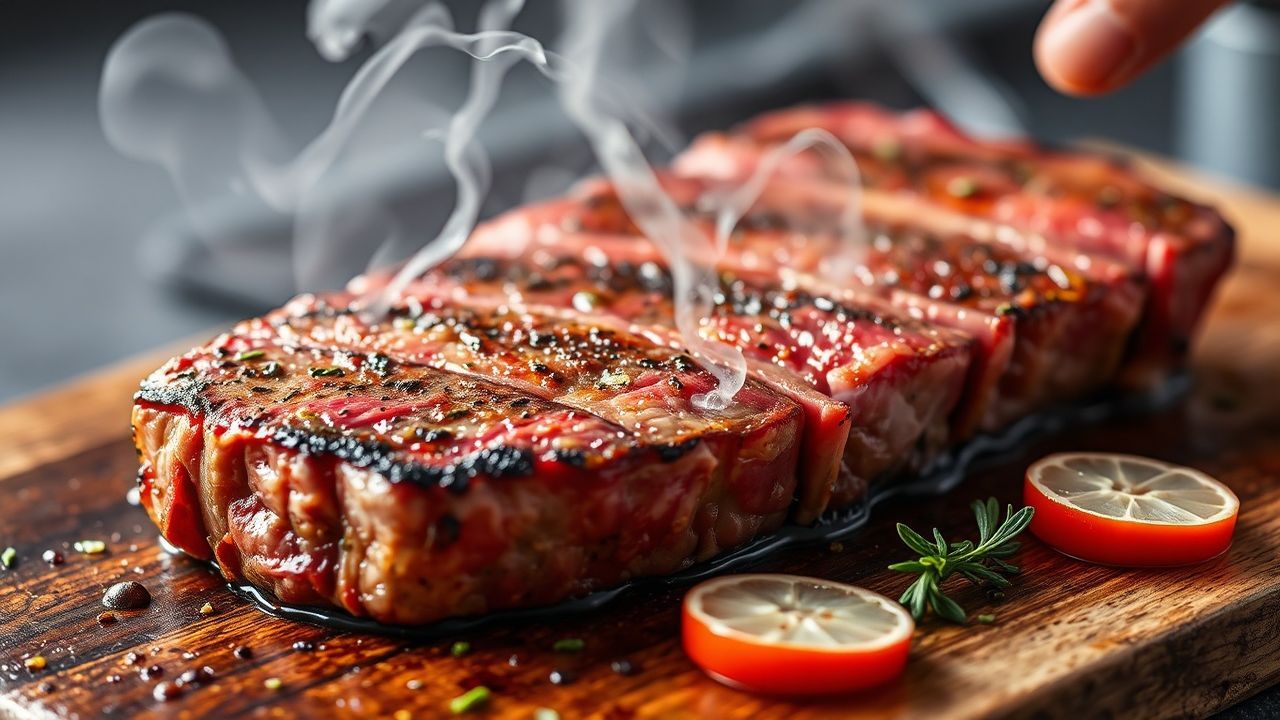
Step-by-Step Instructions
Follow a consistent sequence: dry, season, preheat, oil, sear, finish, and rest. This order controls moisture and surface temperature so the Maillard reaction proceeds efficiently.
Execute deliberate timing rather than guessing: measure pan temperature visually (thin wisps of smoke) or use an infrared thermometer for repeatability.
- Pat dry and season: Use paper towels to remove visible surface moisture. Salt both sides evenly and wait 10–15 minutes at room temperature to let the salt begin surface penetration.
- Preheat the pan: Heat the heavy pan over medium-high until it becomes visibly hot and starts to smoke lightly. The goal is roughly 400–500°F surface temperature to trigger rapid browning.
- Oil the pan: Add 2 tablespoons of high-smoke-point oil and swirl to coat. The oil provides a conduction layer and prevents sticking while tolerating high heat.
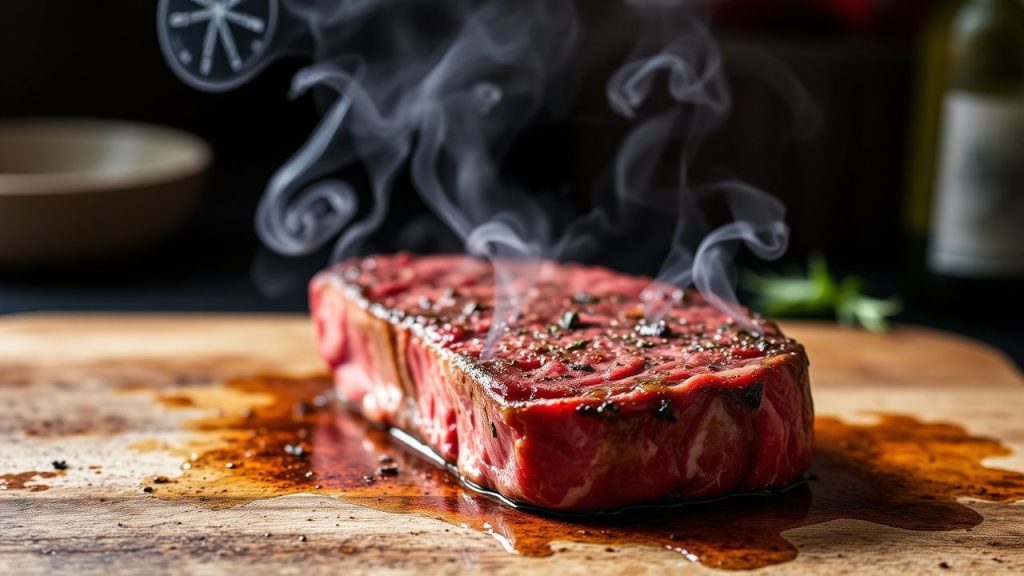
- Sear without crowding: Lay steaks in the pan with space between pieces. Do not move them during the first 3–4 minutes to allow an intact crust to form. Flip and repeat on the second side.
- Finish with butter and aromatics: Lower heat to medium, add butter, crushed garlic, and herbs. Tilt the pan and spoon melted butter over the surface to promote even browning and add flavor compounds.
- Check doneness: Use an instant-read thermometer. Aim for 125°F (52°C) for medium-rare after carryover. Adjust time for thicker cuts or different target temperatures.
- Rest the meat: Transfer to a warm plate, tent loosely with foil, and rest 5–7 minutes. Juices redistribute rather than pouring out when sliced.
After resting, slice against the grain and serve with pan juices. Proper slicing keeps fibers short and improves perceived tenderness.
Tips for Success
Small adjustments make large differences. Control surface moisture, maintain pan temperature, and measure doneness rather than relying on timing alone.
Practice with one cut and note exact times and temperatures; replicate those settings for similar thicknesses and pan types next time.
- Room temperature meat sears more evenly than straight-from-fridge cuts.
- Patting dry is essential; water must evaporate before the Maillard reaction can occur efficiently.
- Do not overcrowd—crowding drops pan temperature and causes steaming rather than searing.
- Use an instant-read thermometer for reliable doneness, especially with thick cuts.
Serving Suggestions
Pair seared steaks with simple sides that contrast texture and acidity. Acidic condiments cut the richness while starchy sides add comfort and balance.
Try roasted seasonal vegetables, a bright chimichurri, or creamy mashed potatoes. Finish with flaky sea salt and microgreens for visual and textural lift.
Nutritional Information
Estimating nutrition requires portion size and added fats. The table below reflects a typical serving prepared with butter and oil.
Adjust calories and macronutrients by trimming fat or altering added fats during finishing.
| Nutrient | Per Serving |
|---|---|
| Calories | 450 kcal |
| Protein | 38 g |
| Carbohydrates | 1 g |
| Fat | 36 g |
For more technique variety and extended meat-handling protocols, consult our internal guide to meat cooking techniques which expands on searing, braising, and roasting methods.
FAQ
What exactly happens when meat hits a hot pan?
Surface proteins and sugars react at high heat to form new flavor molecules through the Maillard reaction. Simultaneously, moisture evaporates rapidly, which prevents steaming and allows browning.
These combined effects create the crust and concentrated flavors associated with expertly seared meat.
Does searing lock in juices?
Searing does not physically seal juices like an impermeable barrier. Instead, it forms a flavorful crust that changes mouthfeel and flavor perception.
Juiciness depends on internal temperature control and resting; carryover cooking and redistribution of juices determine final moisture levels.
How hot should my pan be for a proper sear?
Surface temperatures between roughly 400°F and 500°F (204–260°C) initiate fast browning and efficient evaporation of surface moisture. Use visual cues and thermometers for accuracy.
Heavy pans such as a cast-iron skillet hold heat better and recover temperature quickly after contact with meat.
Can searing improve cheaper cuts?
Searing adds concentrated flavor to any cut, which makes economical cuts more palatable. However, searing alone does not tenderize dense connective tissue.
Pair searing with braising or slow-cooking when working with very tough cuts to combine flavor development and tenderness.
How long should I rest steak after searing?
Rest steaks 5–7 minutes for typical 1-inch cuts. This pause lets internal juices redistribute and reduces moisture loss during slicing.
Longer rests suit thicker roasts; shorter rests are acceptable for thin cuts if carryover cooking considerations are small.
To Wrap It Up
Searing succeeds when you control surface moisture, maintain pan temperature, and apply measured finishing techniques. Those actions let chemistry and heat produce a deep, savory crust.
Approach searing as a repeatable technique: track times, use a thermometer, and refine sauce and garnish choices to complement the crust. Practice yields consistent, flavorful results every time.

See also: Searing

