

Grill grates form the direct contact zone between food and heat. Neglecting them changes flavor, safety, and hardware longevity in ways many home cooks underestimate.
- Why clean grill grates matters
- Prep and Cook Time
- Yield
- Difficulty Level
- Ingredients & tools
- Practical instructions
- What happens when you skip cleaning
- Performance and efficiency losses
- Maintenance rhythm and frequency
- Chef’s Notes
- Serving suggestions after cleaning
- Tools and product notes
- FAQ
- How quickly do grates build up residue?
- Can I use oven cleaner or chemical degreasers?
- Will skipping cleaning shorten grate life?
- Best method to remove stubborn, carbonized spots?
- How often should I re-season grates?
- Final remarks
- Key takeaway: Dirty grates cause off-flavors and safety risks.
- Key takeaway: Regular maintenance extends grate life and performance.
- Key takeaway: Simple supplies—vinegar, baking soda, oil—solve most problems.
Why clean grill grates matters
Grate condition directly affects searing, smoke chemistry, and food contact hygiene. The metal surface controls heat transfer and surface reactions that form desirable char and undesirable compounds.
When you skip cleaning, residues accumulate and alter those reactions. That buildup changes how heat distributes and how food develops texture and flavor.
Prep and Cook Time
Prep Time: 15 minutes. Plan for inspection, safety steps, and set-up before scrubbing begins.
Cook Time: 45 minutes total when you include a full degrease and re-season cycle. Allow extra time if you must soak particularly heavy deposits.
Yield
One restored grill grate surface ready to produce even sears and neutral flavor transfer. A clean surface reduces sticking and flare-ups.
Restoring the grate returns predictable heat response and helps you avoid wasting fuel and food to uneven cooking. It also preserves the metal finish longer.
Difficulty Level
Medium. The work requires elbow grease, correct materials, and timed treatments to avoid damage to coated or plated grates.
With disciplined procedures you can complete a deep clean in under an hour. Light maintenance after each cook keeps the task trivial.
Ingredients & tools
Collect mild household items: white vinegar, baking soda (sodium bicarbonate), a lemon, warm soapy water, vegetable oil, and a sturdy grill brush or steel wool suitable for your grate type.
Match tools to material: stainless-steel brushes for plain steel or cast iron, brass or nylon for coated surfaces. Use gloves and eye protection for aggressive scrubs.
- 1 cup white vinegar
- 2 tablespoons baking soda (sodium bicarbonate) — see sodium bicarbonate for chemistry basics
- 1 lemon, sliced for mild acidity and deodorizing action
- Steel wool or grill brush — choose bristle type by grate finish
- Warm soapy water and cloths
- Vegetable oil for re-seasoning
Practical instructions
Start cold: remove grates after the grill cools enough to handle safely. Cooling prevents warping and lets cleaning agents act without rapid evaporation.
Spray or soak with white vinegar and let sit 10–15 minutes. The acid loosens grease and carbonized residue so mechanical action removes it faster.
- Initial scrape: Use a grill scraper to knock loose flakes into a tray. Work both sides; grime often nests in crevices.
- Vinegar application: Apply vinegar to problem zones and wait until you see softening. Acid helps break long-chain grease deposits.
- Baking soda boost: Sprinkle baking soda over wet areas to create a mild fizz that lifts char. Let the fizzy mix work for several minutes.
- Scrub: Use the correct brush or steel wool. Apply firm, controlled strokes to avoid gouging or removing protective coatings.
- Rinse and inspect: Rinse with warm soapy water, then visually inspect. Repeat spot treatments where residue remains.
- Freshen with citrus: Rub a lemon half to neutralize odors and remove residual grease traces. The acid also aids in light surface polishing.
- Dry and season: Fully dry the grate to stop rust formation. Then rub a thin layer of vegetable oil and heat the grill for 10 minutes to polymerize a new protective layer.
- Reinstall: Put the grate back and preheat briefly before cooking to stabilize surface temperature.
For cast-iron grates, avoid extended water exposure. Re-oil promptly and store in dry conditions. For porcelain-coated grates, use non-abrasive tools to prevent chipping.
What happens when you skip cleaning
Flavor degradation: burnt residue imparts bitter, ashy, or rancid notes to otherwise fresh-tasting food. These off-flavors mask subtle marinades and reduce the quality of sears.
Food-safety risks: Leftover grease and food particles can harbor bacteria and cross-contaminate fresh items during subsequent cooks. For an overview of safe food handling techniques see food safety.
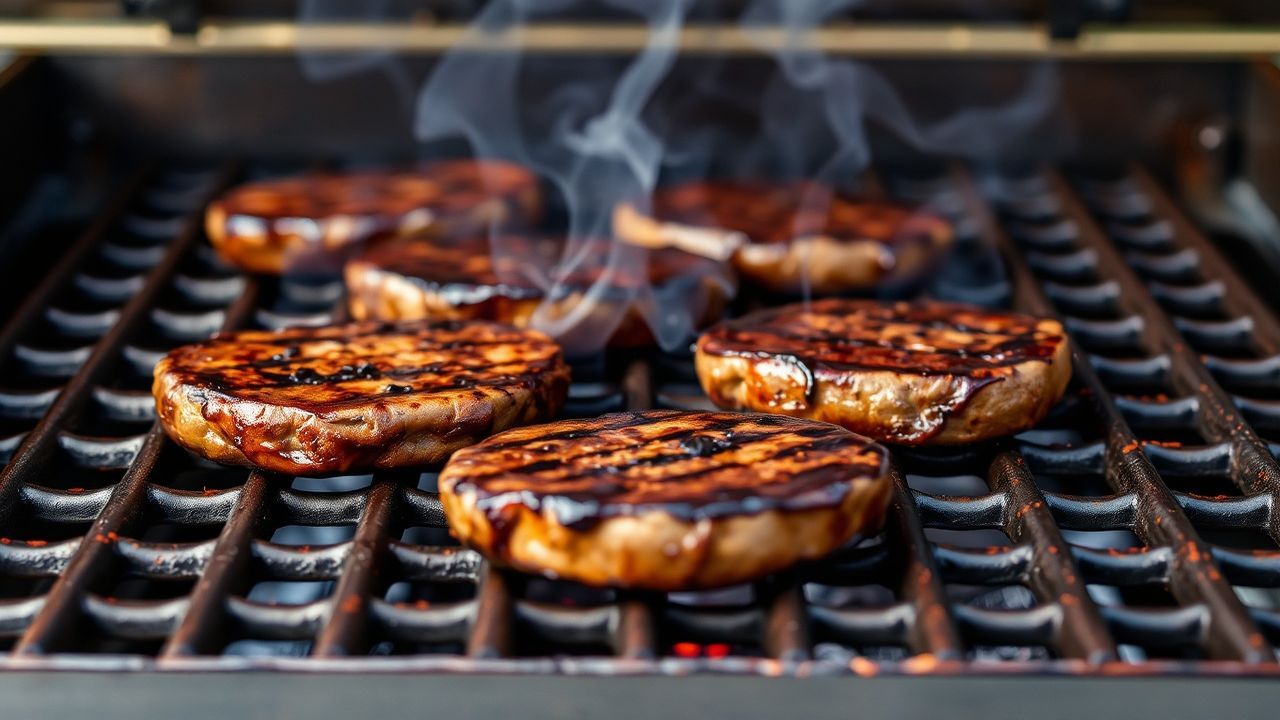
Increased flare-ups and smoke: Accumulated fat ignites unpredictably, producing intense hot spots. Those flare-ups char food faster and can create thick smoke that carries bitter phenols onto your food.
Accelerated corrosion: Trapped moisture mixed with organic acids accelerates oxidation and pitting. For a primer on the chemical process, refer to rust.
Performance and efficiency losses
Heat transfer becomes uneven as deposits act as insulators in spots and hotspots elsewhere. That creates inconsistent sear lines and overcooked or undercooked zones on the same piece.
Fuel waste rises because clogged grates force longer preheats and higher steady-state settings to reach target temperatures. Clean grates reduce cook time and fuel consumption.
Maintenance rhythm and frequency
Scrape and brush after each cook to remove loose debris. That simple habit prevents most moderate buildup from forming and keeps your next cook predictable.
Deep clean monthly or after heavy use: a soak plus vigorous scrub restores the original surface. For high-use grills, schedule deep cleaning every two to three weeks.
Chef’s Notes
Match your cleaning approach to the grate material. Cast iron needs seasoning; stainless tolerates stronger abrasion. Coated surfaces need gentle care to avoid coating loss.
Keep a small maintenance kit near the grill: brush, scraper, spray bottle of vinegar, and a rag. If you treat spots promptly, you avoid time-consuming deep cleans later.
Serving suggestions after cleaning
Clean grates deliver clearer grill marks and pure smoke flavors. Use them to emphasize well-marbled steaks, dense vegetable cuts, and quick-searing proteins like shrimp or scallops.
Pair grilled items with fresh herb garnishes and simple sauces; the clean grate lets those bright flavors shine instead of competing with charred residue.
Tools and product notes
Choose brushes with firmly attached bristles and inspect them regularly. Replace any brush showing sheds to avoid contamination hazards.
Consider grate accessories like stainless grates, cast-iron replacements, or protective covers for long-term value. Consistent care slows material degradation and delays replacement costs.
FAQ
How quickly do grates build up residue?
Residue begins to form on the first use as oils polymerize and food solids carbonize. Visible buildup accumulates after a few cooks if you only rinse without scraping.
Regular light cleaning prevents the polymerized layer from hardening into tenacious carbon that requires aggressive methods to remove.
Can I use oven cleaner or chemical degreasers?
Some commercial degreasers work but they demand thorough rinsing to avoid taste transfer. Avoid caustic products on porous or coated grates that can trap residues.
When in doubt, use vinegar and baking soda or products labeled safe for grill surfaces; rinse and heat the grill after treatment to drive off volatiles.
Will skipping cleaning shorten grate life?
Yes. Organic acids, trapped moisture, and repeated flare-ups accelerate corrosion and weaken metal. Over time blackened or pitted areas may require replacement.
Scheduled maintenance and proper storage reduce exposure to elements that accelerate wear and extend service life significantly.
Best method to remove stubborn, carbonized spots?
Soak in a vinegar solution, apply baking soda to create a fizzy lift, then scrub with appropriate abrasion. For cast iron, re-season after aggressive cleaning.
For porcelain-coated grates, limit abrasion. If chips occur, evaluate whether replacement is a better long-term solution than ongoing patch repairs.
How often should I re-season grates?
After each deep clean, apply a thin oil layer and heat to polymerize. For cast-iron grates, re-seasoning every deep clean keeps the non-stick layer functional.
Minor surface touch-ups can occur more frequently by applying a light oil after quick warm-up scrapes during active grilling season.
Final remarks
Routine cleaning yields predictable cooking, better flavor, and safer food. The small time investment repays itself through fewer flare-ups, less waste, and fewer replacements.
Follow material-specific care, schedule light maintenance after each use, and perform deep cleans periodically. Clean grates return control to the cook and protect both food and equipment.
See also: grill grates


