

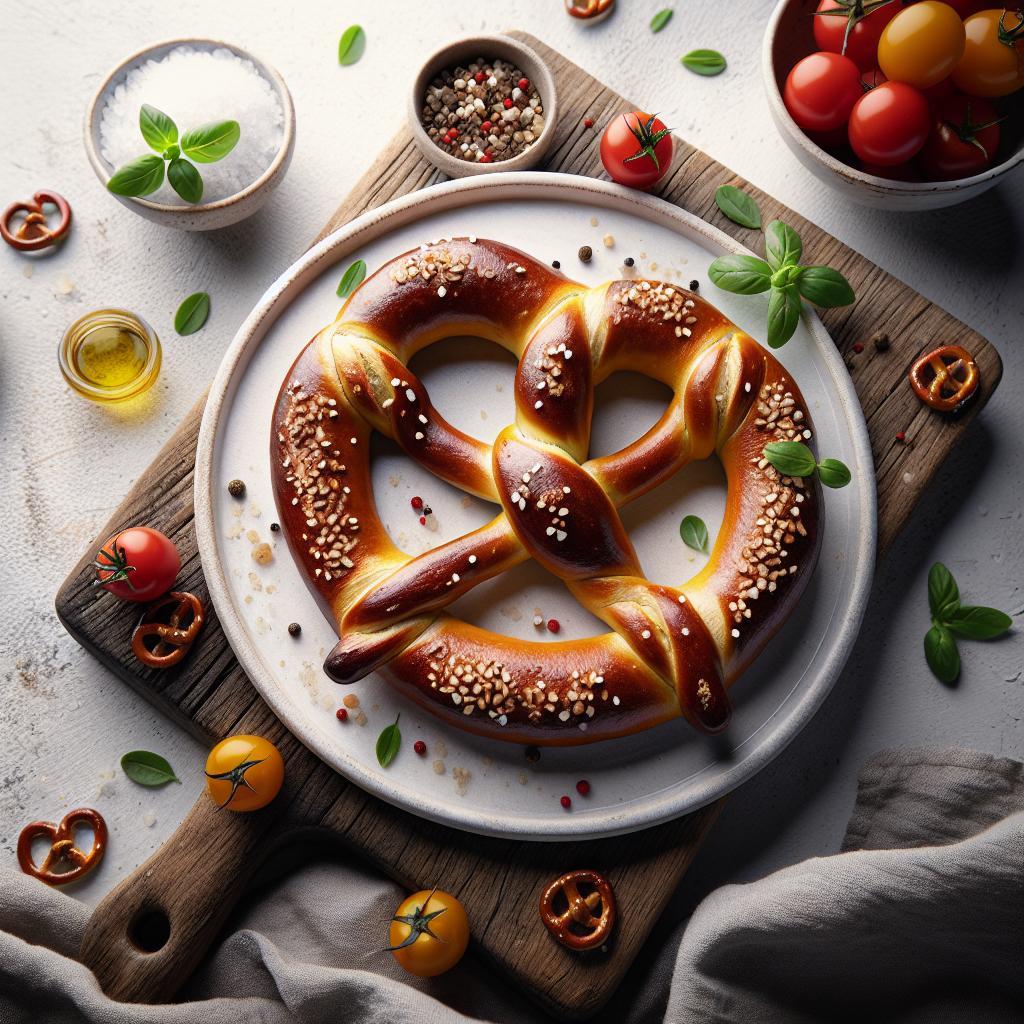
Twist and Shout: Mastering the Art of Perfect Pretzels
There is a simple thrill in turning a handful of ingredients into a golden, glossy pretzel. This guide explains the reliable techniques bakers use to achieve a chewy interior, crisp crust, and that classic knot.
My approach blends traditional methods with precise baking science so you gain reproducible results on your first try. You will learn specific steps for dough handling, the baking soda bath, shaping, and finishing for a bakery-quality outcome.
- Key takeaway: Proper gluten development and hydration yield a chewy core.
- Key takeaway: A quick alkaline bath triggers the Maillard reaction for deep color.
- Key takeaway: Consistent shaping and proofing time create even bake and texture.
Prep and Cook Time
Active time: 30–40 minutes of hands-on work produces eight medium pretzels. Active work covers mixing, kneading, shaping, and topping.
Total time: Allow roughly 2 hours including proofing and bake time. If you refrigerate for flavor development, add overnight for a slow ferment.
Yield
This recipe yields 8 medium pretzels, ideal for a family snack or small gathering. Scale the dough in direct proportion for larger batches without altering technique.
For mini pretzels, divide dough into smaller pieces and reduce boil time slightly to 20–25 seconds for delicate shapes. Baking time also shortens by a few minutes.
Difficulty Level
Rating: Medium. You need basic dough skills: measuring, kneading, and timing. Even so, the steps are repeatable and forgiving once you understand the mechanics.
Expect a learning curve for shaping and the water-baking-soda bath. With focused practice you will quickly produce consistent results and confident shaping.
Ingredients
Use the following measured ingredients for predictable dough performance. Accurate weighing improves repeatability far more than eyeballing volumes.
Substitutions such as bread flour increase chew through higher protein content; keep hydration similar when you swap flours.
- 4 cups all-purpose flour, sifted
- 1 ½ tsp fine sea salt
- 1 tbsp granulated sugar
- 2 tsp instant yeast
- 1 ½ cups warm water (110°F/43°C)
- 2 tbsp unsalted butter, melted
- 10 cups water (for boiling)
- ⅔ cup baking soda
- Coarse kosher salt for sprinkling
- Optional toppings: sesame seeds, poppy seeds, cracked black pepper, shredded cheese
- Optional flavor infusions: garlic powder, smoked paprika, or fresh rosemary mixed into dough
Instructions
Follow these steps in order for consistent pretzel structure and oven spring. Measure precisely and keep a timer handy for proof and boil steps.
Use a reliable oven thermometer to confirm true baking temperature; many home ovens read 25–50°F off. Stability yields predictable browning and texture.
- Prepare the dough: Combine warm water, sugar, and yeast in a bowl. Once foamy, add sifted flour, salt, and melted butter and mix until a shaggy mass forms.
- Knead the dough: Knead on a floured surface for 8–10 minutes until smooth and elastic. Alternatively, use a stand mixer with a dough hook for 4–6 minutes at medium speed.
- First proof: Shape into a ball and place in a lightly greased bowl. Cover and proof 1–1½ hours until doubled in size in a warm draft-free spot.
- Shape the pretzels: Punch down the dough and divide into 8 equal pieces. Roll each into a 20-inch rope, form a U, cross ends twice, and fold them to the bottom curve to secure.
- Boil the pretzels: Preheat oven to 450°F (230°C). Boil 10 cups water with baking soda; submerge each pretzel 25–35 seconds, then drain on a rack.
- Add toppings and bake: While wet, sprinkle with coarse salt or desired topping. Bake on parchment for 12–15 minutes until deep golden brown and crisp.
- Cool and serve: Rest pretzels on a wire rack a few minutes to set the crumb before serving warm. Enjoy with dipping sauces or as a sandwich accent.
Shaping and Boiling Details
Roll ropes evenly to maintain uniform bake and thickness; thin ends will brown faster and may over-crisp. Practicing a few ropes helps you judge tension and elasticity.
During the soda bath maintain a gentle boil; a vigorous boil can break shapes. Use a slotted spoon and give each pretzel a quick drain so toppings adhere and baking time remains consistent.
Chef’s Notes: Tips for Success
Small adjustments make a measurable difference. Hydration, kneading time, and proofing temperature control the crumb structure and mouthfeel.
If the dough feels sticky add a tablespoon of flour at a time; if it feels stiff add a touch of water. The ideal dough is tacky but pulls cleanly from your fingers.
- Try bread flour for enhanced gluten strength and chew.
- Keep yeast water at 110°F to activate without killing cells.
- Boiling in baking soda gives the characteristic color and tang via surface alkalinity.
- Slow overnight refrigeration develops flavor and improves handling the next day.
When brushing butter post-bake, do so lightly to retain the crisp crust while adding flavor. Heavy butter immediately softens exterior crust in humid kitchens.
Serving Suggestions
Pretzels pair well with spicy or creamy mustards and warm cheese dips. A warm, slightly tangy dip complements the alkaline-salted crust for balanced flavor.
For variety, offer sweet options like cinnamon-sugar or salted caramel. You can also slice pretzels to accompany soups and sandwiches for texture contrast.
Serve within an hour of baking for peak texture. If storing, keep in a paper bag at room temperature for up to one day to preserve crust; reheat briefly to refresh chew.
Nutritional Information
Estimate per-pretzel nutrition for portion control and menu planning. Values depend on size and any added toppings like cheese or butter.
Standard medium pretzel yields about 210 kcal, with primary energy from carbohydrates and modest protein from flour. Adjust portions when adding fillings or dips.
| Nutrient | Per Pretzel (approx.) |
|---|---|
| Calories | 210 kcal |
| Protein | 6 g |
| Carbohydrates | 40 g |
| Fat | 3 g |
Resources and Further Reading
Learn more about the components that influence pretzel texture and color through reputable references. These concise overviews explain yeast, gluten, and browning chemistry.
Recommended reading: yeast, gluten, and the Maillard reaction for the science behind crust development.
For historical context on the snack itself, see the pretzel entry on Wikipedia: pretzel. For practical baking techniques, consult the general baking overview.
Explore our site for complementary pages with recipes and sauces. Try our internal guides for deeper technique practice:
FAQ
How long should I knead pretzel dough?
Knead until the dough becomes smooth and elastic, roughly 8–10 minutes by hand or 4–6 minutes in a stand mixer. Proper kneading develops gluten, which creates chew and structure.
Why use a baking soda bath?
The alkaline bath raises surface pH and accelerates the Maillard reaction during baking, producing the deep-brown color and characteristic pretzel tang. A short dip of 25–35 seconds is sufficient.
Can I make pretzel dough ahead of time?
Yes. Refrigerate the dough overnight for a slow ferment that improves flavor. Bring dough back to room temperature before dividing and shaping to ensure workable elasticity.
What causes pretzels to be too dense?
Density usually results from under-kneading, insufficient proofing, or too little hydration. Adjust kneading time and confirm the dough doubles in size during the first proof.
How do I get consistent color across a batch?
Use a calibrated oven thermometer and maintain even spacing on the baking sheet. Rotate the sheet once during the bake and confirm each pretzel receives the same soda bath time.
Apply these techniques and you will reliably produce pretzels with an appealing crust, chewy interior, and classic twist. Keep practicing shaping and timing to refine your results with each batch.

See also: pretzels


