
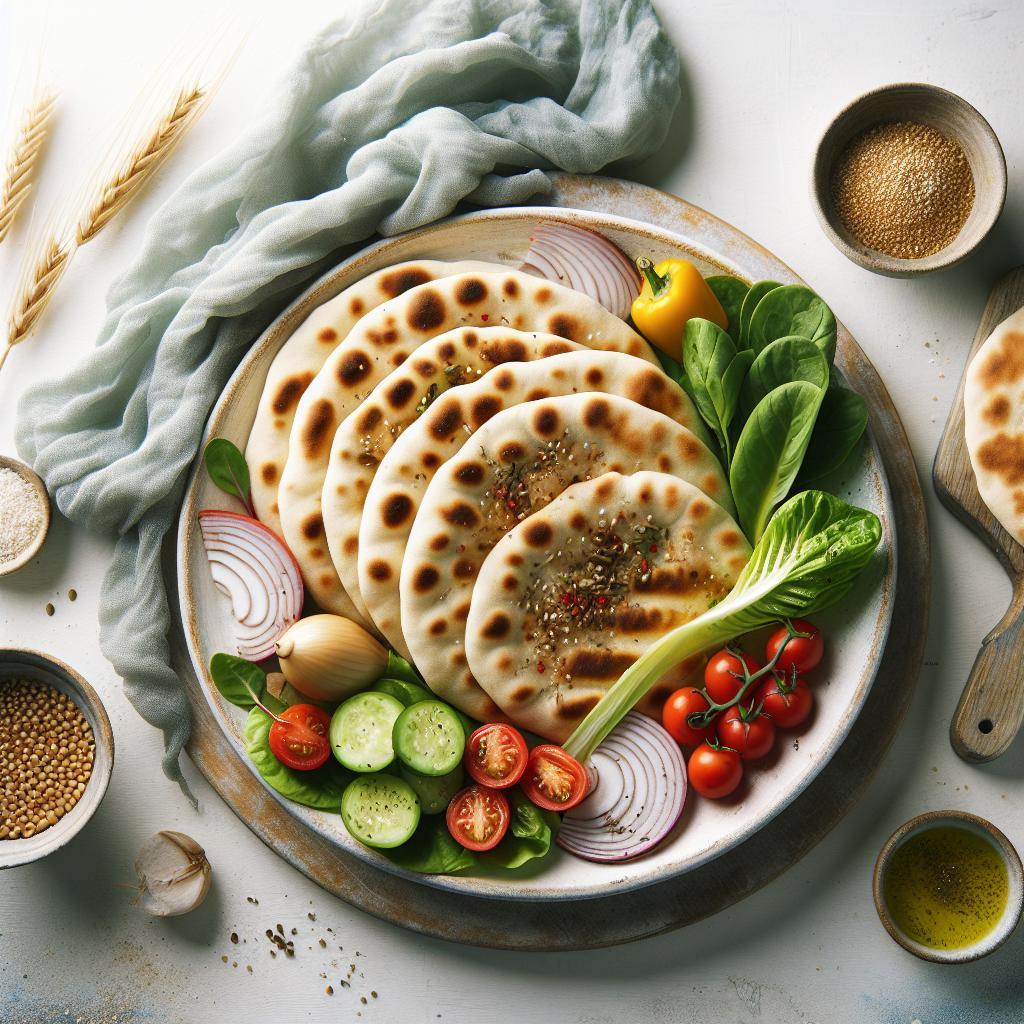

Bake Fresh Delight opens the door to an ancient, practical loaf: homemade pita bread that puffs into a soft pocket and carries bold fillings. I write as a professional baker with years of artisan bread training to guide you through reliable techniques that yield consistent, soft pitas with crisp, golden blistering.
- Simple ingredients, precise technique: water, flour, yeast, salt, and olive oil.
- High heat and rested dough: create the steam that forms the pocket.
- Versatile serving: use pitas for wraps, dips, mini pizzas, and more.
Origins and Bread Science
Pita has deep roots across the Eastern Mediterranean and Near East, where flatbreads evolved to suit hearth and clay-oven baking. For background on the bread style and history, see pita and flatbread on Wikipedia.
At the oven level, pita puffs when internal moisture turns to steam faster than the crust sets, trapping air and creating a pocket. That rapid steam formation relates directly to oven temperature and dough hydration; modern home ovens mimic traditional ovens when you preheat a baking stone or steel.
Prep and Cook Time
Preparation: 20 minutes active work, mostly mixing and kneading. Keep tasks short and focused for consistent dough texture.
Rising and baking: 1–1.5 hours for the first rise and about 10–12 minutes total bake time for multiple batches at high heat. Preheating the baking surface takes at least 30 minutes to reach even thermal mass.
Yield
This recipe yields eight medium pitas, approximately 4–6 inches each depending on how thin you roll them. Alter size to suit your use: larger rounds serve as wraps, smaller rounds make snack-size pizzas.
If you double the batch, divide dough into equal portions and manage proofing space; crowding reduces oven hot spots and lowers puff reliability. Refrigerating dough after the first rise gives you scheduling flexibility and deepens flavor.
Difficulty Level
Label this recipe “Easy to Medium” for home bakers. The methods require simple techniques: activation, kneading, proofing, and high-heat baking—skills you can master in a few tries.
Expect a learning curve with oven placement and rolling thickness. Track results each bake and adjust time or oven rack position to suit your equipment for reliable pockets.
Ingredients
Use fresh, single-ingredient staples for predictable fermentation and gluten development. I list my go-to proportions for an 8-piece batch below.
Quality matters: choose unbleached all-purpose or a mix with bread flour for higher protein and better chew. For how yeast works in dough, consult Baker’s yeast.
- 2 ¼ teaspoons (1 packet) active dry yeast
- 1 ¼ cups warm water (110°F/43°C)
- 3 cups all-purpose flour, sifted
- 1 tablespoon olive oil
- 1 teaspoon granulated sugar
- 1 teaspoon salt
Instructions
Follow these steps in order for consistent dough structure and reliable pocket formation. I present each step with practical cues and alternative suggestions for small ovens.
- Activate the yeast: Combine warm water, sugar, and yeast in a bowl. Let sit 5–7 minutes until frothy; a healthy foam signals active yeast.
- Mix the dough: Whisk flour and salt, then add the yeast mixture and olive oil. Mix until a shaggy mass forms; avoid over-flouring to keep hydration balanced.
- Knead thoroughly: Turn dough onto a floured surface and knead for 8–10 minutes until smooth and elastic. Use a bench scraper to manage tacky dough rather than adding too much flour.
- First rise: Oil a bowl, place the dough inside, cover, and let it double in a warm place for 1–1.5 hours. Bulk fermentation develops flavor and strength in the gluten network.
- Divide and shape: Punch down, divide into 8 equal pieces, form tight balls, and let them rest briefly. Tight ball shaping yields even crumb and consistent pocket formation.
- Roll and rest: Roll each ball into a disk about 1/4-inch thick; cover stacked disks and rest 10 minutes. This short bench rest relaxes gluten and improves oven spring.
- Preheat baking surface: Place a baking stone or inverted baking sheet on the middle rack and preheat to 475°F (245°C) for at least 30 minutes. Heat retention in the stone produces the rapid steam needed for puffing; read more about baking thermal mass on baking.
- Bake quickly: Slide 2–3 rounds onto the hot surface and bake 3–4 minutes until they puff and show light brown spots. Remove and cover with a towel to keep them soft while you finish the batch.
Tips for Success: Mastering the Dough and Perfecting Puff
Small technique tweaks yield large results. I emphasize temperature control, dough feel, and timing as the three pillars of reliable pita.
Use an oven thermometer to confirm high heat. A stone or steel with good thermal mass gives immediate surface heat; this heat turns internal moisture to steam and lifts the dough into a pocket.
- Temperature matters: Warm water activates yeast; a hot oven creates steam. Keep yeast activation between 100–115°F for best results.
- Rest and relaxation: Rest disks covered to avoid a dry skin that prevents puffing. Ten minutes is usually enough to relax gluten without overproofing.
- Ball shaping: Smooth, tight balls roll into even disks and produce consistent pockets.
- Flour variations: Blend bread flour and all-purpose for more chew; add whole wheat for flavor but expect denser pitas.
- Make-ahead: Refrigerate dough overnight after the first rise. Bring to room temperature before shaping for predictable handling.
Practice small batches to calibrate your oven. Each home oven behaves differently, so log times, rack position, and batch size to repeat successes.
Creative Serving Suggestions to Elevate Your Homemade Pitas
Homemade pita becomes a platform for many cuisines and textures. Use it as a vehicle for vegetables, proteins, and bold sauces.
Try filling pitas with falafel, grilled vegetables, or scrambled eggs for breakfast. Pairing ideas and a complementary dip recipe are available via internal resources like Pair with Classic Hummus and our bread baking basics guide.
- Falafel and tahini: Crisp falafel, cucumbers, tomatoes, and tahini create a balanced, textural sandwich.
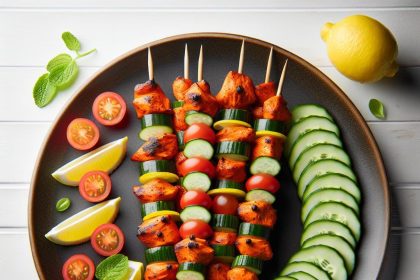
- Grilled veggies: Roast zucchini, peppers, and eggplant with olive oil and herbs for a hearty vegetarian option.
- Breakfast pita: Fill with scrambled eggs, spinach, and crumbled cheese for an on-the-go morning meal.
- Mini pizzas: Use pitas as quick pizza bases; broil with sauce and cheese for 2–3 minutes.
Nutrition and Portion Notes
A medium pita (about 60 g) typically contains roughly 165 kcal with 5 g protein, 33 g carbs, and 1.5 g fat. These values vary by flour type and added fats.
To boost protein and fiber, substitute part of the white flour with higher-protein or whole grain flours. Monitor hydration carefully when using whole grains; they absorb more water and may need extra rest.
Q&A
I answer common technical and practical questions I encounter from home bakers. Keep reading for troubleshooting and advanced notes.
These responses focus on reproducible technique rather than one-off hacks, so you build reliable instincts that transfer to other breads, too.
What makes homemade pita bread better than store-bought?
Homemade pita delivers fresh aroma, control over ingredients, and immediate texture—warm and soft with an authentic pocket. You avoid preservatives and can tailor crumb, hydration, and salt levels to taste.
Homemade also offers creative flexibility: flavoring the dough, seeding the tops, or altering size are simple at home and give superior results to mass-produced loaves.
How does the pocket form inside pita?
The pocket forms when internal moisture vaporizes into steam faster than the outer dough sets, inflating the layers like a balloon. Quick surface setting traps steam and creates a hollow center.
High oven temperature and correct disk thickness promote this reaction. Too-thick dough may not heat through; too-thin may not retain enough moisture to inflate.
Can I add flavors or toppings to the dough?
Yes. Herbs, garlic, or spice blends like za’atar mix well into the dough or brush on top before baking. Sesame and nigella seeds add crunch and aroma when sprinkled on the surface.
Adjust salt and hydration when adding dry ingredients to keep dough consistency stable. Record ratios to reproduce successful variations.
What common mistakes prevent pita from puffing?
Common issues include insufficient oven heat, disks that dried out before baking, and uneven rolling thickness. Each of these interferes with steam formation or trapping.
Fix these by preheating a stone or steel, covering rolled disks until baking, and rolling consistently. Use bench rests to relax gluten for better oven spring.
How does mastering pita improve other baking skills?
Baking pita hones your sense of dough feel, fermentation timing, and temperature management—skills applicable to loaves, flatbreads, and enriched doughs. The process trains you to read dough, not a recipe alone.
Regular practice improves kneading efficiency and proofing judgment, which accelerates progress on more advanced artisan breads.
Key Takeaways
Bake Fresh Delight is about dependable technique: control hydration, use high heat, and protect rolled disks before baking. Those three actions yield the reliable pockets that make pita so useful.
Practice with small batches, record what your oven does, and refine rolling thickness to suit your tastes. With careful technique, you’ll turn this simple dough into a versatile staple for everyday meals.
FAQ
How should I store leftover pita?
Cool to room temperature, then store in an airtight container or zip bag for up to 2 days at room temperature. For longer storage, freeze flat with parchment between rounds and reheat from frozen.
Can I use instant yeast instead of active dry yeast?
Yes. Reduce proofing time slightly and mix instant yeast directly with dry ingredients. Watch dough temperature and fermentation speed to avoid overproofing.
Will a cast-iron pan work instead of a baking stone?
A preheated cast-iron griddle or skillet works well for individual rounds and conducts heat rapidly. Heat the pan thoroughly and work quickly to maintain its surface temperature.
Is it possible to make pita without a pocket?
Yes. If you prefer flat, non-puffed rounds, roll thinner and bake slightly longer at a lower temperature; the dough will bake through without trapping a large pocket.
Are there gluten-free pita options?
Gluten-free pitas require specialist blends and binding agents like xanthan gum; they will differ in texture and may not form traditional pockets. Use recipes developed specifically for gluten-free flours.
See also: Pita Bread
- Origins and Bread Science
- Prep and Cook Time
- Yield
- Difficulty Level
- Ingredients
- Instructions
- Tips for Success: Mastering the Dough and Perfecting Puff
- Creative Serving Suggestions to Elevate Your Homemade Pitas
- Nutrition and Portion Notes
- Q&A
- What makes homemade pita bread better than store-bought?
- How does the pocket form inside pita?
- Can I add flavors or toppings to the dough?
- What common mistakes prevent pita from puffing?
- How does mastering pita improve other baking skills?
- Key Takeaways
- FAQ