

Campfire Chemistry Essentials: Unlocking the Secrets to Flavor and Safety
Picture a crackling fire, the scent of pine, and a simple meal transforming into something memorable. Campfire cooking hinges on a few reliable chemical principles that control flavor, texture, and safety.
- Campfire Chemistry Essentials: Unlocking the Secrets to Flavor and Safety
- Prep and Cook Time
- Yield and Difficulty
- Ingredients
- Instructions
- Chef’s Notes: Tips for Success
- Serving Suggestions
- Nutritional Snapshot
- Science Behind the Fire
- Practical Safety Checklist
- Q&A
- Why is understanding campfire chemistry important for safe outdoor cooking?
- What chemical reaction powers the campfire?
- How do I know when firewood is ready to burn?
- How does the Maillard reaction improve campfire cooking?
- How should I extinguish my campfire safely?
- Future Outlook
- Manage heat: coals give steady, even heat for safe protein cooking.
- Control combustion: dry fuel and airflow reduce smoke and toxic byproducts.
- Use chemistry: Maillard browning and caramelization create depth of flavor.
- Prioritize safety: verify internal temperatures and proper extinguishing.
This guide blends practical steps, tested recipe technique, and safety checks for a dependable camp-kitchen routine. Read on to sharpen both skills and judgment at the fire.
Prep and Cook Time
Prep Time: 15 minutes. Prepare ingredients and set your working zone before you light a match to reduce handling time near flames.
Cook Time: 25–30 minutes. Vegetables in foil and chicken over coals typically finish within this window when you maintain steady embers.
Yield and Difficulty
Yield: Serves 4 adventurers. Plan for portion control and account for any sides so the timing stays smooth.
Difficulty: Medium. This meal teaches reliable temperature control, timing, and basic chemistry that every camper should know.
Ingredients
Gather ingredients and equipment in advance to reduce time near the fire. Cold items stay safe longer when packed correctly.
Ingredients (serves 4): 2 lbs boneless chicken thighs, 1/4 cup olive oil, 3 cloves garlic, 1 tbsp fresh rosemary, 1 tsp smoked paprika, 1 tsp sea salt, 1/2 tsp black pepper, 1 lemon zested and juiced, 2 medium sweet potatoes sliced, 1 large red bell pepper sliced, aluminum foil, fresh parsley (optional).
Instructions
Follow the steps in order to keep heat, timing, and safety aligned. Each step relates to a chemical process affecting texture and flavor.
Always keep a food thermometer and a water source nearby. That small practice prevents many common camp-kitchen failures.
Step-by-step Cooking
1. Marinate the chicken: Combine oil, garlic, rosemary, paprika, salt, pepper, lemon zest, and lemon juice. Coat the thighs, cover, and chill at least 30 minutes to allow flavor molecules to penetrate the protein.
2. Build the fire: Create a medium-hot fire and wait for glowing embers. Embers provide stable radiative and convective heat needed for even protein denaturation.
3. Prepare vegetable packet: Lay sweet potato and pepper on foil, drizzle oil, sprinkle salt, and seal. Foil traps steam and accelerates starch gelatinization in roots.
4. Cook the vegetables: Place the packet on embers or over a grate for ~20 minutes, turning every 5 minutes. Rotate to avoid hotspots that cause uneven caramelization.
5. Grill the chicken: Place thighs on a grate or cast iron pan over embers. Cook 6–8 minutes per side until the internal temperature reaches 165°F (74°C). Use a calibrated thermometer; it verifies bacterial destruction through sufficient heat exposure.
6. Rest the meat: Remove from heat and rest 5 minutes. Resting allows juices to redistribute and carry dissolved flavor compounds back through the muscle fibers.
Timing and Heat Control
Shift food away from flames during flare-ups. Direct flames raise surface temperature quickly and can push meat past ideal Maillard windows into bitter char.
Use embers for even transfer of heat. When you need higher searing temperatures, lift food briefly over live flame and return it to coals to finish.
Chef’s Notes: Tips for Success
Safety first: Always verify internal temperatures with a probe thermometer before serving. Temperature control is the most reliable tool against foodborne illness.
Manage grease and fat to avoid flare-ups. Trim excess fat and keep a drip pan under the grate when possible to limit direct flame contact.
See our Campfire Food Safety Guide for a full checklist on storage, thawing, and cross-contamination prevention. The guide complements this recipe with printable safety steps.
Cast iron and stainless steel respond differently to heat. Cast iron holds heat and smooths temperature swings, while stainless heats faster and cools quicker.
Also, pre-slice dense roots like sweet potatoes to a uniform 1/2-inch to ensure even cooking. Consistent thickness minimizes undercooked centers.
Serving Suggestions
Plate on enamel or wood boards for rustic appeal. Add a lemon wedge to brighten the grilled flavors and balance fat with acidity.
Pair with simple sides such as toasted camp bread or a green salad. Small, bright components highlight Maillard flavors without overpowering them.
Nutritional Snapshot
The recipe delivers balanced macronutrients suitable for an active camping day. Protein supports recovery; carbohydrates supply energy; fats aid satiety.
| Nutrient | Amount per Serving |
|---|---|
| Calories | 380 kcal |
| Protein | 34 g |
| Carbohydrates | 18 g |
| Fat | 18 g |
Science Behind the Fire
Combustion supplies the heat that initiates all cooking reactions. Proper fuel and airflow promote complete combustion, which minimizes smoke and toxic byproducts. For background on the chemistry of burning, see combustion.
The Maillard reaction forms browned flavors when amino acids meet reducing sugars at 140–165°C. That reaction yields many of the savory notes we expect from grilled meat. For detail, consult Maillard reaction.
Fire behavior also depends on the fuel’s moisture content. Dry fuel burns with higher radiant heat and less smoke; wet wood forces incomplete combustion and increases soot. For general fire behavior, see fire.
Food handling and storage reduce risk of contamination. Effective refrigeration and prompt cooking interrupt the temperature range where bacteria multiply most rapidly. See more at food safety.
Practical Safety Checklist
Before you cook, set up a clear workstation with utensils, thermometer, and a water bucket. This arrangement reduces rushed movements near heat and improves control.
Check wind direction and choose a well-ventilated spot to reduce smoke exposure. Keep flammable gear away from the hearth and have an extinguisher or water ready.
Download a printable Camp Kitchen Checklist to review gear, thermometers, and first-aid items. That checklist speeds setup and keeps safety top of mind.
Q&A
Why is understanding campfire chemistry important for safe outdoor cooking?
Understanding how heat interacts with food helps you control cooking rates and avoid hazards. You will place food in the right heat zone and predict outcomes, reducing waste and risk.
That knowledge also helps you choose fuel and cookware that support complete combustion and safe temperatures.
What chemical reaction powers the campfire?
Combustion is the core reaction: fuel reacts with oxygen to produce heat, light, carbon dioxide, and water vapor. Managing combustion efficiency reduces smoke and pollutants.
Proper stacking and dry fuel encourage complete combustion and a cleaner cooking environment.
How do I know when firewood is ready to burn?
Dry wood splits easily, sounds hollow, and has low moisture content. It ignites quickly and burns hotter with less smoke.
Store seasoned wood off the ground and under a cover to maintain low moisture before your trip.
How does the Maillard reaction improve campfire cooking?
Maillard browning creates complex savory and roasted flavors. Control surface temperature and avoid direct flame to hit the sweet spot between color and char.
Finish thicker cuts on lower heat after browning to cook evenly without burning the exterior.
How should I extinguish my campfire safely?
Use water to cool embers until hissing stops and the ashes are cool to the touch. Stir with a stick to expose hidden hot spots and douse again if needed.
Always verify no heat remains before leaving the site. Proper extinguishing prevents re-ignition and reduces wildfire risk.
Future Outlook
Mastering campfire chemistry makes cooking more reliable and safer. With consistent techniques, you will improve results and reduce risks every trip.
Apply the checks and timing rules above until they become habits. Then you can focus on food, company, and the environment rather than firefighting and guesswork.
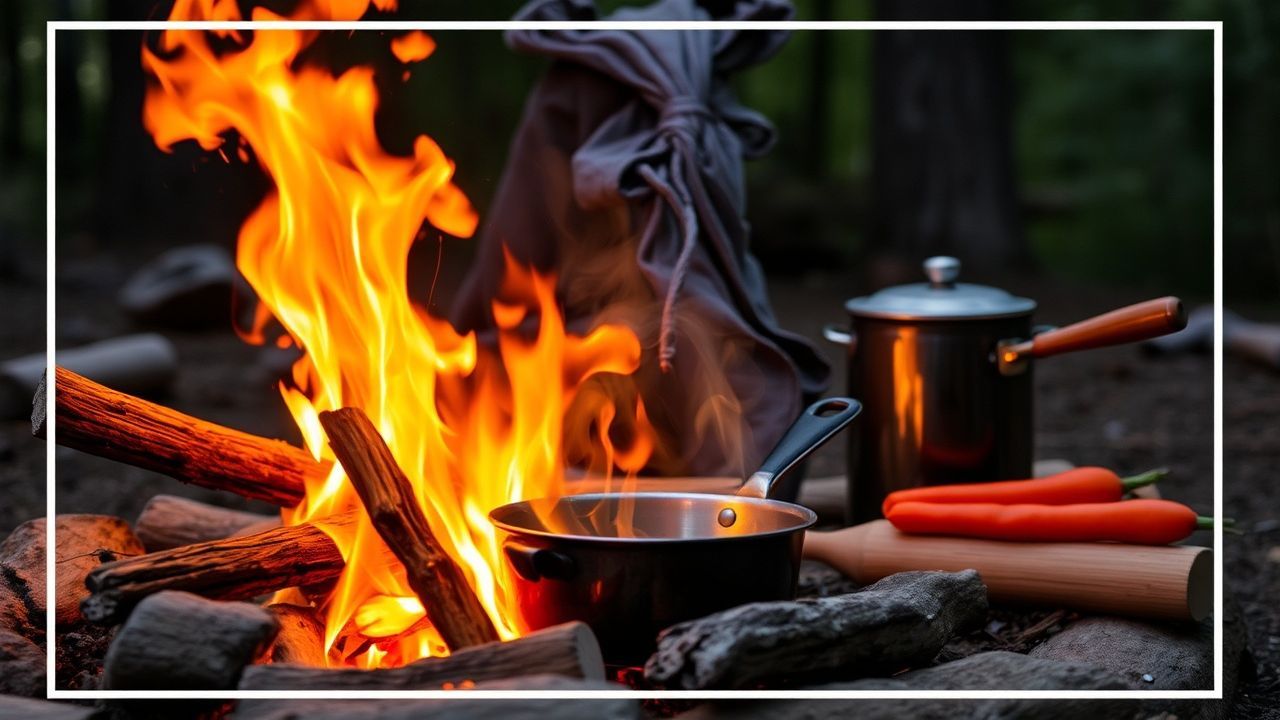
Image credits: recipe photos support technique steps and plating examples. Use quality cookware and maintain it to ensure predictable heat behavior.
Related resources: for deeper instruction on safe fire building and food handling, refer to the internal guides linked above and local park regulations before you cook.
See also: Campfire Cooking


