There’s an art to melting cheese that goes far beyond merely turning up the heat. Achieving that perfect, velvety melt-smooth, luscious, and irresistibly gooey-without unleashing a greasy, oily mess is where true mastery begins. Whether you’re crafting the ultimate grilled cheese, topping a homemade pizza, or stirring cheese into a creamy sauce, understanding the science and technique behind melting cheese can transform your dishes from ordinary to extraordinary. In this guide to mastering melty cheese, we’ll unravel the secrets to silky smooth melts that skip the grease, elevating your cheesy creations to a whole new level of deliciousness.
Mastering melty cheese is both an art and a science. Understanding how different cheeses behave when heated can transform your cooking, allowing you to create dishes that ooze with luscious, smooth, and stringy cheese-without the oily residue that sometimes ruins the experience. This guide unravels the secrets of cheese chemistry, helping you select the perfect cheeses and apply melting techniques that keep your dishes creamy and delightful.
Prep and Cook Time
Prep Time: 10 minutes | Cook Time: 15 minutes
Yield
Serves 4
Difficulty Level
Easy to Medium
Ingredients
- 2 cups shredded low-moisture mozzarella cheese (freshly grated for best meltability)
- 1 cup shredded fontina cheese (mild, creamy texture)
- 1/2 cup grated sharp white cheddar cheese (adds depth of flavor)
- 1 tablespoon cornstarch (helps prevent greasiness by stabilizing the cheese)
- 1/2 cup whole milk (warm, to gently dissolve cheese)
- 1 teaspoon unsalted butter (optional, for extra silkiness)
- Freshly cracked black pepper (to taste)
- Pinch of smoked paprika (for a subtle smoky undertone)
Instructions
- Combine shredded cheeses and cornstarch: Toss the mozzarella, fontina, and cheddar with cornstarch in a bowl to coat evenly. This helps prevent the oils from separating during melting.
- Warm the milk carefully: In a non-stick saucepan over low heat, warm the whole milk until it’s hot but not boiling-around 140°F (60°C). Keep stirring gently.
- Slowly melt the cheese mixture: Gradually add the cheese mixture into the warm milk, stirring constantly with a wooden spoon or rubber spatula. This gradual incorporation ensures a smooth texture without clumping or oil separation.
- Add butter and spices: Once melted, stir in the butter, black pepper, and smoked paprika. The butter enriches the melt and rounds out flavor, avoiding dryness.
- Simmer gently and stir: Keep the mixture on low heat, stirring continuously for 5-7 minutes until it’s silky, stretchy, and thickened to your liking. Avoid overheating, which can cause the cheese to seize and become grainy.
- Remove from heat and use immediately: For best results, serve the melty cheese warm. If needed, gently rewarm on low heat, stirring to restore smoothness.
Tips for Success
- Choose cheese wisely: Low-moisture mozzarella and fontina melt beautifully without releasing excess oil, unlike many aged or processed cheeses.
- Use cornstarch or flour: Coating your shredded cheese with a bit of starch stabilizes the proteins and prevents oily runoff.
- Avoid high heat: Cheese proteins are sensitive-quick, intense heat forces separation. Slow, gentle warming preserves the creamy texture.
- Freshly grate cheese: Pre-shredded cheese contains anti-caking agents that can alter melting behavior. For the smoothest melt, grate your own.
- Experiment with blends: Combining cheeses balances flavors and melt qualities-try adding a pinch of Gruyère or young cheddar for complexity.
Serving Suggestions
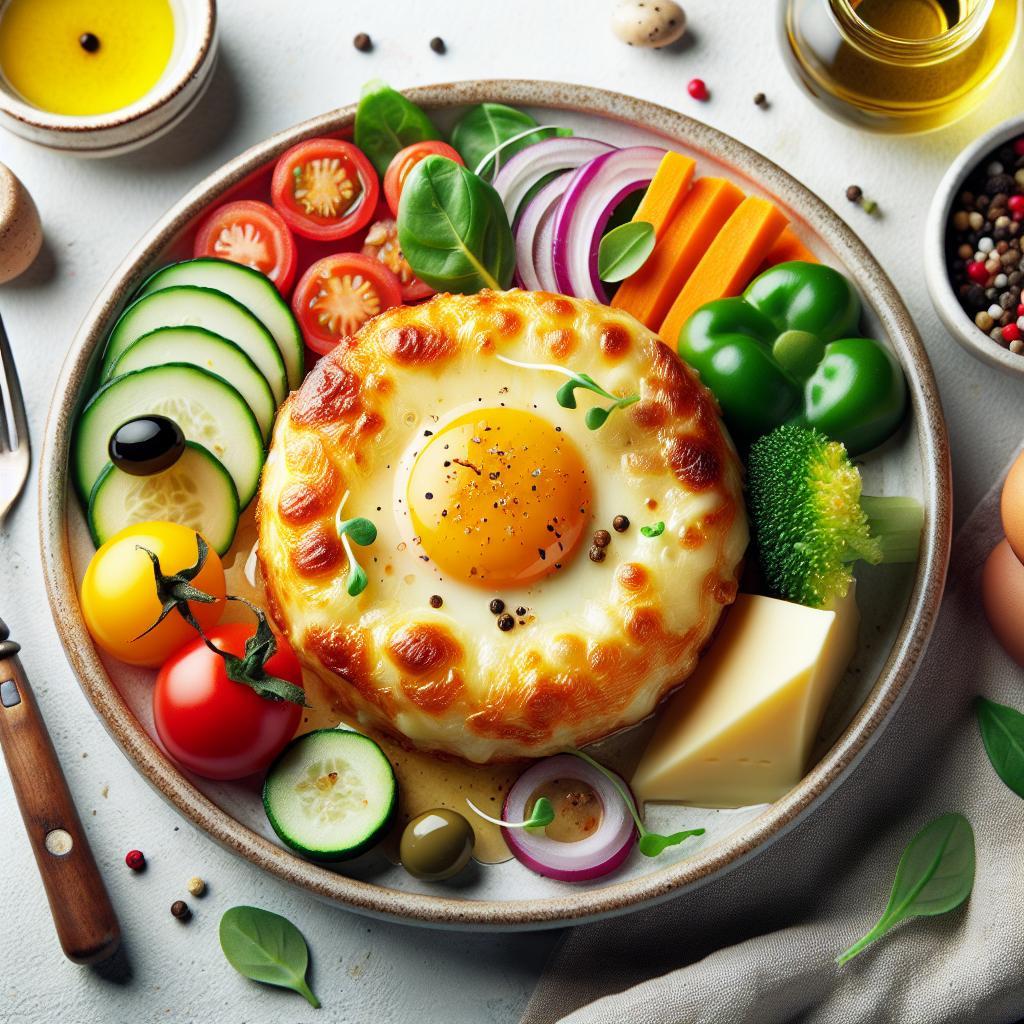
This luscious cheese blend shines as a velvety sauce drizzled over grilled vegetables, stuffed into homemade quesadillas, or as the crowning glory for baked pasta. Garnish with finely chopped fresh herbs like basil or chives for a burst of color and freshness. For an extra touch, sprinkle with crushed red pepper flakes or toasted pine nuts to add texture and subtle heat.

Cheese Melting Chemistry Explained
The magic behind mastering melty cheese lies in the way fats and proteins interact during heating. When cheese is warmed slowly, the fat emulsifies and coats proteins, keeping the texture creamy. Starch draws moisture to stabilize the mixture, preventing oil from separating. This harmony creates the dreamy pull of stringy cheese you crave.
| Nutrient | Per Serving |
|---|---|
| Calories | 320 kcal |
| Protein | 22 g |
| Carbohydrates | 4 g |
| Fat | 25 g |
For further insights and inspiration on cheese chemistry and delicious melt techniques, check out our in-depth ultimate melting guide and authoritative resources like Cultured Food Life’s overview on cheese chemistry.
Q&A
Q&A: Mastering Melty Cheese – Melt Smooth, Skip the Grease
Q1: Why does cheese sometimes turn greasy when melted?
A1: Grease appears when the fat in the cheese separates from the proteins during melting. High-fat cheeses or overheating can cause this split, leaving you with a slick, oily mess instead of a smooth, creamy melt.
Q2: Which cheeses are best for a smooth melt without excess grease?
A2: Look for cheeses with balanced fat and moisture content. Mozzarella, fontina, raclette, and young gouda are stars in the smooth melting game. They melt evenly and remain creamy rather than oily.
Q3: How does temperature control influence cheese melting?
A3: Gentle heat is your best friend. Low and slow melting helps proteins and fats stay together, creating that luscious gooey texture. High heat can break the emulsion, releasing grease and making the cheese tough.
Q4: Can the way you cut or shred the cheese affect melting?
A4: Absolutely! Smaller pieces or finely shredded cheese melt faster and more uniformly. Big chunks might heat unevenly, causing some parts to overcook and release grease, while others stay firm.
Q5: Are there kitchen tricks to prevent greasy melted cheese?
A5: Yes! You can blend cheese with a bit of cornstarch or flour; this acts like a shield that binds fat and moisture, keeping grease at bay. Also, mixing cheeses-like pairing a high-fat cheese with a firmer, drier variety-balances texture and meltiness.
Q6: How about cheese sauce-how to keep it smooth without oily residue?
A6: Start with a roux (butter and flour cooked together) before adding cheese. The flour stabilizes the mixture, preventing fat separation. Also, add cheese off the heat and stir gently to melt it slowly and evenly.
Q7: Is there a difference between melting cheese for cooking versus snacking?
A7: Yes! Cooking often needs sustained gentle heat to ensure melt without grease, especially in sauces or baked dishes. For snacking or topping, using already aged or lower-fat cheeses may reduce grease and keep those perfect strings or bubbles.
Q8: What’s the secret to that perfectly gooey grilled cheese with zero greasiness?
A8: Start with cheese that melts smoothly, slice it evenly, and cook on medium-low heat. Butter your bread sparingly and avoid too much oil or butter in the pan. Covering the sandwich briefly helps cheese melt through without burning the bread.
Q9: Can melting cheese be influenced by moisture content?
A9: Yes, moisture works like the glue for smooth melting. Too little moisture and cheese turns crumbly or oily; too much and it becomes watery. Opt for cheeses with balanced moisture levels for that ideal silkiness.
Q10: Final pro tip-what’s the one thing to remember about mastering melty cheese?
A10: Patience is key. Melty cheese is all about slow love-low temperature, balanced ingredients, and gentle hands. Rush the melt, and you’ll end up with grease instead of that perfect luscious ooze. Slow and steady wins the melt!
Key Takeaways
As you embark on your next cheesy adventure, remember: mastering melty cheese isn’t just about heat-it’s about harmony. By carefully selecting your cheese, controlling the temperature, and embracing a few simple techniques, you can achieve that irresistibly smooth melt without a greasy aftermath. Say goodbye to oily disappointments and hello to velvety, luscious layers that elevate every dish. So go ahead-melt with confidence, savor the silky perfection, and let your cheese creations shine as the star they were always meant to be. Happy melting!


