

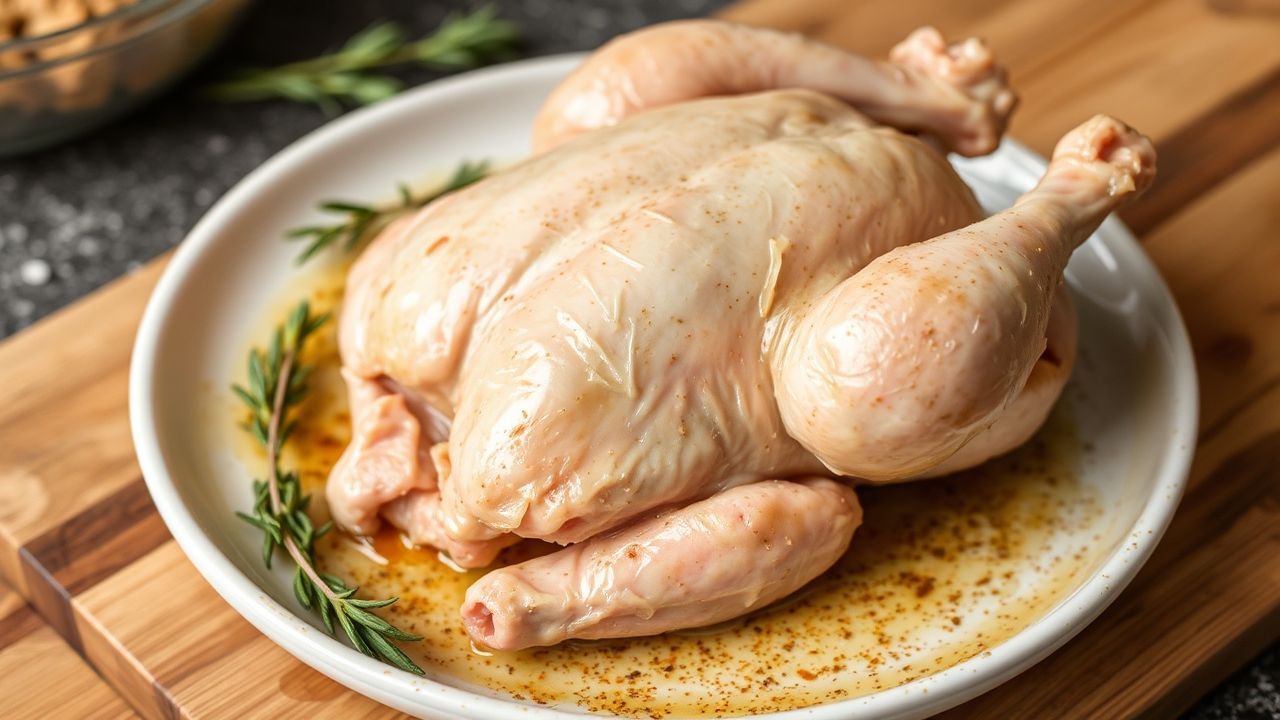
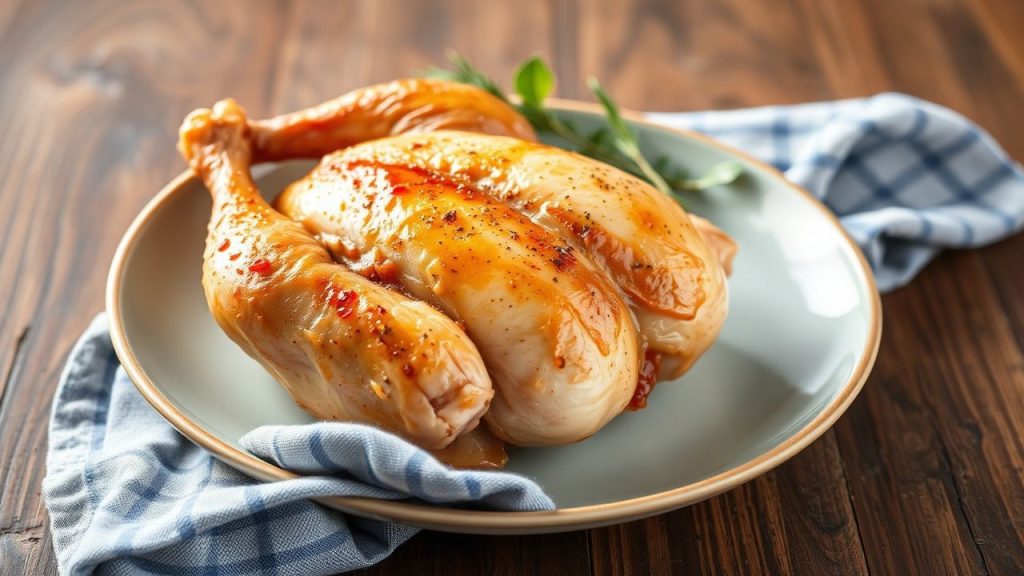
Imagine biting into a chicken with skin that snaps and crackles. Wet skin changes how heat interacts with the surface and often prevents that crisp finish.
- Understanding the Science Behind Wet Chicken Skin and Cooking Outcomes
- The Impact of Moisture on Crispiness and Texture
- Techniques to Achieve Perfectly Crispy Skin When Starting with Wet Chicken
- Practical Tips to Avoid Common Pitfalls and Enhance Flavor
- Recipe: Crispy Skin Chicken Thighs (from Wet Start)
- Chef’s Notes and Variations
- Nutritional Snapshot
- FAQ
- Why does wet skin prevent crisping?
- Can I still get crisp skin if I marinated the chicken?
- How long should I air-dry chicken in the fridge?
- Does wet skin affect food safety?
- Are there quick hacks if I’m short on time?
- Closing Notes
- Drying first lets heat brown skin instead of steaming it.
- Salt and air-dry speed moisture removal and improve texture.
- Use high dry heat to render fat and trigger browning reactions.
- Thermometer-led cooking guarantees safe, juicy meat without overcooking.
Understanding the Science Behind Wet Chicken Skin and Cooking Outcomes
Wet skin forces the surface to spend time evaporating water before it can reach the temperatures needed for browning. During that phase, steam forms and softens the skin, which produces a limp texture rather than a crisp one.
Fat under the skin must render and reach 300–320°F localized surface temps to crisp properly, but water must leave first. The Maillard reaction is the key chemistry that creates brown color and savory flavor; it requires a dry, hot surface to activate reliably. See Maillard reaction for the background on browning.
The Impact of Moisture on Crispiness and Texture
When surface moisture is present, the cooking mode shifts from dry-heat browning to wet steaming. Steam keeps the skin temperature near 212°F until most water evaporates, which delays fat rendering and Maillard browning.
Excess moisture also traps heat under skin folds and between pieces. That increases overall cooking time and can lead to uneven doneness if you push heat to compensate. For controlled drying, chilling on a rack in the refrigerator works well; learn more about refrigeration basics at Refrigerator.
Techniques to Achieve Perfectly Crispy Skin When Starting with Wet Chicken
Start by removing surface water. Pat each piece with absorbent paper, then allow air-drying on a wire rack when time permits. Drying reduces the steaming window and gets skin ready to render fat.
Use salt strategically: a short dry brine pulls moisture from the outer layer and seasons the skin. For details on the method, review the general concept at Brining. When you’re short on time, patting and a quick rest in the fridge still helps.
Best cooking methods
Choose dry-heat techniques like high-heat roasting, pan-searing, or grilling to maximize crisping. These methods expose skin to direct heat that both renders fat and triggers Maillard browning.
When searing, maintain medium-high heat so the skin releases from the pan once browned. Overcrowding causes steam to collect between pieces, so give each piece breathing room for air circulation. For an overview of roasting techniques, see Roasting (cooking).
Practical Tips to Avoid Common Pitfalls and Enhance Flavor
Start with room-temperature chicken when possible. Cold meat increases the time the skin spends exposed to heat before the interior reaches safe temperature, which can make achieving a crisp exterior harder.
Brush skin lightly with oil or melted fat to promote even browning. Infuse that fat with garlic or herbs for extra aroma without adding surface moisture.
Salt timing and marinating
Dry brining (salt and rest uncovered) enhances both texture and flavor by extracting and reabsorbing juices while drying the surface. Wet marinades add moisture, so always pat skin dry after marinating to restore crisp potential.
If you brine overnight, place the chicken uncovered on a rack in the fridge for several hours to let the skin dry. That step significantly improves final texture.
Recipe: Crispy Skin Chicken Thighs (from Wet Start)
Yield: Serves 4. This recipe steps through turning damp skin into a crisp finish using common kitchen techniques.
Difficulty: Medium. You need basic but precise timing and a thermometer to finish correctly.
Ingredients
4 bone-in, skin-on chicken thighs; 1 tsp fine sea salt; 1/2 tsp black pepper; 2 tbsp olive oil or rendered chicken fat; 2 cloves garlic, minced; 1 tsp chopped rosemary; optional lemon zest.
Keep ingredients at hand and preheat the oven to ensure the pan is hot when you begin searing.
Instructions
Pat the thighs thoroughly dry with paper towels. For improved results, place them on a wire rack uncovered in the refrigerator for 2 hours or overnight to evaporate surface moisture.
- Preheat oven to 425°F (220°C).
- Mix oil, garlic, and rosemary; brush over the skin. Season with salt and pepper.
- Heat an oven-safe skillet over medium-high heat until shimmering. Add 1 tbsp oil or fat.
- Place thighs skin-side down, spaced apart. Sear without moving until golden and crisp, about 6–8 minutes.
- Flip thighs and transfer skillet to the oven. Roast uncovered 20–25 minutes until internal temp reads 165°F (74°C).
- Optional: Broil 1–2 minutes to finish crisping, watching closely to prevent burning.
- Rest on a wire rack for 5 minutes before serving; finish with lemon zest.
Use a probe thermometer for accuracy and avoid overcooking. For an expanded method, visit our Perfect Roast Chicken guide for related techniques and variations.
Chef’s Notes and Variations
For extra crunch, finish on a hot grill for 2–3 minutes over indirect heat. Swap rosemary for thyme or smoked paprika to alter the aroma profile.
If time is limited, thorough patting and immediate searing still produce strong results. Leftovers work well cold or reheated gently to preserve skin texture.
After resting, serve the thighs on a warm platter with roasted vegetables or a crisp green salad. Garnish with fresh herbs and lemon wedges for brightness.
Nutritional Snapshot
Per serving approximate values: 370 kcal, 30 g protein, 0 g carbs, 27 g fat. Values vary with skin and fat retained.
Keeping the skin on increases fat and calories but preserves moisture and flavor. Use portion control and pair with vegetables for balance.
FAQ
Why does wet skin prevent crisping?
Wet skin creates a steam layer that holds the surface temperature near the boiling point of water. That steam delays fat rendering and stops the Maillard reaction until the moisture evaporates.
Drying the surface first removes the steam and lets direct heat brown the proteins and sugars on the skin.
Can I still get crisp skin if I marinated the chicken?
Yes. Pat the skin dry thoroughly after marinating, then air-dry on a rack if time allows. A brief dry-brine with salt after marinating also helps remove extra surface moisture.
Remember that heavy wet marinades add liquid back to the skin, so plan a drying step before cooking.
How long should I air-dry chicken in the fridge?
Two hours is a practical minimum for noticeable improvement. Overnight drying produces better results when you have the time.
Place the chicken on a wire rack set over a tray to collect drips. For background on refrigeration and food handling, see Food safety.
Does wet skin affect food safety?
Surface moisture itself does not make the chicken unsafe. The risk appears when uneven cooking due to longer cooking times leaves parts below safe temperature. Use a meat thermometer to confirm 165°F (74°C).
Follow standard hygiene and storage practices. For more on safe handling, consult our internal chicken safety resource.
Are there quick hacks if I’m short on time?
Pat dry vigorously and rest uncovered in the fridge for 20–30 minutes if possible. Otherwise, sear on high heat and finish in a hot oven, but monitor closely to prevent burning.
A final one- to two-minute broil can crisp stubborn spots, but keep the bird a safe distance from the element to avoid flare-ups.
Closing Notes
Moisture on chicken skin dictates whether heat browns or steams the surface. Control that moisture with drying, salt, and dry-heat cooking to get predictable, crispy results.
Practice the small steps—patting, resting, and using a thermometer—and you will reliably transform wet-start chicken into a crisp, flavorful dish.
See also: chicken skin


