

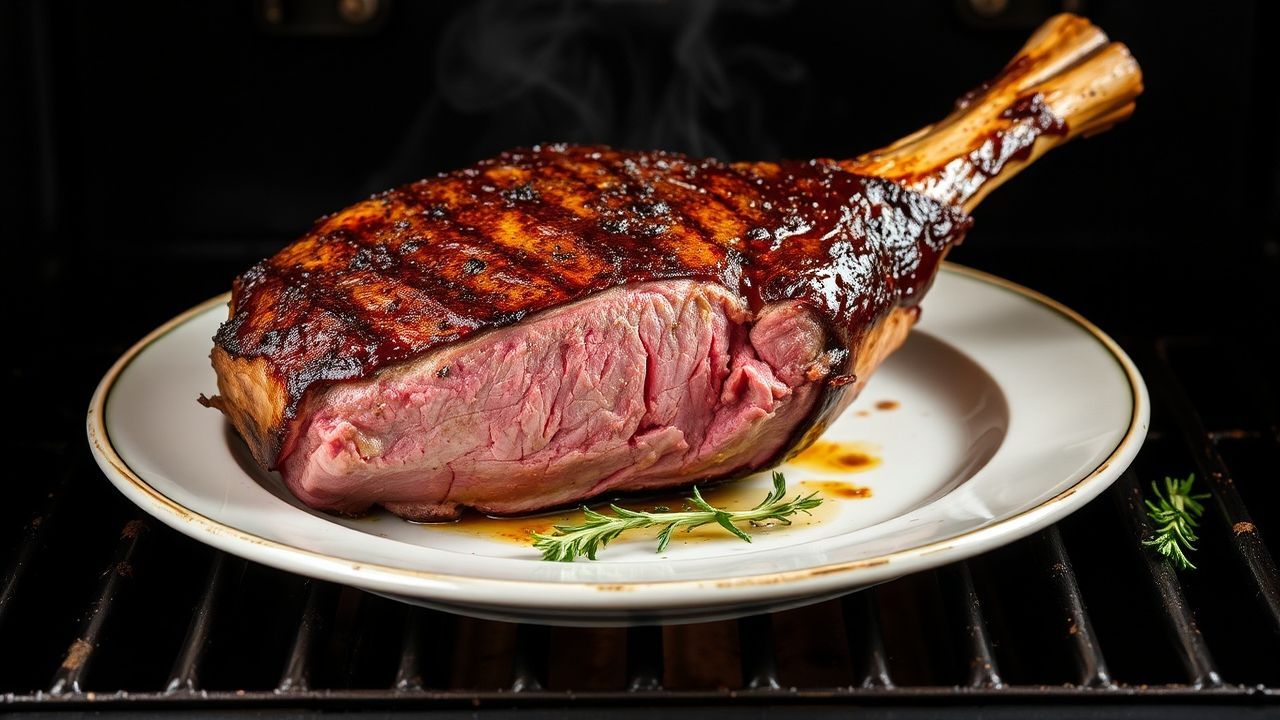
Mastering Thick Meat: Secrets to Even Roasting Perfection
Roasting a thick cut well requires controlled heat, timing, and simple technique. When you handle each step deliberately, the result becomes a reliably tender, evenly cooked roast that impresses guests.
- Why thickness changes everything
- At the range: Prep and cook time
- Ingredients and equipment checklist
- Step-by-step instructions
- Basting, aromatics, and moisture control
- Resting and carving: finish like a pro
- Flavor variations and rubs
- Serving suggestions and pairings
- Nutrition snapshot
- Final notes on mastering thick cuts
- FAQ
- Slow, steady heat yields uniform doneness through the center.
- Thermometer use removes guesswork and prevents overcooking.
- Resting locks juices and improves sliceability.
Why thickness changes everything
Thick cuts behave differently from thin steaks because heat must travel farther to reach the center. That creates a risk of a well-browned exterior with an undercooked core unless you manage temperature and time carefully.
Understanding heat transfer in meat helps you plan the roast. The surface browns via the Maillard reaction, while internal temperature rises by conduction; balance both for best results.
At the range: Prep and cook time
Allow at least one hour for the meat to come to near-room temperature; this reduces the gap between exterior and core temperatures. For many 2–4 inch roasts, plan a long, low roast of 1.5 to 3 hours followed by a short rest and a finish sear if desired.
Temperature targets matter. Pull roasts several degrees below your final target to allow for carryover heat during resting and to hit the desired doneness precisely.
Ingredients and equipment checklist
Gather a reliable probe thermometer, a sturdy roasting rack, a rimmed pan, and a heavy skillet for searing. Use coarse kosher salt, freshly cracked black pepper, whole garlic, and fresh herbs for classic flavor.
Choose marbled cuts such as ribeye or sirloin for natural basting from fat. If you prefer pork or lamb, apply the same principles: steady low heat, accurate temperature checks, and adequate resting time.
Step-by-step instructions
1. Bring to temperature: Remove meat from refrigeration at least 45–60 minutes before cooking. This reduces shock from cold and promotes even heat penetration.
2. Score and season: Pat dry, then score the fat cap lightly. Season generously with salt and pepper; for deeper seasoning, salt the roast several hours ahead and refrigerate uncovered to dry the surface for a crisper crust.
Oven method
Preheat the oven to a low setting (around 275°F / 135°C) for gradual cooking. Insert a probe thermometer into the thickest section and place the roast on a rack to allow air circulation underneath.
Roast slowly until the internal temperature reaches 5–10°F below your final target. For medium-rare, remove at about 125°F (52°C) and finish with a brief high-heat sear if you want a deeper crust.
Sear-first (reverse sear vs. traditional sear)
For maximum crust control, use the reverse-sear: roast low, then sear hot at the end. This method produces a consistent edge-to-edge color and precise doneness with a caramelized exterior.
Alternatively, sear first in a hot skillet, then finish at low oven temperature. Both methods work; choose based on available time and the crust intensity you prefer.
Basting, aromatics, and moisture control
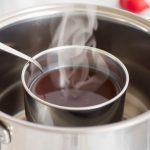
Basting every 20–30 minutes keeps the surface moist and adds flavor, but avoid overbasting and cooling the roast with cold liquids. Use warm stock or pan juices when basting to maintain oven temperature.
Tuck sprigs of thyme and rosemary alongside the roast rather than directly under the meat to infuse aroma without burning. For added moisture retention, consider a light brine for pork or a dry-brine for beef; both techniques adjust protein structure to hold more juices.
Learn more about brining techniques from a concise reference on brining.
Resting and carving: finish like a pro
Resting is non-negotiable. Tent the roast loosely with foil and rest 15–25 minutes depending on size; this lets juices redistribute and allows carryover temperature to settle.
Slice against the grain in even 1/4-inch to 1/2-inch cuts to maximize tenderness. Use a long, sharp slicing knife or a carving knife and a steady sawing motion for clean edges.
After resting, serve immediately to preserve the ideal texture. If you must hold slices, place them loosely in a shallow pan and cover; reheat gently at low oven heat to avoid further cooking.
Flavor variations and rubs
Create a rub with smoked paprika, garlic powder, and mustard powder for a savory crust. For herbed profiles, press chopped rosemary and thyme into the fat after scoring for direct infusion.
When using acidic marinades, limit contact time for tougher cuts to prevent breakdown of surface proteins that can lead to a mushy exterior. Salt-based dry rubs remain safest for long roasts.
Serving suggestions and pairings
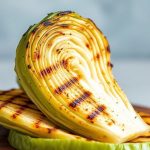
Serve the roast with creamy mashed potatoes, roasted root vegetables, and a glossy pan jus for classic balance. Bright garnishes such as chimichurri or a lemon-herb vinaigrette cut through richness and refresh the palate.
For wine, select full-bodied reds like Cabernet Sauvignon or Malbec to match the roast’s intensity. Also consider bold beers or fortified wines for contrast.
Explore practical roasting variations in our internal guides: perfect beef roast guide and roasting techniques for step-by-step photos and timing charts.
Nutrition snapshot
Approximate nutrition per serving varies by cut and trimming level. A 4 oz serving of a trimmed ribeye roast typically contains significant protein and fat; balance portions with vegetables for a complete plate.
Use nutrition calculators or product labels for precise dietary planning, and adjust serving sizes to meet caloric goals for your meal.
| Nutrient | Per Serving (approx.) |
|---|---|
| Calories | 520 kcal |
| Protein | 45 g |
| Carbohydrates | 2 g |
| Fat | 38 g |
Final notes on mastering thick cuts
Focus on temperature control, a reliable thermometer, and patient timing to tame thick cuts. When you combine those elements, you create repeatable results and a roast that cuts clean and tastes consistent.
Study the science behind browning and moisture management, then practice on different muscles to learn how each cut responds. For more reading on cooking techniques, review the general overview of roasting.
FAQ
How long should I roast a 4 lb ribeye for medium-rare?
Roast at 275°F (135°C) and remove at about 125°F (52°C) internal temperature. Expect roughly 1.5–2.5 hours depending on oven stability and roast shape, then rest 15–20 minutes.
Do I need to sear before roasting?
Searing is optional but recommended for deeper crust and flavor via the Maillard reaction. You can sear first or use a reverse-sear after a low roast to achieve similar results with more precise internal doneness.
Can I brine a beef roast?
Dry-brining with salt works well for beef; it enhances flavor and surface dryness for better crust. Wet brining suits leaner proteins like pork; adjust times to avoid over-salting.
What temperature is safe for consuming beef?
Food safety guidelines note that ground beef requires higher internal temperatures than whole-muscle cuts. For whole cuts, target temperatures for doneness (rare to well-done) align with preferred texture and safety; use a thermometer to verify the internal temperature before resting.
How do I keep the roast moist if I need to reheat it?
Reheat gently in a covered dish at low oven heat (about 250°F / 120°C) with a splash of stock to recreate moisture. Avoid microwave reheating for large slices, as it drives out juices and creates uneven texture.
Consistent practice and careful use of tools reward you with predictable, tender results. Master these steps, and thick meat will become your most reliable centerpiece.
See also: Thick meat
