

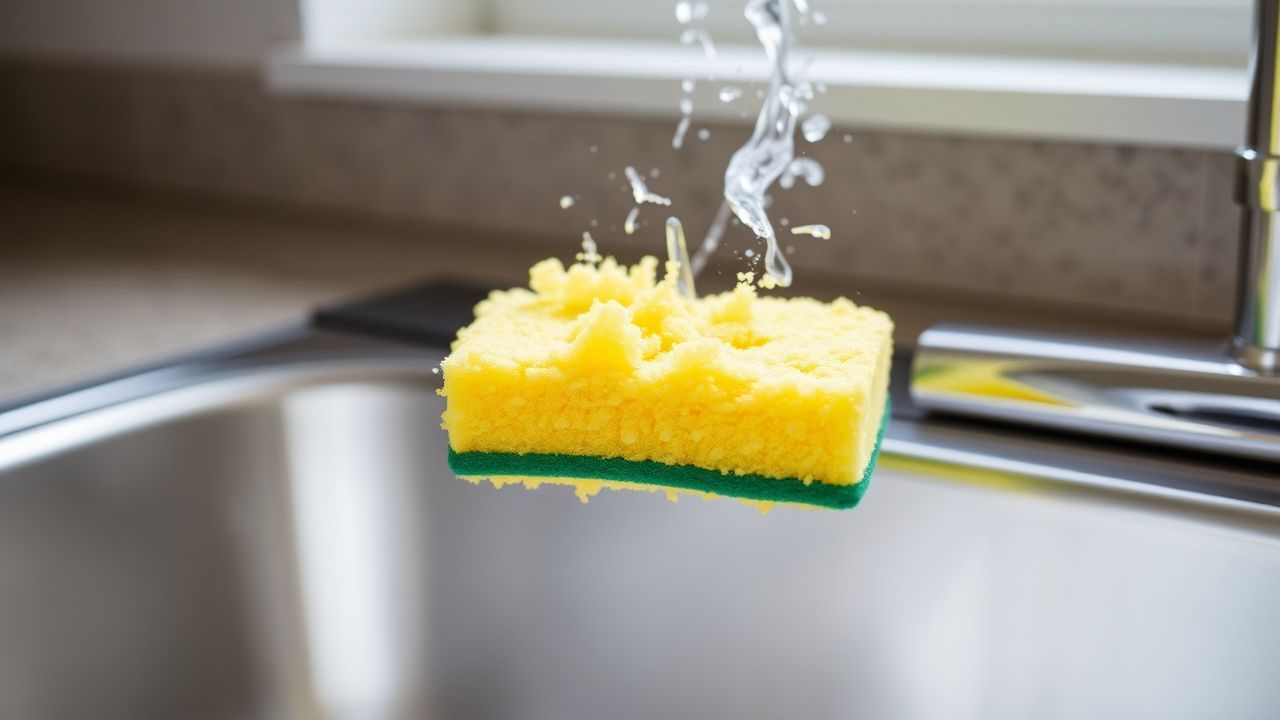
When Your Sponge Stinks: Health Risks and Safe Solutions
A foul-smelling kitchen sponge signals more than poor scent control; it signals a hygiene problem that can affect food safety and household health.
- Health Risks of a Smelly Sponge
- How Microbes Survive in Sponges
- Effective Sanitizing Methods
- Routine, Storage and Replacement
- When to Replace a Sponge
- Alternatives to Traditional Sponges
- Ingredients, Prep and Timing
- Practical Tips for Long-Term Success
- FAQ
- Why does my sponge smell even after rinsing?
- Is microwaving a sponge safe?
- Can I use a bleach solution on sponges?
- How often should I replace my sponge?
- Are silicone scrubbers better than sponges?
- Final Notes
- Smelly sponges harbor bacteria that can transfer to dishes and surfaces.
- Simple sanitizing steps reduce microbial load if you follow correct methods.
- Regular replacement and drying are as important as disinfecting.
Health Risks of a Smelly Sponge
Sponges trap food residue and remain damp between uses, creating an ideal environment for microbes to multiply. Bacteria such as Escherichia coli and other enteric organisms may persist in porous fibers and later transfer to plates, utensils, or cutting boards.
Cross-contamination from a contaminated sponge can contribute to foodborne illness, especially when the same sponge contacts raw proteins and ready-to-eat items. Therefore, managing sponge hygiene reduces a realistic pathway for pathogens to reach the mouth.
How Microbes Survive in Sponges
Microorganisms survive when moisture, food particles, and warmth coincide. The sponge’s porous structure shelters microbes from drying and light, allowing colonies to form quickly after each use.
Biofilms can develop on sponge fibers, creating a protective matrix that resists brief rinses. For context on microorganisms in general, see bacteria, which explains how microbial populations persist in moist environments.
Effective Sanitizing Methods
Not all cleaning methods deliver the same microbial reduction. Select techniques proven to heat or chemically disrupt microbes and follow safe handling steps to avoid injury or damage.
Below are practical, evidence-based options you can apply at home, depending on available equipment and sponge type.
Microwave Method
Place a thoroughly wet sponge in a microwave-safe container and heat on high for 1–2 minutes. The combination of steam and heat inactivates many microorganisms when the sponge reaches high temperatures quickly.
Always ensure the sponge is saturated before microwaving to prevent ignition. For safety, allow the sponge to cool before handling and avoid metal scrubbers in the microwave.
Dishwasher Method
Running a sponge through a full dishwasher cycle with high-heat drying reduces microbial load by applying hot water and heat. This works best with sponges that tolerate agitation and elevated temperatures.
Place the sponge on the top rack or in a utensil basket. Confirm your dishwasher’s heated dry setting or sanitize cycle to improve effectiveness.
Soak-and-Rinse Chemical Options
Soaking sponges in a diluted household sanitizer—such as a mild bleach solution or white vinegar—offers a chemical disinfection route. Mix and exposure times matter: use recommended concentrations and rinse thoroughly after treatment.
Vinegar provides mild acid-based disinfection and a fresh scent; for information on vinegar chemistry and uses, consult vinegar. Avoid mixing different cleaners, especially bleach with acids, to prevent hazardous fumes.
Routine, Storage and Replacement
Sanitizing works best when paired with daily habits that reduce microbial growth. Squeeze out excess water, rinse after each use, and store the sponge so air circulates around it.
Elevated caddies, open racks, or wall-mounted holders keep sponges from pooling water on countertops. Regular drying interrupts the moist conditions microbes need to thrive.
When to Replace a Sponge
Replace kitchen sponges frequently—commonly every 1–2 weeks for heavy-use kitchens. Replace sooner if the sponge tears, smells strongly after sanitizing, or shows visible mold.
Natural cellulose sponges compost well when discarded; synthetic sponges should go into regular waste unless your local program accepts them for recycling. Use replacement as a final control step after good cleaning routines.
Alternatives to Traditional Sponges
Silicone scrubbers, brushes, and single-use cloths reduce persistent moisture and allow faster drying than porous sponges. These alternatives can lower the frequency of microbial regrowth and are easier to sanitize.
For jobs involving raw meat juices, dedicate separate tools to prevent cross-contamination. Reusable brushes with open bristles often dry faster and shed fewer microbes than dense sponges.
Ingredients, Prep and Timing
For common home sanitizing, you need only simple items: warm water, dish soap, white vinegar, or a household bleach solution at safe dilution. Timing varies: microwaving takes minutes; soaking may require hours.
Example routine: rinse, soak in a vinegar solution for 10–30 minutes when needed, microwave wet for 1–2 minutes, then air dry in a ventilated holder. Always rinse off chemical residues before using the sponge on dishes.
Practical Tips for Long-Term Success
Adopt small daily habits that reduce sponge odor and contamination. Squeeze and rinse thoroughly after each use, rotate sponges so one can dry fully, and keep sponges away from sink basins filled with dishwater.
Pair these habits with periodic sanitizing and timely replacement. For related cleaning routines and quick checklists, visit our internal guides on Regular Kitchen Cleaning Essentials and Choosing Kitchen Cleaning Tools.
FAQ
Why does my sponge smell even after rinsing?
Rinsing removes surface debris but leaves microbes within the sponge pores. Those microbes produce volatile compounds that cause persistent odors.
Use a heat or chemical sanitizing method to reduce the microbial population, and allow the sponge to dry between uses to prevent recurrence.
Is microwaving a sponge safe?
Microwaving a wet sponge for 1–2 minutes is effective when done correctly: the sponge must be saturated, microwave-safe, and monitored. This method uses steam and heat to inactivate microbes.
To avoid burns or fire risk, let the sponge cool before handling and do not microwave sponges that contain metal or abrasive inserts.
Can I use a bleach solution on sponges?
Yes—diluted household bleach disinfects effectively at recommended concentrations. Mix according to the manufacturer’s label and rinse thoroughly after soaking.
Avoid combining bleach with acids like vinegar, and store chemicals safely away from children and pets.
How often should I replace my sponge?
Replace sponges every 1–2 weeks in busy kitchens or sooner if they smell, break down, or show mold. Replacement frequency depends on use intensity and the sponge material.
Using heat-tolerant alternatives or quick-drying tools can extend usable life but not eliminate the need for regular replacement.
Are silicone scrubbers better than sponges?
Silicone scrubbers dry faster and are less porous, which reduces microbial niches. They often resist odors and tolerate high-heat cleaning methods.
However, they still require routine cleaning and occasional replacement when worn. Choose the tool that fits the task and your sanitizing routine.
Final Notes
Addressing a smelly sponge involves both targeted sanitizing and consistent daily handling. Combine heat or chemical methods with drying, separation of tasks, and timely replacement to protect your kitchen from cross-contamination.
Apply these measures, and your sponge will return to a safe, functional role in meal cleanup rather than becoming a hidden hygiene risk.
See also: sponge odor


