

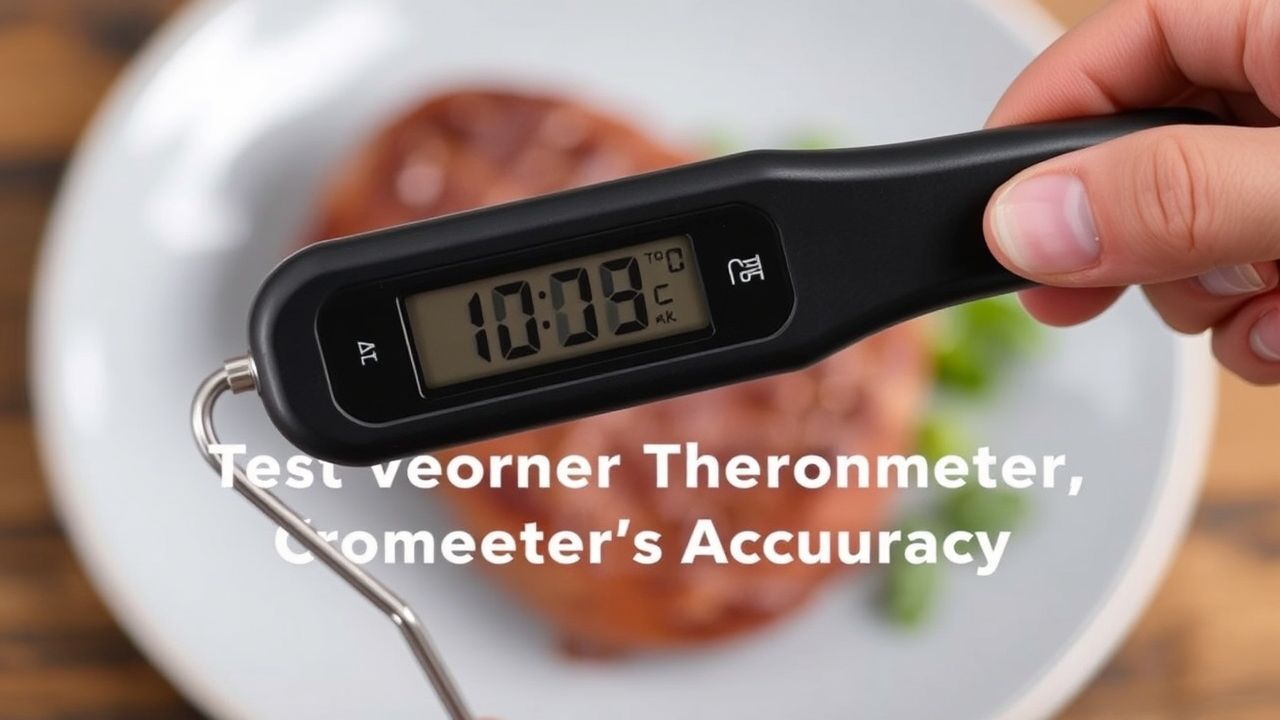
There’s nothing more satisfying than slicing into a perfectly cooked roast or pulling a juicy steak from the grill at exactly the right moment. A reliable meat thermometer makes that consistency possible, but even good instruments can drift over time.
- Choosing the Right Meat Thermometer for Reliable Readings
- Step-by-Step Methods to Calibrate Your Meat Thermometer at Home
- Common Accuracy Issues and How to Troubleshoot Them
- Pro Tips for Maintaining and Storing Your Meat Thermometer for Longevity
- Practical Uses: When Accuracy Matters Most
- At-Home Test Plan: A Quick Checklist
- FAQ
- How often should I check my meat thermometer?
- Can I trust a cheap thermometer if it passes the ice and boil tests?
- Does altitude affect thermometer tests?
- What accuracy tolerance should I accept?
- Can I use the same tests on smoker and oven probe thermometers?
- Final Thoughts
- Check accuracy regularly with ice and boiling tests.
- Keep ±1°F accuracy as a practical target for food safety and quality.
- Calibrate, replace batteries, and inspect probes to avoid skewed readings.
- Store and clean properly to extend service life and performance.
Choosing the Right Meat Thermometer for Reliable Readings
Selecting the correct thermometer sets the baseline for accurate cooking. Choose a device that matches the cooking technique you use most often: instant-read for quick checks, probe-style for unattended roasts, or oven probes for long cooks.
Look for a stated accuracy of ±1°F when possible and prefer probes made from food-grade stainless steel. Also consider response time, waterproof rating, and whether the unit supports field recalibration.
Types and features that matter
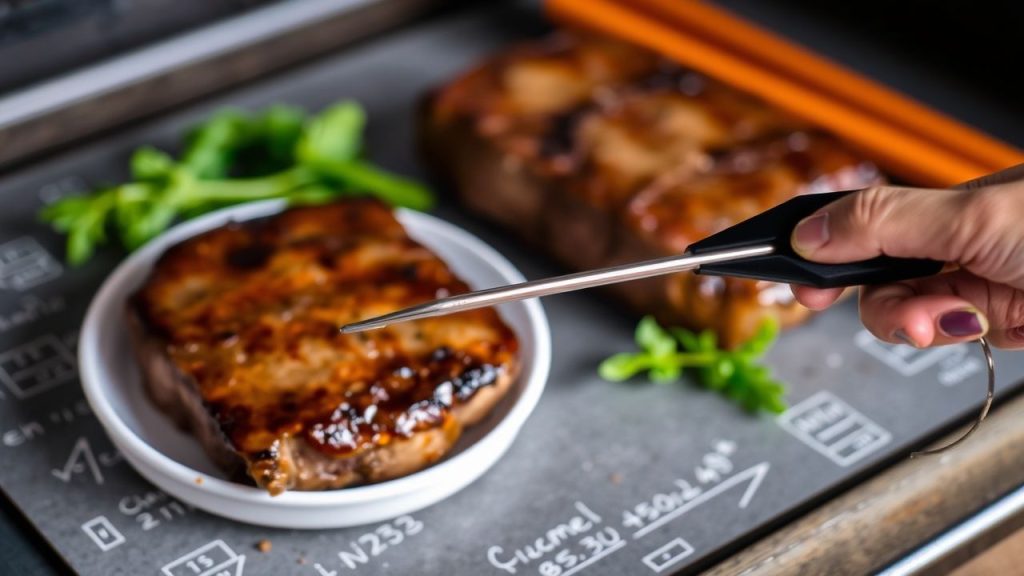
Instant-read digital thermometers give fast readings and are ideal for finishing steaks and chops. Probe thermometers with wired or wireless transmitters monitor internal temps during long roasts and smoking sessions.
Analog dial thermometers work, but they generally lack the precision and quick response of quality digital probes. For most cooks, a calibrated digital probe with a stainless-steel shaft provides the best balance of speed and durability.
Step-by-Step Methods to Calibrate Your Meat Thermometer at Home
Two simple lab-style checks give you verifiable reference points: an ice-water bath for the freezing point and a pot of boiling water for the boil point. Both are quick, repeatable, and require only common kitchen items.
Perform these checks on a stable surface and avoid contact with metal sides or pot bottoms. Record readings and use your device’s calibration option or note the offset if recalibration is not available.
Ice bath method (freezing point)
Fill a tall glass with crushed ice, add cold water, and stir to create an ice-water slurry. Insert the probe so it sits fully in the chilled water but does not touch the glass walls or bottom.
The accurate reference is the freezing point of water, 32°F (0°C). A properly calibrated probe should read within about ±1°F of that mark after 30 seconds.
Boiling water method (boil point)
Bring a pot of fresh water to a rolling boil and suspend the probe in the steam above the bubbles, avoiding contact with the pot sides or bottom. Wait for the reading to stabilize.
At sea level, the reference is the boiling point of water, 212°F (100°C). Adjust expectations if you cook at altitude; higher elevation lowers the boiling temperature.
Common Accuracy Issues and How to Troubleshoot Them
Temperature errors usually come from a few repeatable causes: dirty or bent probes, low batteries, or calibration drift. Diagnose quickly by running the ice and boiling tests and noting consistent offsets.
If readings shift between tests, replace batteries first, then inspect the probe for physical damage or debris. Clean the shaft with warm, soapy water and a soft cloth before retesting.
Digital units may offer a user-accessible calibration screw or menu reset. For units without calibration, track the offset and mentally correct readings, or replace the unit if the error exceeds about 2°F.
Slow response and inconsistent values
Slow response often comes from residue coating the probe. Even a thin grease film insulates the sensor and delays equilibrium. Clean and dry the probe thoroughly and repeat the check.
If results still vary, swap in fresh batteries, or try the thermometer in several different cups of ice water to confirm whether the issue is repeatable. Intermittent faults usually mean internal electronics are degrading.
Pro Tips for Maintaining and Storing Your Meat Thermometer for Longevity
Routine care keeps readings reliable. Clean the probe after every use, store the unit in its protective case, and remove batteries during long-term storage to avoid leakage and corrosion.
Handle probes gently; do not bend the shaft or drop the unit on hard surfaces. Even a small kink in a probe can change how the sensor reads temperatures.
For cooks who travel or smoke outdoors, choose IP-rated or explicitly waterproof models. High humidity and temperature swings accelerate wear in non-sealed units.
Practical Uses: When Accuracy Matters Most
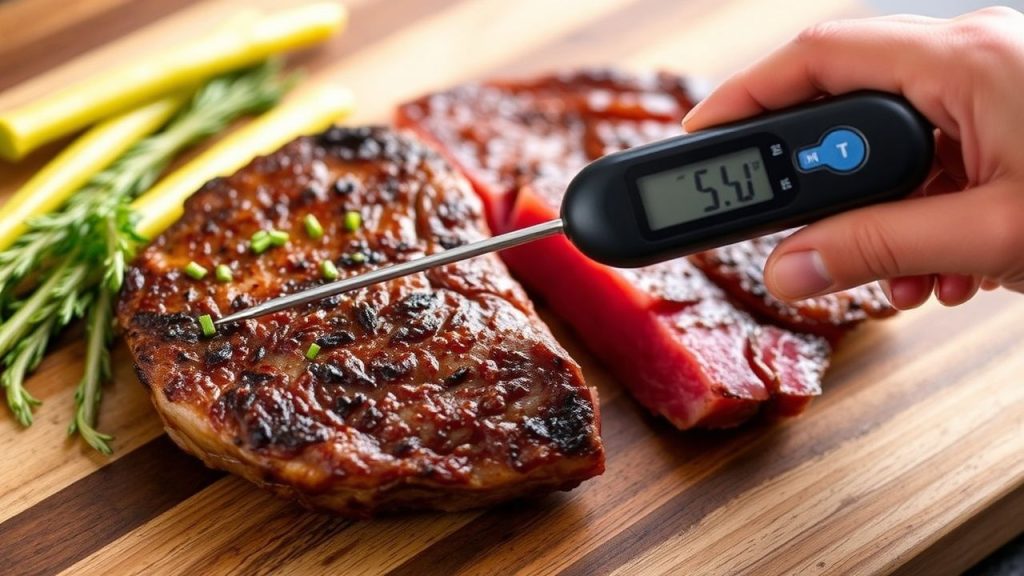
Poultry, large roasts, and ground meats demand precise internal temperatures to ensure safety. Conservative targets and trusted readings prevent undercooking without sacrificing juiciness.
For sous-vide and candy work, probe accuracy and calibration are essential because small temperature differences produce big changes in texture. Verify instruments before critical cooks.
For reference on safe final internal temperatures and food handling, consult reputable public guidance such as the food safety resources maintained by public health authorities.
At-Home Test Plan: A Quick Checklist
Run this checklist before any important cook: check batteries, clean probe, ice-test, boil-test, and note any consistent offsets. If offsets exceed about 2°F, recalibrate or replace.
Keep a small notebook or digital note with recorded offsets for each thermometer you own. That habit saves time and prevents guesswork during service.
For step-by-step usage of instant-read devices, see our internal guides: how to use an instant-read meat thermometer and best meat thermometers for purchasing advice.
FAQ
How often should I check my meat thermometer?
Test before any major cook and at least monthly with regular use. Physical shocks, heat exposure, and battery changes can shift accuracy, so quick checks are inexpensive insurance.
Can I trust a cheap thermometer if it passes the ice and boil tests?
Yes, a basic unit that reads accurately at both reference points can be trusted for many cooks. However, cheaper units may drift sooner and often lack rugged construction for heavy use.
Does altitude affect thermometer tests?
Yes. The boiling point of water drops as elevation increases. See the altitude relationship and adjust expectations when using the boiling test at higher elevations.
What accuracy tolerance should I accept?
A practical target is ±1°F for most cooking purposes. When safety margins are tight, such as poultry or cured meats, keep devices within that tolerance or replace them when they exceed it.
Can I use the same tests on smoker and oven probe thermometers?
Yes. The ice and boiling checks apply to oven probes, smoker controllers, and candy thermometers within their intended ranges. Confirm that the probe’s rated range includes your test points first.
Final Thoughts
Testing a meat thermometer is a low-effort, high-impact habit. Accurate readings protect health and improve flavor by preventing over- or undercooking.
Use the simple ice and boil checks regularly, maintain the probe and battery compartment, and replace compromised units. Small steps produce consistent, professional-level results in any kitchen.
See also: meat thermometer


