
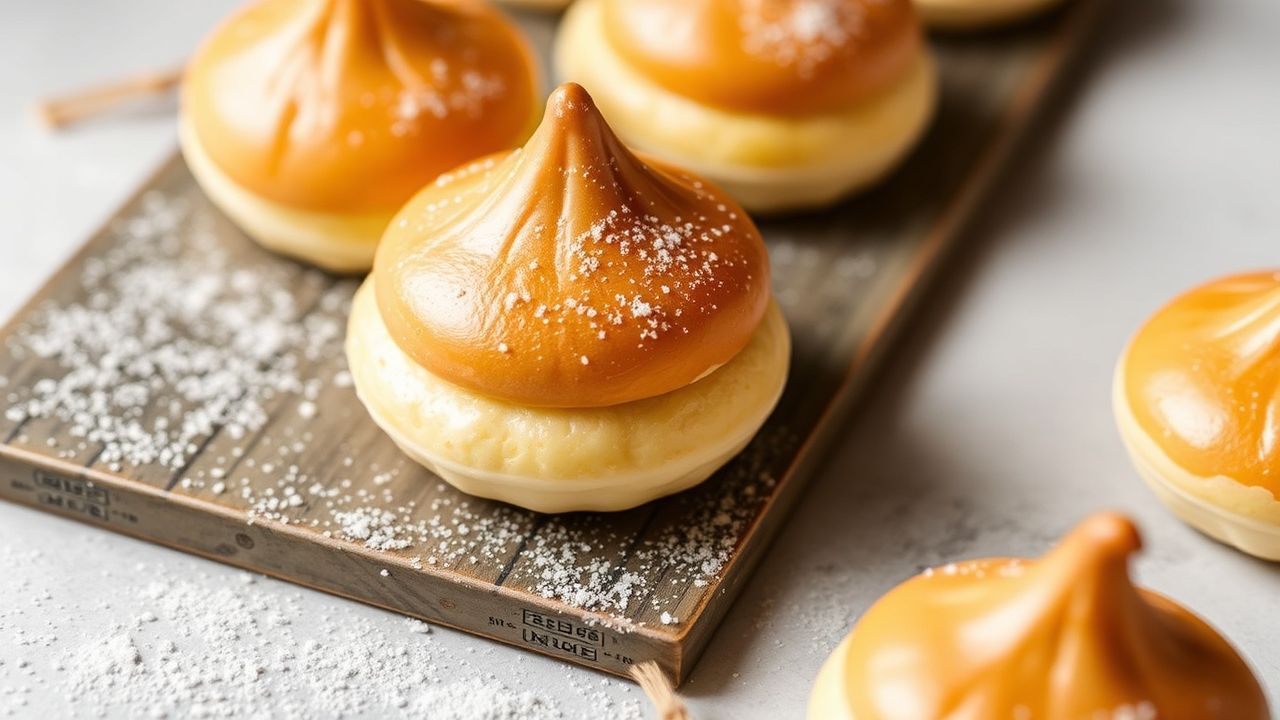

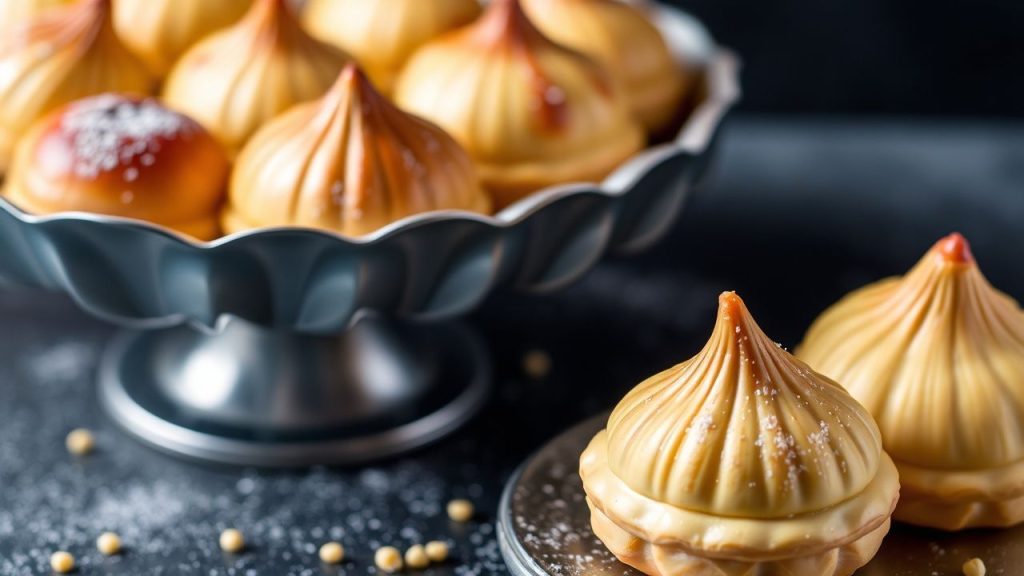
In the world of baking, few items show technique and chemistry so clearly as choux pastry. These hollow, crisp shells form when precise heat, moisture, and flour interactions meet careful technique.
- Understanding the Chemistry of Choux Dough for Flawless Texture
- Ingredients, Yield and Equipment
- Ingredients
- Step-by-Step Technique (Precise Method)
- Common Problems and Troubleshooting
- Tips for Success: Unlocking the Secrets to a Perfect Rise and Crispness
- Serving Suggestions and Internal Resources
- Nutritional Snapshot
- FAQ
- What makes choux pastry unique compared to other pastries?
- Why is the stovetop cooking step essential?
- How do I know when eggs are fully incorporated?
- Why do my shells collapse after baking?
- Can I freeze choux shells?
- Final Notes
- Steam is the leavening agent: water content and oven heat control rise.
- Starch gelatinization builds structure: the panade step matters.
- Eggs tune texture: protein and moisture determine pipeability and hold.
- Consistent technique yields repeatable results.
Understanding the Chemistry of Choux Dough for Flawless Texture
The classic pâte à choux creates its lift with steam rather than chemical leaveners. A cooked dough called a panade traps moisture; when heated in the oven, that moisture flashes to steam and expands the matrix, forming a hollow interior.
Starch gelatinization during the stovetop cook step sets the structure so the dough expands without collapsing. Read more about starch gelatinization on Wikipedia: Starch gelatinization.
Gluten plays a controlled role. We do not develop a strong gluten web as with bread; instead, limited protein alignment gives elasticity for puffing while remaining tender. For background see Wikipedia: Gluten.
Eggs supply liquid, fat, and protein that both strengthen and plasticize the dough. The balance between liquid and egg proteins dictates whether the dough is pipeable and whether it holds shape in the oven. See Wikipedia: Egg (food).
Ingredients, Yield and Equipment
Use precise measures. A kitchen scale beats volume cups for repeatability. Standard proportions are about equal parts water and flour by weight once accounting for butter and eggs.
Yield: approximately 24 medium choux buns. Equipment: saucepan, wooden spoon, piping bag with large tip, baking sheets, and a wire rack. For pastry technique context, review Wikipedia: Pâte à choux.
Prep and Cook Time
Preparation: 20 minutes. Use room-temperature eggs for easier incorporation.
Cooking (stovetop + baking): 40 minutes. Bake on middle rack for consistent heat exposure.
Yield
Approximately 24 medium-sized choux buns. Adjust piping size to vary counts.
Difficulty Level
Intermediate. Basic pastry experience helps, but methodical technique yields excellent results for precise bakers.
Ingredients
- 1 cup water, preferably filtered
- 8 tbsp (113g) unsalted butter, cut into cubes
- 1/2 tsp fine sea salt
- 1 tbsp granulated sugar (optional for sweeter dough)
- 1 cup all-purpose flour, sifted
- 4 large eggs, at room temperature
Step-by-Step Technique (Precise Method)
1. Preheat the oven to 400°F (200°C). Prepare two baking sheets with parchment or silicone mats.
2. Combine water, butter, salt, and sugar in a medium saucepan over medium-high heat. Heat to a rolling boil while stirring so the butter fully melts and the mixture is homogeneous.
3. Remove the pan from heat and add all the sifted flour in one motion. Stir vigorously with a wooden spoon until a smooth ball forms and the dough pulls away from the pan sides, about 1–2 minutes.
4. Return pan to low heat for 1–2 minutes while stirring constantly to evaporate surface moisture. This drying step controls the final water available to generate steam.
5. Transfer the panade to a mixer bowl or large mixing bowl. Let cool 3–5 minutes. Cooling prevents premature cooking of eggs when they are added.
6. Add eggs one at a time, beating after each addition. The dough becomes glossy and ribbon-like when properly hydrated. Stop when the batter falls from a spoon in a thick ribbon.
7. Fit a piping bag with a large round or star tip. Pipe 1.5-inch mounds spaced 2 inches apart. Smooth peaks if necessary with a wet fingertip to reduce cracking.
8. Mist the tops lightly with water or brush gently to remove dry flour. This small surface moisture reduces top splits and yields a smoother shell.
9. Bake at 400°F for 15 minutes, then lower to 350°F (175°C) and bake 20–25 minutes until shells are deeply golden and crisp. Do not open the oven early.
10. Cool on a wire rack. Cooling preserves the hollow interior and keeps shells crisp.
Common Problems and Troubleshooting
Flat or collapsed choux usually result from low initial oven temperature or undercooked panade. Ensure the panade reached a smooth ball and that you used the correct oven sequence.
Cracked tops occur when the dough surface dries before rising. Brushing or misting the tops and avoiding excess flour on the surface minimizes cracking.
Dense, heavy shells typically mean too little egg or overcooked panade. Remember: eggs add steam potential and elasticity; add them gradually until the ribbon stage.
Practice builds feel. Use a kitchen scale and keep notes on oven idiosyncrasies to refine timing and temperatures for your equipment.
Spacing matters. Give shells room to expand so hot air circulates evenly and the steam can inflate the dough without crowding.
Tips for Success: Unlocking the Secrets to a Perfect Rise and Crispness
Temperature control: A high initial oven temperature creates rapid steam formation. The follow-up lower temperature dries the shell and sets structure.
Moisture balance: The stovetop drying step controls the water available for steam. Over-drying yields a stiff dough; under-drying produces greasy or heavy results.
Egg integration: Beat eggs in slowly and observe texture. The proper consistency falls in a thick ribbon; it should not be runny or rock-solid.
Piping precision: Consistent pressure and removing air from the bag produce uniform puffs and reduce misshapen shells.
Serving Suggestions and Internal Resources
Choux shells work for both sweet and savory fillings. Classic options include vanilla pastry cream or flavored pastry creams and savory mousses with herbs or smoked fish.
For guidance on flour choices and how protein content affects texture, review our internal resource: Baking Flour Guide: Which Fits Your Pastry Best?. For ideas on fillings and plating, visit Choux Filling Ideas for curated recipes and pairing notes.
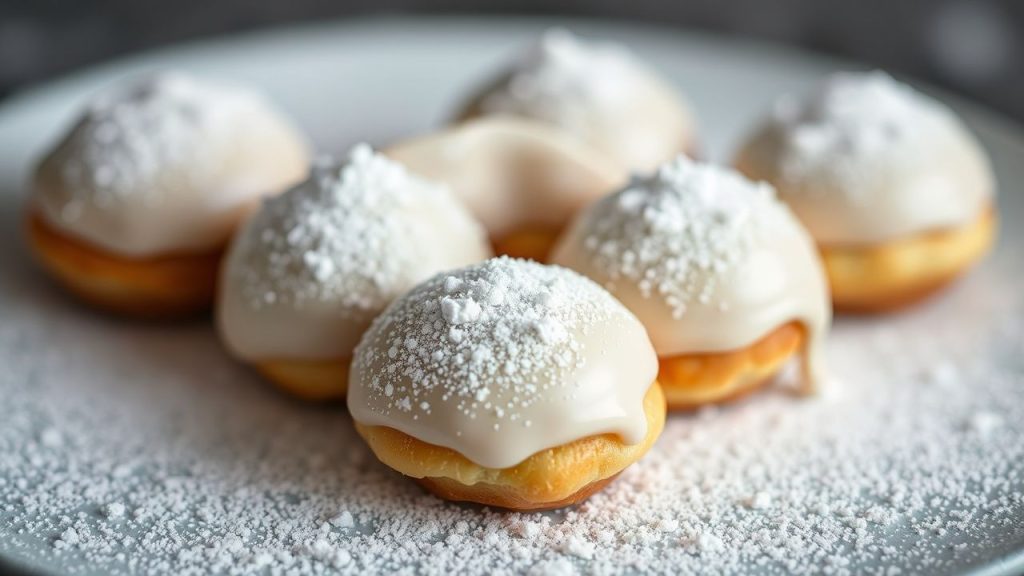
Garnish with powdered sugar, tempered ganache, or microgreens for savory versions. Pair with tea or a light sparkling beverage to contrast textures and flavors.
Nutritional Snapshot
One medium choux shell: approximately 95 kcal, 3 g protein, 12 g carbohydrates, and 3.5 g fat. Use this as a guideline; actual values vary with filling choice and portion size.
| Nutritional Value (per choux) | Calories | Protein | Carbs | Fat |
|---|---|---|---|---|
| One medium choux shell | 95 kcal | 3g | 12g | 3.5g |
FAQ
What makes choux pastry unique compared to other pastries?
Choux relies on steam for lift rather than chemical leaveners or laminated fat layers. The cooked dough traps moisture that vaporizes in the oven, inflating shells to produce a hollow center ideal for fillings.
Why is the stovetop cooking step essential?
Cooking flour with water and fat gelatinizes starches and removes excess surface moisture. This creates a cohesive panade that can trap air and steam during baking. Skipping this step prevents proper structure formation.
How do I know when eggs are fully incorporated?
The dough should look glossy and fall in a thick ribbon from the spoon or mixer paddle. If the batter sits in a mound that slowly levels, you have the correct consistency.
Why do my shells collapse after baking?
Collapsing indicates too little structure or a sudden steam loss. Common causes: insufficient panade cook, underbaked interior, or opening the oven during the critical set phase. Maintain oven temperatures and avoid early door opening.
Can I freeze choux shells?
Yes. Freeze fully cooled, unfilled shells in an airtight container. Re-crisp in a 300°F oven for 5–8 minutes before filling to restore texture.
Final Notes
Mastery comes from precise technique and observation. Track weights, oven behavior, and small timing changes to convert one-off successes into routine results.
Choux pastry rewards methodical practice. Follow the sequence here, respect moisture and temperature, and you will produce reliably hollow, crisp shells for both classic and creative fillings.
See also: Choux pastry