

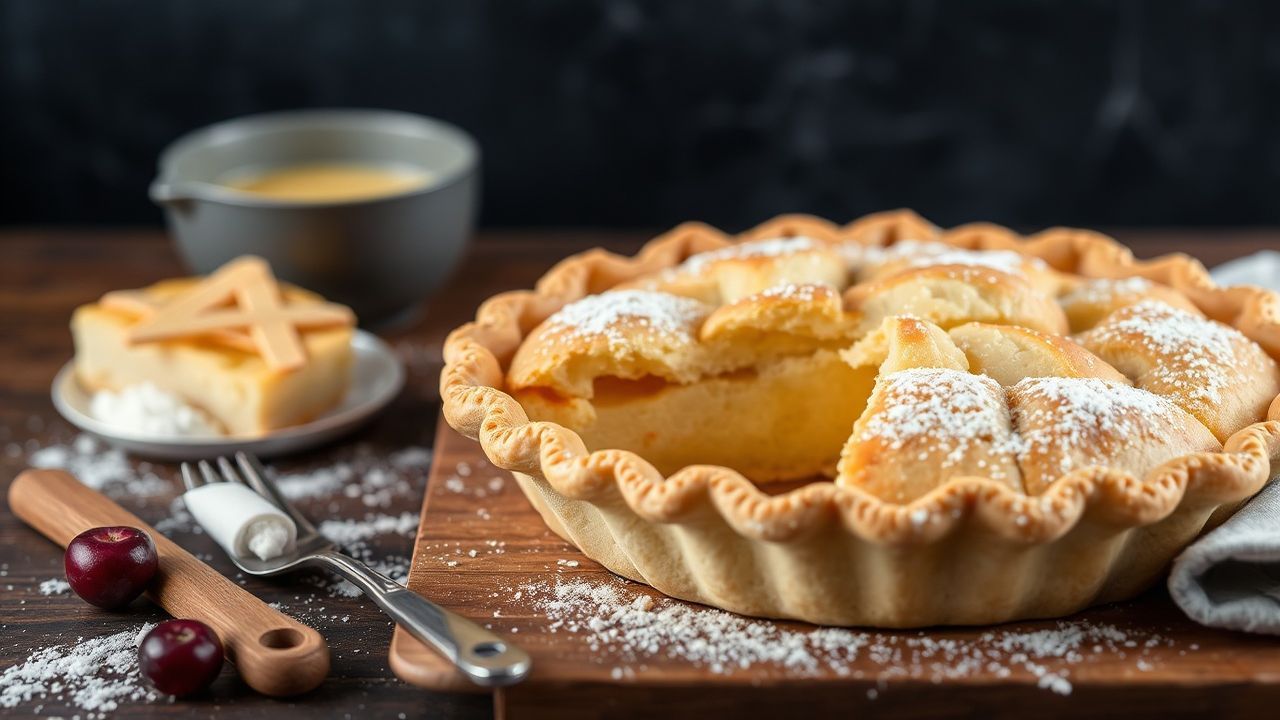
There is a clear moment when a pie crust shatters beneath your fork and a cascade of buttery flakes melts on your tongue. That sound and texture come from controlled technique: the right fat, cold handling, precise rolling and a smart bake schedule.
- Prep and Cook Time
- Yield
- Difficulty Level
- Choosing the Ideal Fat for Tender Layers
- Techniques for Proper Dough Handling and Rolling
- Baking Tips to Achieve Golden Crisps and Fluffy Crusts
- Ingredients
- Instructions
- Tips for Success
- Serving Suggestions
- FAQ
- How cold should my fats and water be?
- Should I blind bake for every pie?
- What causes a tough crust and how do I fix it?
- Can I use whole wheat or gluten-free flour?
- How can I get a glossy, golden finish?
- Key Takeaways
- Cold fats and minimal handling create steam-lifted layers.
- Blend fats to balance flavor and flakiness.
- Chill between steps to relax gluten and firm fats.
- Bake hot then lower to set layers and brown evenly.
Prep and Cook Time
Plan around chilling windows. Active time stays short; most time goes to resting the dough so layers remain distinct.
Typical schedule: 25 minutes hands-on, 60 minutes chilling, 20-25 minutes baking. Adjust chilling if your kitchen runs warm or you use alternative flours.
- Preparation: 25 minutes
- Chilling: 1 hour
- Baking: 20-25 minutes
Yield
This recipe yields one 9-inch pie crust suitable for single or double-crust pies. It covers standard pie pans and serves 6–8 people when paired with a generous filling.
Scale easily: halve for a single crust or double for two pies. Store extra dough chilled or frozen for later use.
Difficulty Level
Medium. The techniques require attention to temperature and gentle handling rather than advanced pastry skills. Beginners will find success by following steps and respecting rest times.
Key skills: keeping fats cold, minimal mixing, and rolling in even, confident strokes. These practices control gluten and preserve pockets of fat for flaky layers.
Choosing the Ideal Fat for Tender Layers
The type and temperature of fat determine layer structure and flavor. Butter brings flavor; shortening and lard contribute superior flake because they behave differently in dough.
Use cold, cubed fats so they remain as discrete pieces in the dough. As the oven heats, those fat pockets release steam and lift the flour matrix into flaky sheets.
Fat Options and Practical Trade-offs
Butter offers rich aroma and browning. Its water content helps steam pockets form, but it melts at a lower temperature than some shortenings.
Lard provides tender, layered texture with less strong butter flavor. Use rendered leaf lard or high-quality lard for consistent results.
Blends and Alternatives
Many pastry chefs blend butter with vegetable shortening or lard. A 50/50 blend balances flavor and flake while reducing shrinkage.
If you use alternative fats, keep them cold and treat them like butter when cutting into the flour. Cold plant-based fats can mimic shortening behavior in many cases.
Techniques for Proper Dough Handling and Rolling
Gentle handling preserves fat pieces and prevents excessive gluten formation. Use quick strokes with a pastry cutter or two knives and stop once the mix holds when pinched.
Chill dough in disks to firm fats and relax gluten before rolling. This step reduces tearing and keeps the layers intact while you shape the crust.
Rolling Method
Roll from the center outward, turning the dough a quarter turn every few rolls for an even circle. Keep the rolling pin and surface lightly floured; avoid over-flouring, which dries the dough.
If the dough gets tacky, return it to the fridge for 10–20 minutes. Folding the dough into thirds and re-chilling creates more visible lamination and boosts flakiness.
Baking Tips to Achieve Golden Crisps and Fluffy Crusts
Start hot to set the outer layers, then lower the heat to finish baking. That rapid initial heat builds steam quickly, creating lift between dough layers.
Protect edges with a foil shield or reusable ring to prevent over-browning while the center finishes. Bake on the lower rack for a crisper bottom crust.
Finishing and Surface Treatments
An egg wash gives a glossy golden surface and helps sugar or seeds adhere. For cream pies, partial blind baking or a chocolate barrier helps prevent soggy bottoms.
Vent top crusts to let steam escape and avoid soggy pockets. Docking (pricking) the bottom of a crust before blind baking keeps bubbles from forming and keeps contact with the pan.
Ingredients
Use standard, reliable ingredients for predictable results. Measure by weight when possible for precision.
- 2 1/2 cups all-purpose flour, sifted
- 1 tsp fine sea salt
- 1 cup (2 sticks) unsalted butter, cold and cubed
- 1/2 cup cold vegetable shortening (optional)
- 6-8 tbsp ice water
- 1 tbsp white vinegar or lemon juice (optional)
Instructions
Work quickly. Keep ingredients chilled and handle dough with the lightest touch to protect fat pieces.
Follow each step in order and rest when instructed; those rest windows are active technique, not idle waiting.
- Mix flour and salt. Whisk sifted flour and salt in a chilled bowl until combined.
- Cut in fats. Add cold butter and shortening. Use a pastry cutter, two knives or fingers to create a coarse crumb with pea-sized fat pieces.
- Add ice water and acid. Drizzle in ice water one tablespoon at a time with vinegar or lemon if using. Mix until the dough just holds when pinched.
- Form dough disks. Divide into two disks, wrap tightly in plastic and chill for at least 1 hour to firm fats and relax gluten.
- Roll out dough. On a lightly floured surface, roll one disk into a 12-inch circle, rotating frequently to keep shape and thickness even.
- Transfer and shape. Loosely roll dough around your pin and unroll into the pan. Fit gently without stretching; patch any cracks with small bits of dough.
- Chill before baking. Chill the assembled crust 15 minutes to reduce edge shrinkage during baking.
- Bake to golden perfection. Preheat to 425°F (220°C). Brush with egg wash for color if desired. Bake 12–15 minutes, lower to 375°F (190°C) and bake until golden and crisp.
Tips for Success
Simple, repeatable habits yield consistent flaky results. Cold ingredients and measured handling produce the strongest lift.
Store dough wrapped tightly in the fridge up to 3 days or freeze up to 2 months. Thaw in the fridge before rolling to protect texture.
- Use the coldest fats possible to preserve distinct layers.
- Incorporate vinegar or lemon juice to limit gluten strength for a tender bite.
- Rest dough in the fridge after mixing and before rolling for easier handling.
- Avoid overworking; mend cracks with small dough pieces rather than kneading them out.
Serving Suggestions
Pair a flaky shell with a balanced filling. Fruit pies need a juicy, thickened filling; custards and creams benefit from blind-baked shells.
Garnish simply: powdered sugar, a light honey brush, or a scoop of vanilla ice cream elevates texture and temperature contrast.
Explore complementary guides for fillings and pairings at how to make perfect pie fillings and baking basics and equipment. These internal pages provide practical pairing and timing advice that extends crust technique.
| Nutrition per Slice (1/8th) | Calories | Protein | Carbs | Fat |
|---|---|---|---|---|
| Classic Flaky Pie Crust | 210 kcal | 2 g | 22 g | 13 g |
FAQ
How cold should my fats and water be?
Keep butter and shortening as cold as possible; straight from the refrigerator is ideal. Use ice water and avoid warm hands or warm bowls while mixing.
If fats soften while working, chill the dough briefly to re-firm them before continuing.
Should I blind bake for every pie?
Blind baking suits custard or cream pies and wet fillings. For fruit pies with thickened filling, a fully raw-filled pie often bakes fine without full blind baking.
Partial blind baking—baking the crust briefly with pie weights—gives extra insurance against soggy bottoms while keeping edge color even.
What causes a tough crust and how do I fix it?
Toughness comes from overworking the dough and letting gluten over-develop. Mix only until the dough holds together and rest it to relax gluten.
Also avoid too much water; the dough should be slightly shaggy and only just cohesive when pinched.
Can I use whole wheat or gluten-free flour?
Yes, but textures differ. Whole wheat adds flavor and density; gluten-free blends need careful hydration and often a binder like xanthan gum.
Adjust chill times and hydration. Test a small batch to dial in the feel before making a full pie for guests.
How can I get a glossy, golden finish?
Brush with an egg wash (beaten egg plus a splash of water or milk) before baking. A sprinkle of sugar adds sparkle and slight crunch.
For very delicate pies, apply the wash thinly to avoid sealing vents that must release steam during baking.
With consistent technique and attention to temperature, flaky pie crust becomes a reliable part of your baking skill set. Practice recipes, note adjustments for your oven, and keep a cooling schedule that preserves cold fat. These small controls produce the crisp, layered texture that distinguishes professional results.
Further reading on foundational pastry concepts is available through these trusted resources: pie basics, pastry science, and gluten structure. These references explain the underlying chemistry that informs practical technique.
Key Takeaways
Mastery comes from controlling temperature, limiting handling and using the right fat blend. Chill often and bake with an initial high heat to set layers.
Keep this recipe and checklist handy as you practice; predictability grows with each pie.
See also: Pie crust

