

Imagine a sunny afternoon where the crunch of fresh apples meets the fizz of sparkling soda, and every bite and sip becomes a small experiment in flavor and physics. Picnic Chemistry turns your outdoor meal into a hands-on lesson in food science while keeping safety and enjoyment front and center. Picnic culture and simple kitchen chemistry pair naturally to create memorable learning moments.
- Plan for safety: cool perishable foods and control heat during toasting.
- Use simple chemistry: pH indicators and fizz reactions teach principles that everyone tastes.
- Keep experiments edible: choose food-safe reagents and supervise children.
Picnic Chemistry: Safely Blending Fun with Food Science in Your Outdoor Kitchen
Picnic chemistry shapes how textures, aromas, and flavors develop outdoors. Understanding basic principles such as heat transfer and moisture control helps you design reliable recipes that perform well outside a conventional kitchen.
Apply fundamentals from food science to select ingredients, arrange storage, and choose cooking methods that reduce risk and enhance taste. This approach keeps both the learning and the eating pleasurable.
Prep and Cook Time
Preparation: 15 minutes | Cooking: 10 minutes | Total: 25 minutes. These estimates assume basic outdoor gear: a portable skillet or grill and a cooler for perishables.
Factor in extra time for safety checks: coolers, sanitizing wipes, and hand-washing stations prevent spoilage and contamination. A few extra minutes planning reduces most common picnic problems.
Yield
Serves 4 picnic enthusiasts. Portions scale predictably when you apply the same heat and assembly principles to larger batches.
For groups, prepare multiple coolers and stagger cooking to maintain safe temperatures for perishable fillings. Label containers to avoid cross-contamination in busy settings.
Difficulty Level
Easy — suitable for beginners who want a practical introduction to outdoor food chemistry. The recipe relies on straightforward techniques: controlled heat, moisture management, and safe ingredient handling.
These techniques mirror lab practices in a low-risk, edible format, so you teach scientific thinking while you snack. Expect repeatable results once you master heat control and resting times.
Ingredients
Ingredient quality matters: select fresh bread, properly chilled cheese, and dry leafy greens to control moisture and microbial risk. Freshness improves both safety and the sensory outcome.
Choose ingredients that tolerate short outdoor transport. For example, hearty whole-grain bread resists sogginess and stands up to pressing on a griddle.
- 8 slices whole grain bread, sturdy and fresh
- 4 tbsp unsalted butter, softened for even spreading
- 8 slices sharp cheddar cheese or another melting cheese
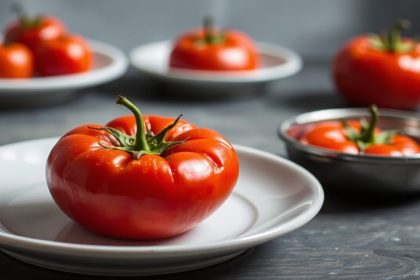
- 2 medium tomatoes, thinly sliced and seeded
- 1 cup fresh spinach leaves, washed and patted dry
- 2 tbsp Dijon mustard, for flavor balance
- Salt and freshly ground black pepper, to taste
- Optional: 4 slices cooked bacon for crunch
Instructions
Prepare your workspace and ingredients before you light the stove. Clean cutting boards and utensils reduce cross-contamination risks and simplify assembly.
Keep perishable items in a cooler until you need them and bring paper towels or sanitizing wipes for hands and surfaces. Controlled organization ensures a smooth, safe cooking flow.
- Butter the bread: Spread butter evenly on one side of each slice to promote even browning and to act as a moisture barrier.
- Layer fillings: On the unbuttered side, spread mustard, then cheese, tomato, and spinach. Season lightly and add bacon if desired.
- Assemble: Top fillings with butter-side-up bread to create the sandwich for grilling.
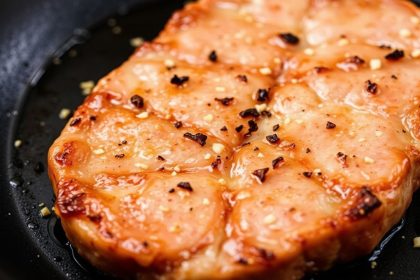
- Heat control: Preheat a skillet or griddle over medium heat. Moderate heat transfers energy evenly and prevents surface burning while the cheese melts.
- Grill: Place sandwiches on the hot surface, press lightly, and cook 4–5 minutes per side. Flip carefully to maintain structure.
- Rest: Let sandwiches rest 2 minutes so the melted cheese stabilizes before slicing.
Food Safety & Science
Temperature management prevents growth of spoilage organisms. Keep perishable items at or below 40°F (4°C) in a cooler and reheat cooked items to recommended serving temperatures.
Consider core scientific concepts: heat transfer into the sandwich melts cheese by conduction, while water activity influences microbial activity and texture. For background on heat transfer principles, review heat transfer.
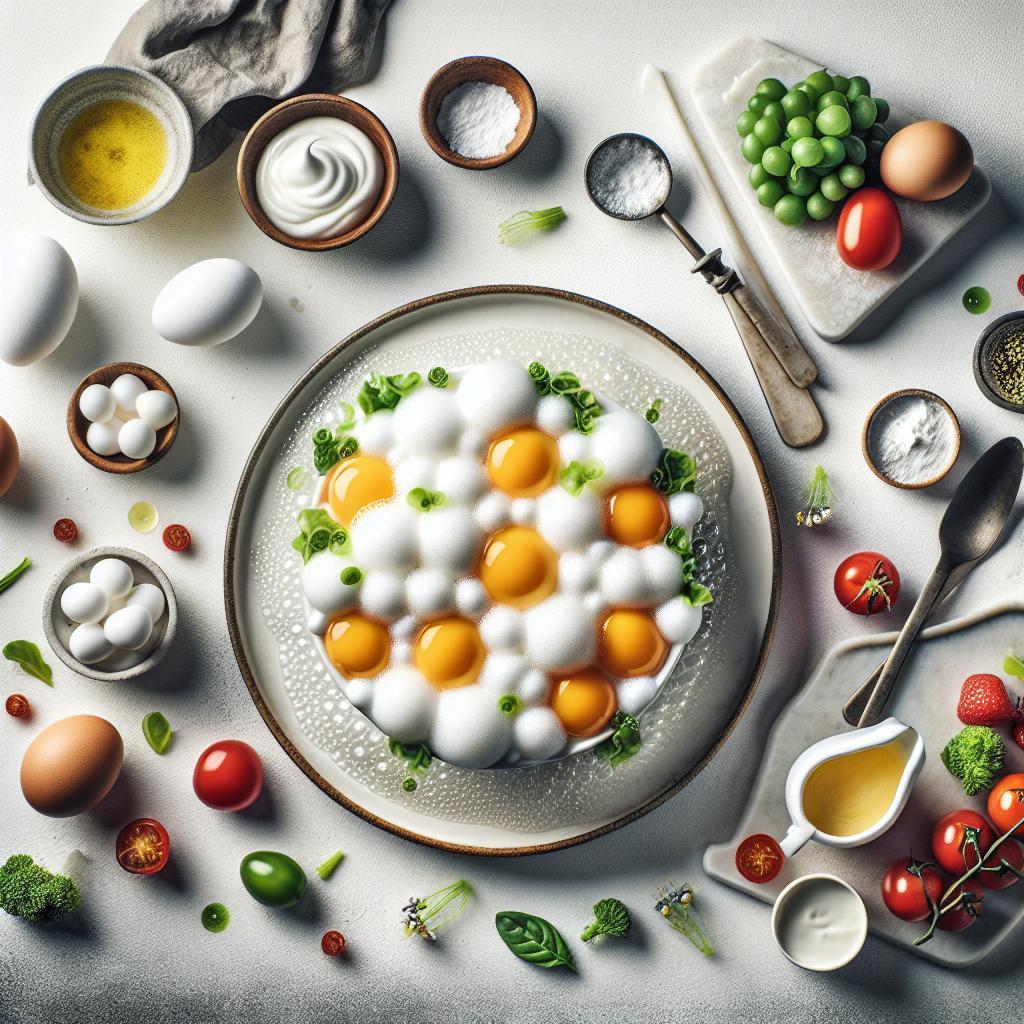
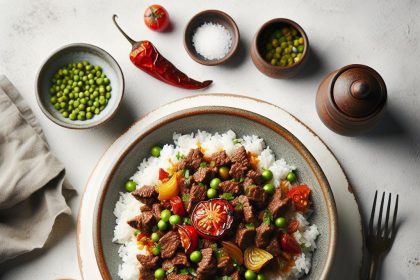
pH and reactions: Simple experiments such as using red cabbage as a pH indicator teach acid–base chemistry with edible materials. Red cabbage pigments shift color depending on acidity, which makes a vivid, safe demonstration.
For hands-on learning, use food-safe reagents only. Sodium bicarbonate produces predictable fizz with vinegar; the reaction demonstrates gas evolution and acid–base neutralization. See the chemistry behind common reagents at sodium bicarbonate.
Chef’s Notes
Ingredient safety: Keep cheese and greens chilled until assembly to limit bacterial growth. A well-packed cooler with ice packs maintains safe temperatures for hours.
Variations and substitutions: Swap cheddar for mozzarella for a stretchier melt or choose plant-based alternatives for vegan diets. Gluten-free bread works while maintaining the same assembly steps.
Make-ahead assembly speeds service: wrap sandwiches in parchment and keep them chilled. Toast them on-site for optimal texture and to re-establish crispness while ensuring safety.
For more formal guidelines on outdoor food handling, link internal references like Food Safety Tips for Picnics and Outdoor Cooking Safety to your event planning materials to keep teams aligned.
Serving Suggestions
Pair grilled sandwiches with crisp salad greens and a beverage that complements the chemistry lesson, such as a citrus drink for an acid–base color experiment. Presentation enhances engagement and sensory learning.
Wrap individual servings in reusable wraps to keep them warm and reduce waste. Offer small labeled cards describing the science behind each bite to reinforce educational value.
Nutrition
The sample sandwich provides balanced macronutrients: moderate protein from cheese and optional bacon, carbohydrates from bread, and fats from butter. That balance supports satiety during active outdoor learning.
Use whole-grain bread and add fresh greens to increase fiber and micronutrients. Adjust portions to match activity levels and dietary needs of participants.
| Nutrient | Per Serving |
|---|---|
| Calories | 350 kcal |
| Protein | 18 g |
| Carbohydrates | 30 g |
| Fat | 15 g |

Q&A
What is Picnic Chemistry?
Picnic Chemistry applies practical food-science concepts to outdoor meals to create edible experiments and safer recipes. It turns routine preparation into teachable moments using ingredients you already have.
Is it safe to perform kid-friendly experiments outdoors?
Yes, when you choose food-safe materials and supervise activities. Keep a clean workspace, use non-toxic reagents, and maintain safe food temperatures to minimize risk.
What simple experiments work well on a picnic?
Try a pH color test using red cabbage juice or a vinegar and sodium bicarbonate fizz to illustrate gas production. Both use edible, safe materials and reinforce scientific concepts through sensory feedback.
How do I keep perishable picnic foods safe?
Pack cold items in a well-insulated cooler with ice packs and serve them within safe time windows. Reheat cooked items to proper serving temperatures on a portable grill or skillet.
Where can I find more resources on food science basics?
Authoritative overviews are available on public resources such as food science and general chemistry concepts like pH for acid–base demonstrations. These entries provide reliable background for educational planning.
For hands-on checklists, consult your internal guides at Food Safety Tips for Picnics and Outdoor Cooking Safety to align logistics and learning goals.
Picnic Chemistry encourages curiosity and safe practice. With deliberate planning and simple scientific explanations, your next outdoor meal can teach as it delights while you savor both food and discovery.
See also: Picnic Chemistry


