

There’s an art to achieving the perfect sear-a golden, caramelized crust that locks in flavor and sends taste buds soaring. But just when you think you’ve mastered the technique, something invisible and insidious sneaks in to sabotage your efforts every time: food debris. Those tiny particles, charred bits, and leftover residues lurking on your pan or grill can collide with your culinary aspirations, turning a promising sear into a disappointing charred mess or uneven crust. In this article, we’ll uncover why food debris is the unsung culprit behind searing failures and reveal the simple yet crucial steps to banish it, ensuring your next sear is nothing short of perfection.
Why food debris sabotages the perfect sear every time is a reality every cook faces, often without realizing it. Tiny particles of residue cling stubbornly to the pan’s surface, creating invisible barriers that block the intense heat needed for optimal browning and crust formation. This microscopic armor prevents the Maillard reaction from happening evenly, resulting in pale, unevenly cooked foods lacking that coveted golden crust. Understanding how these minute remnants interfere gives you the upper hand in maintaining pristine cookware and achieving flawless searing every time.
Prep and Cook Time
Prep: 10 minutes
Cook: 15 minutes
Total: 25 minutes
Yield
Serves 4
Difficulty Level
Medium – mastering heat control and pan maintenance takes practice but leads to perfect sears.
Ingredients
- 2 tbsp high-smoke point oil (grapeseed, avocado, or refined olive oil)
- 4 boneless skin-on chicken thighs, patted dry
- 1 tsp kosher salt
- ½ tsp freshly ground black pepper
- 1 tbsp unsalted butter
- 2 cloves garlic, smashed
- Fresh thyme sprigs for garnish
Instructions
- Heat your skillet over medium-high heat for 3-4 minutes until shimmering hot but not smoking. This stage melts fat quickly, helping to release food debris stuck from previous cooks.
- Dry each chicken thigh thoroughly using paper towels to remove surface moisture, which competes with browning.
- Season each piece liberally with kosher salt and pepper, allowing flavors to penetrate evenly.
- Add oil to the hot pan and swirl to coat. You should see a thin, glossy film-enough to prevent sticking without pooling.
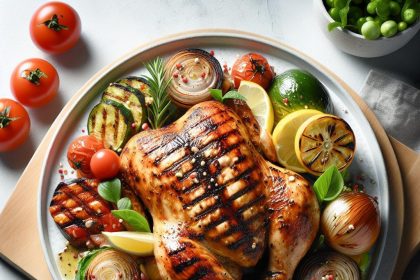
- Place chicken thighs skin-side down in the skillet without overcrowding. Avoid moving them for 5-7 minutes; this solidifies crust development.
- Use a spatula or tongs gently to check for release; if skin sticks stubbornly, give it more time. Once golden, flip thighs and add butter, garlic, and thyme to the pan for aromatic basting.
- Baste the thighs with the melted butter mixture while cooking the second side for another 5 minutes, ensuring the interior reaches 165°F (74°C).
- Remove and rest chicken on a warm plate for 5 minutes to lock juices and finalize flavor.
- Immediately clean your pan while it’s still warm by wiping with a paper towel soaked in oil or deglazing with a splash of water or vinegar. This prevents food debris buildup that jeopardizes future searing.
Tips for Success
- Choose stainless steel or cast iron pans for superior heat retention, but be vigilant about residue removal after each use.
- Never overcrowd the pan-crowding generates steam rather than sear, causing food to release moisture and stick.
- Use a high-smoke point oil to maintain consistent heat without burning, which leaves charred particles behind.
- For stubborn residue, a quick deglaze with wine or stock will lift particles absorbing heat and flavor.
- Invest in a quality scraper or pan brush designed for your cookware surface to maintain pristine conditions without damage.
- Dry food thoroughly before searing; moisture hinders crust formation and encourages food debris build-up.
Serving Suggestions
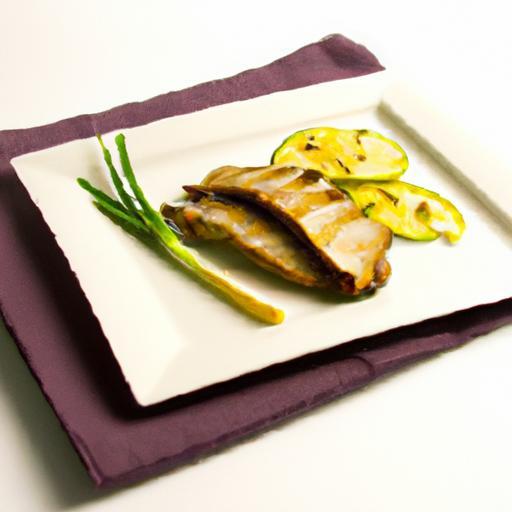
Serve your perfectly seared chicken thighs atop creamy mashed potatoes or roasted seasonal vegetables. Garnish with fresh thyme sprigs and a light drizzle of pan jus for a rustic finish. A crisp green salad with a tangy vinaigrette pairs beautifully, balancing richness with brightness.

Nutritional Information
| Calories | Protein | Carbs | Fat |
|---|---|---|---|
| 320 kcal | 28 g | 0 g | 22 g |
For more insights on cookware maintenance and heat control, check out our related article Mastering Heat Techniques for Searing. To deepen your understanding of the Maillard reaction and food science, visit Science of Cooking.
Q&A
Q&A: Why Food Debris Sabotages the Perfect Sear Every Time
Q1: What exactly is food debris, and why does it matter when searing?
A: Food debris is the collection of tiny bits and burnt remnants left behind on your pan between cooking rounds. Think of it as the crispy crumbs of a previously cooked steak or the browned bits of caramelized onions-while these bits add flavor in some dishes, when it comes to searing, they often turn into flavor thieves. They create a sticky barrier that prevents your food from making full, direct contact with the hot surface, sabotaging that coveted, golden crust.
Q2: How does food debris interfere with achieving the perfect sear?
A: Searing is all about high heat meeting clean surface contact-this interaction causes the Maillard reaction, which forms that beautiful crust we crave. Food debris acts like a tiny shield, absorbing heat unevenly and causing your food to steam rather than sear. This leads to a pale, uneven crust or sometimes a burned, bitter taste around the edges.
Q3: Can’t those flavorful bits actually add to the taste? Why clean the pan?
A: Ah, the infamous fond-those browned bits stuck to the pan can enhance sauces if deglazed properly. But for the initial sear, a clean pan sets the stage. Leaving those bits on the surface means your meat won’t hit the pan evenly, robbing it of that mouthwatering crust. The secret? Sear in a clean pan, then use those bits afterward to build a sauce or gravy.
Q4: How often should I clean the pan to avoid sabotaging my sear?
A: In between every batch of protein, especially if you’re cooking several pieces. A quick wipe with a hot paper towel or a gentle scrape with a heatproof utensil can clear away debris without cooling the pan. For home cooks, patience is key-taking a moment to refresh the surface pays off with each perfectly seared bite.
Q5: Are there types of pans more susceptible to food debris buildup?
A: Absolutely! Stainless steel pans tend to hold onto bits more stubbornly than non-stick surfaces. Cast iron might collect residue if not properly seasoned or prepped. No matter the pan, the golden rule is the same: keep the surface clear to let the sear shine.
Q6: Can oil or fat help mitigate the effects of food debris?
A: While fats are essential for heat transfer and flavor, they can’t fix a dirty surface. In fact, food debris can mix with oil and create sticky patches that burn quickly. Think of oil as the smooth dancefloor and food debris as gum stuck under your shoes-it just doesn’t work well together.
Q7: What’s the best ritual for searing without sabotage?
A: Heat your pan thoroughly until it’s screaming hot, add a small amount of high-smoke-point oil, place your protein gently and don’t move it around. After each batch, wipe the pan, add fresh oil, and repeat. Save the sticky bits for a later sauce deglazing, and let your clean pan work its magic on the sear.
Final Thought:
Food debris is the silent saboteur of a perfect sear. Keep your pan clean, keep it hot, and let your food kiss that fiery surface unhindered. Your taste buds-and your Instagram feed-will thank you.
In Conclusion
In the quest for the perfect sear, every detail matters-down to the microscopic flecks of food debris clinging to your pan or protein. These tiny saboteurs create unintentional barriers, preventing that glorious crust from forming and stealing the spotlight from your culinary masterpiece. By understanding the stealthy role of food residue and adopting mindful cleaning and prepping habits, you empower yourself to conquer the sear like a pro. So next time you hear that satisfying sizzle, know it’s not just heat at work-it’s the clean, debris-free surface doing what it does best: delivering that crave-worthy, mouthwatering finish every time. Your perfect sear awaits, dust-free and ready to shine.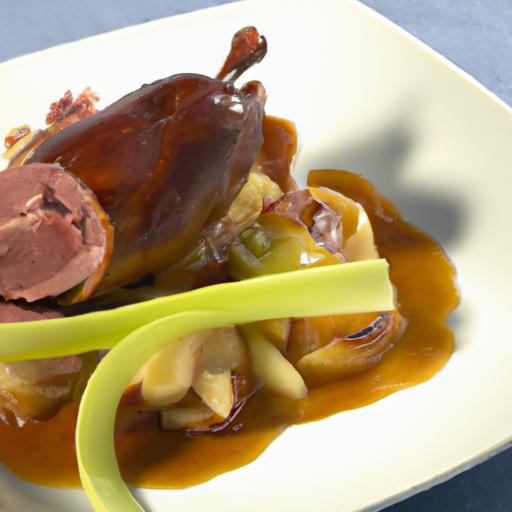


