

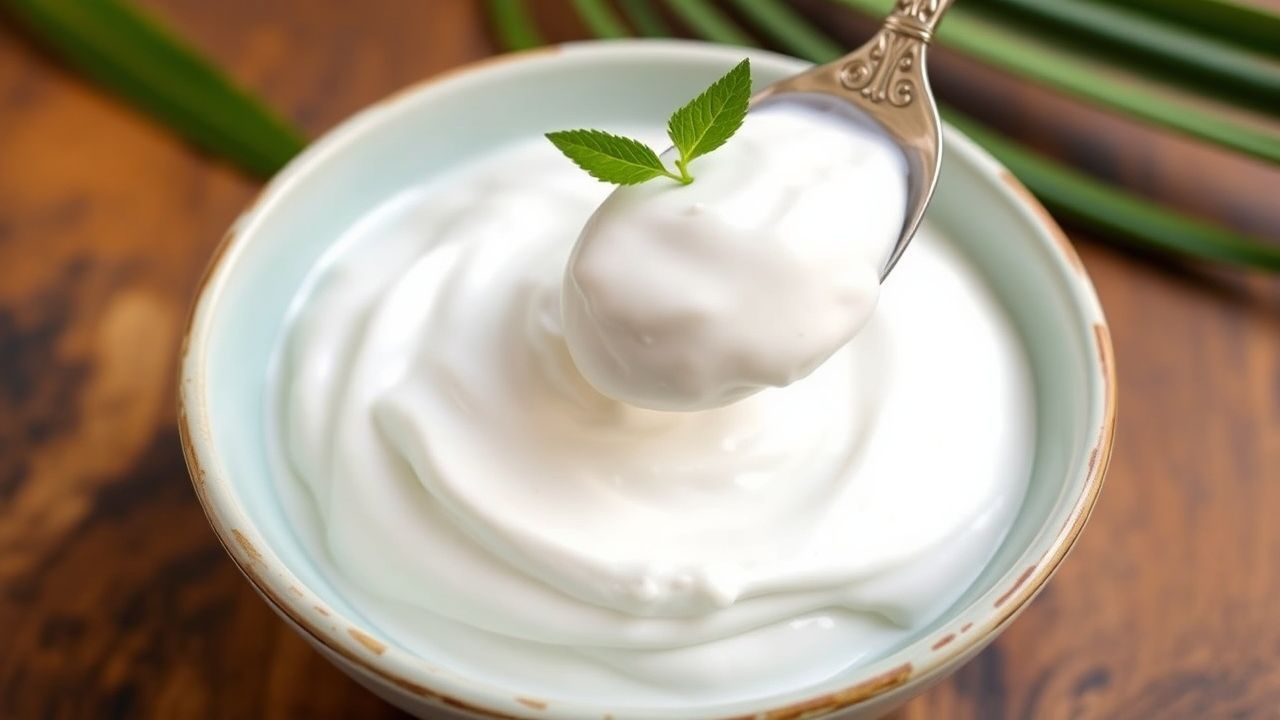
Creamy Coconut Bliss: Crafting Your Own Homemade Coyo begins with simple, high-fat coconut milk and a reliable starter culture. Follow clear temperature control and timing to convert milk into thick, probiotic-rich coconut yogurt that holds up in bowls and smoothies.
- Understanding the science and benefits of Coyo
- Selecting ingredients for authentic flavor
- Recipe overview: time, yield, and difficulty
- Ingredients
- Step-by-step process to reach creamy texture
- Finishing, thickening options, and chilling
- Storage, flavoring, and practical tips
- Common problems and safety notes
- Serving suggestions and recipe uses
- Nutrition snapshot
- FAQ
- Make thick coyo using full-fat coconut milk and steady low heat.
- Use live cultures to ensure active probiotics and consistent fermentation.
- Store smart to keep texture and maximize shelf life.
Understanding the science and benefits of Coyo
Coyo is fermented coconut milk that develops acidity and texture through controlled microbial activity. Fermentation converts sugars into lactic acid, which thickens the milk and adds tang while supporting gut microbes.
These effects rely on live cultures commonly described under probiotics. For background on the chemical process, see the fermentation overview.
Selecting ingredients for authentic flavor
Start with high-quality, full-fat coconut milk made from fresh coconut or reputable canned brands. The fat content determines mouthfeel and how the final coyo sets; higher fat creates a silkier, creamier product.
Choose a starter with documented live strains. You may also reference general coconut characteristics on the coconut page to understand flavor variance between young and mature nuts. For plant-based yogurt context, check our guide to plant-based yogurt for compatible starters and troubleshooting tips.
Recipe overview: time, yield, and difficulty
Preparation time: 15 minutes active work. Fermentation: 24–36 hours depending on ambient temperature.
Yield: About 2 cups, enough for four small servings. Difficulty: Easy to moderate; precision with temperature improves success rates. For equipment suggestions and incubation strategies, consult fermentation basics.
Ingredients
List the essentials clearly so you can prepare efficiently. Keep ingredients measured and at room temperature before mixing.
- 2 cups full-fat coconut milk (homemade or canned)
- 1 teaspoon probiotic powder or 1 tablespoon live kefir grains
- 1 teaspoon organic maple syrup or honey (optional to boost fermentation)
- 1/4 teaspoon vanilla extract (optional)
Step-by-step process to reach creamy texture
Sanitation and gentle handling matter. Use clean glass jars and utensils to avoid contaminants that can outcompete your starter culture.
Maintain steady incubation conditions. Keep the mixture in the 70–80°F (21–27°C) window for predictable results; warmer speeds tang development but can thin texture if too warm.
Prepare and mix
Whisk the coconut milk until smooth. Add the probiotic starter and the small amount of sweetener, stirring gently to distribute cultures without introducing too much air.
Avoid vigorous shaking; air can cause separation. If using kefir grains, place them directly into the milk and cover with a breathable lid for incubation.
Incubation and checking progress
Cover jars loosely with a breathable cloth or a lid set ajar to allow gases to escape. Place jars in a warm spot or use a yogurt maker to hold the temperature steady.
Check after 24 hours. A pleasantly tangy aroma and slight thickening indicate progress. For thicker results, extend to 36–48 hours; longer time increases acidity and firmness.
Finishing, thickening options, and chilling
After fermentation, gently stir to even out texture. For a firmer set, refrigerate at least 6 hours; cold temperatures help fats solidify and create the familiar yogurt mouthfeel.
If your coyo remains loose, strain it through cheesecloth for several hours or add a small natural thickener like tapioca starch dissolved and cooked before adding to milk. Always add thickeners before fermentation when the method calls for it.
Storage, flavoring, and practical tips
Refrigerate coyo in airtight containers for up to seven days. Freeze small portions for smoothies or frozen treats to extend shelf life beyond a week without sacrificing probiotic benefit.
Flavor after fermentation to avoid killing cultures. Fold in purees, vanilla, or spices right before serving to keep cultures alive and flavors bright. See our related plant-based yogurt guide for pairing ideas.
Experiment with starters. Different probiotic strains produce diverse flavor and texture profiles; keep notes on brands and times to refine your personal recipe.
Common problems and safety notes
If your coyo smells rotten, shows mold, or develops an off color, discard it immediately. Safe fermentation results in a clean tang and no fuzzy colonies.
Do not heat coyo after fermentation above 115°F (46°C), as higher temperatures will inactivate most probiotic strains. For more technical background on safe fermentation methods, review the fermentation resource.
Serving suggestions and recipe uses
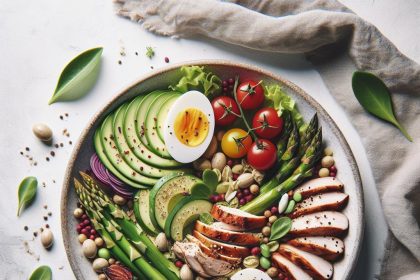
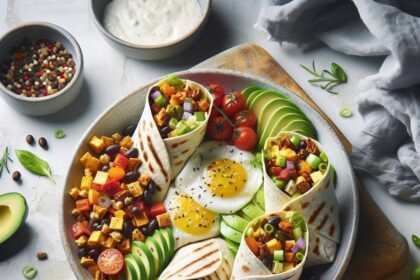
Serve coyo with sliced tropical fruits, toasted coconut, or granola for texture contrast. Its rich mouthfeel pairs well with acidic fruits like passionfruit or pineapple.
Use coyo as a dairy-free substitute in dressings, desserts, or baking where a creamy element is needed. It holds up well in chilled applications but avoid high-heat baking to preserve live cultures.
Nutrition snapshot
Typical homemade coyo is high in saturated fats from coconut, low in protein unless fortified, and provides beneficial live cultures depending on starter efficacy. See the yogurt page for comparative nutrient context.
Adjust portion sizes for calorie control and add protein-rich toppings like nuts or seeds to balance macronutrients in meals.
FAQ
What is Coyo and how does it differ from dairy yogurt?
Coyo is coconut-based yogurt made by fermenting coconut milk with live cultures. It lacks dairy proteins and behaves differently in texture and heat sensitivity compared with dairy yogurt.
How do I get my Coyo thick like commercial brands?
Use full-fat coconut milk, extend fermentation time moderately, and chill thoroughly. For commercial-style firmness, strain or use a natural thickener before fermenting.
Can I reuse starter from one batch to the next?
You can save a portion of fermented coyo as a starter for the next batch, but expect gradual changes in flavor over successive generations. Refresh with a purchased starter periodically for consistency.
Is homemade Coyo safe for people with dairy allergies?
Yes, when made in a dairy-free environment and with dairy-free starter cultures. Verify that your starter source contains no dairy-derived carriers or additives.
How long do the probiotics stay active in stored Coyo?
Probiotic viability declines over time but remains useful for several days when refrigerated. Consume within 5–7 days for best activity and follow storage guidance above.
Start your batch with quality ingredients and careful temperature control. Keep notes on variables and refine until your coyo matches your preferred tang and texture.
See also: Coyo


