

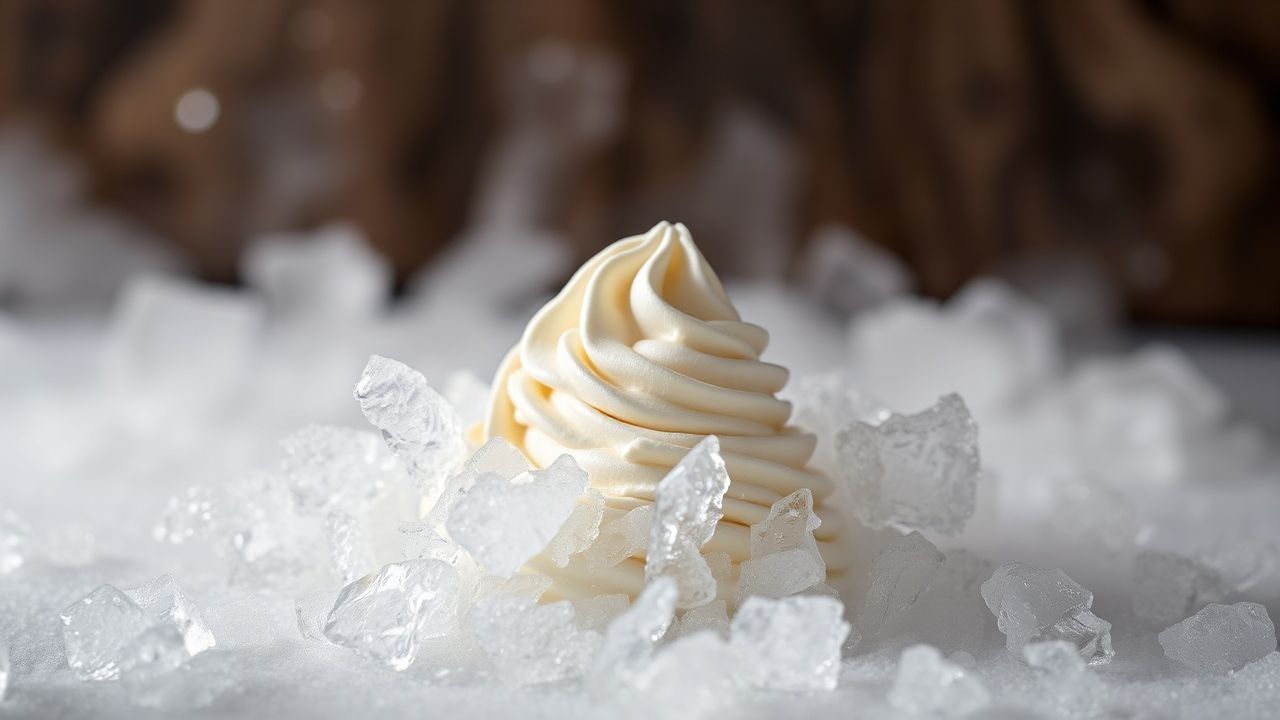
Chill Thrills: Safely Crafting Liquid Nitrogen Ice Cream
Liquid nitrogen ice cream blends fast freezing physics with culinary technique to yield ultra-smooth texture and theatrical presentation. A practical approach and clear safety rules let you make this dessert at home while minimizing risk.
- Prep and Cook Time
- Yield
- Difficulty Level
- Ingredients
- Instructions
- Safety
- Tips for Success
- Serving Suggestions
- Nutrition
- FAQ
- Is liquid nitrogen safe for home use?
- How does liquid nitrogen improve ice cream texture?
- Where can I source food-grade liquid nitrogen?
- Can I prepare this with children nearby?
- How do I dispose of leftover liquid nitrogen?
- Concluding Remarks
- Instant freezing produces finer ice crystals for silkier ice cream.
- Safety gear and ventilation are non-negotiable when handling cryogenic liquids.
- Stirring technique controls texture—constant motion is essential.
- Serve fresh for the best mouthfeel and visual impact.
Prep and Cook Time
Preparation: 10 minutes. Freezing Time: 3–5 minutes. Total Time: 15 minutes.
These times assume you work with chilled base ingredients and have liquid nitrogen ready in a proper dewar. Allow extra time for safety checks and equipment setup; rushing increases risk and harms texture.
Yield
This recipe makes about four generous servings from the listed quantities. Adjust proportions linearly: double the base to double the yield, but scale liquid nitrogen slowly to maintain texture.
For larger batches, freeze in portions rather than pouring all at once to keep the stirring effective. Staggered freezing preserves the smooth, small-crystal structure that defines liquid nitrogen ice cream.
Difficulty Level
Medium. You need steady hands, proper safety gear, and a clear workspace to use liquid nitrogen safely. Familiarity with basic kitchen technique and a calm, focused approach will get excellent results.
If you are new to cryogenic liquids, practice the stirring rhythm with a small amount of cold water (not liquid nitrogen) to build coordination. Then progress to small test batches before scaling up.
Ingredients
Use chilled dairy and cold utensils to speed freezing and reduce required nitrogen. Below is a classic base; customize flavors after the freeze for best results.
- 2 cups heavy cream, chilled
- 1 cup whole milk, chilled
- 3/4 cup granulated sugar
- 1 tablespoon pure vanilla extract
- Pinch of salt
- Liquid nitrogen, approximately 3–4 cups (handled carefully)
Substitute up to 25% of the cream with mascarpone or cream cheese for a richer mouthfeel. When using fruit purées, reduce added liquid to avoid excessive hardness after freezing.
Instructions
Start with a well-mixed, chilled base to minimize nitrogen use and speed freeze time. A stainless steel bowl helps conduct cold into the mix evenly.
Follow these steps carefully and keep movement controlled to produce a uniform texture and avoid splatter.
- Mix the base: Combine heavy cream, milk, sugar, vanilla, and salt in a large, chilled stainless steel or heatproof glass bowl. Whisk until the sugar dissolves and the mix looks smooth.
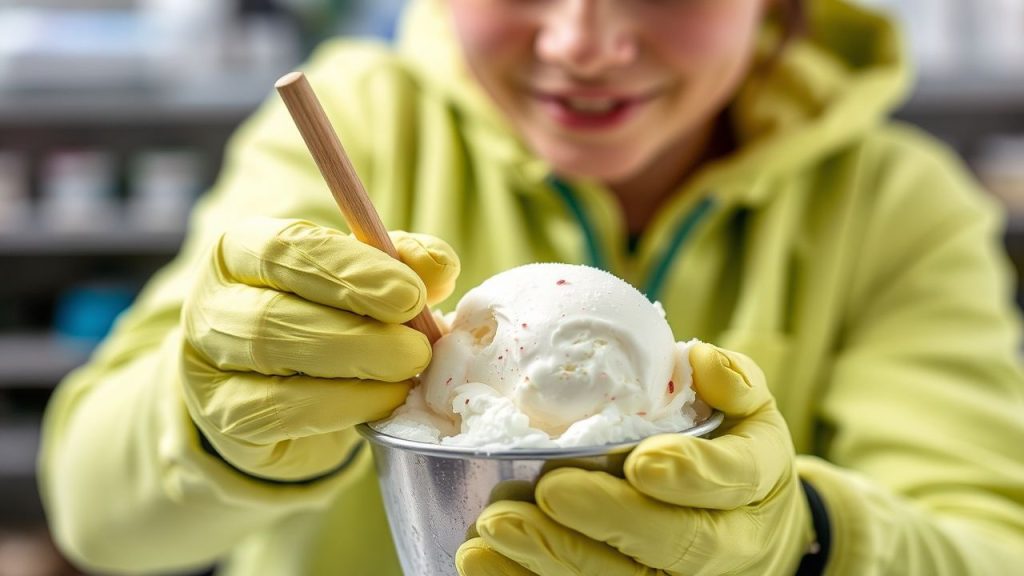
- Prepare workspace & safety: Work in a well-ventilated area. Wear insulated gloves and safety goggles. Place the dewar on a stable surface away from traffic and flammables.
- Add liquid nitrogen gradually: Pour small amounts of liquid nitrogen while stirring continuously with a sturdy wooden or silicone spatula. The mixture will freeze quickly; add nitrogen in measured increments to avoid over-freezing.
- Stir continuously: Maintain steady, circular stirring to break up forming crystals and keep the texture smooth. Continue until the mixture reaches scoopable consistency, typically 3–5 minutes.
- Finish and serve: Stop adding nitrogen once the desired texture appears. Transfer to bowls or a chilled container and serve promptly for best texture.
Stirring technique
Use a consistent, even motion that moves across the bowl to mix the cold front into the warmer center. Avoid aggressive churning; that can trap pockets of unmixed liquid nitrogen and create safety hazards.
Practice on small volumes to develop a feel for the point when the mix turns from slushy to scoopable. Visual cues and a slight resistance on the spatula indicate readiness.
Liquid nitrogen dosing
Add nitrogen slowly and in short bursts, especially during the first minute of freezing. Each dose should lower temperature without forming hard lumps.
Measure by sight and feel: if the mixture stiffens too quickly, pause stirring to allow even cooling. Err on the side of caution—you can always add more nitrogen, but you cannot remove excess.
Safety
Liquid nitrogen boils at −196 °C and expands rapidly as gas; treat it with respect and follow strict safety practices. Use only food-grade nitrogen from reputable suppliers and store it in a proper dewar.
Never pour liquid nitrogen into a sealed container, never ingest liquid nitrogen, and keep people and pets at a safe distance during the freeze. Ventilation prevents oxygen displacement in enclosed spaces.
Protective gear
Wear cryogenic or insulated gloves, splash-resistant goggles, and long sleeves when working with liquid nitrogen. Foot protection is important to prevent burns from spills on the floor.
Keep a spill kit and first-aid supplies handy. If skin contact occurs, cool the affected area with lukewarm water and seek medical attention for severe frostbite; do not rub the skin.
Handling and disposal
Let leftover liquid nitrogen evaporate outdoors in a ventilated area away from people and structural openings. Do not pour it down drains or into sinks where oxygen displacement can occur.
Transport dewars upright and secured. Follow supplier instructions for refill and return of cylinders, and store empty containers properly to avoid pressure hazards.
The best textures come from a balance of chilled ingredients, steady stirring, and cautious nitrogen dosing. Make small test batches when trying new add-ins.
Tips for Success
Work methodically: set out tools, PPE, and serving bowls before you open the dewar. Preparation reduces mistakes during the rapid freeze process.
Fold delicate mix-ins like fresh fruit or cookie pieces in after the base reaches a semi-firm state to preserve their structure and flavor. Over-mixing can crush delicate textures.
Serving Suggestions
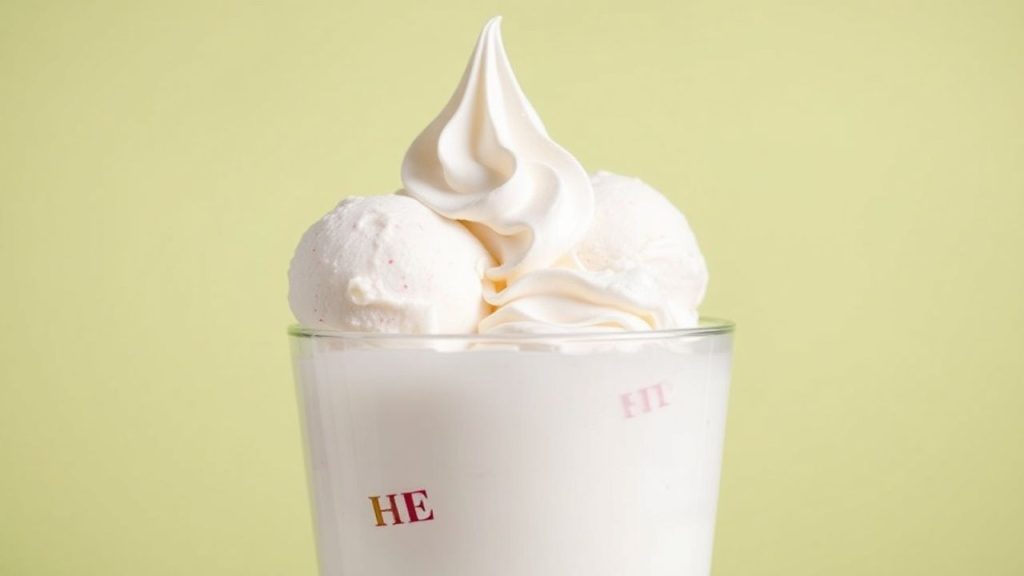
Serve the ice cream in chilled metal or glass bowls to slow warming and maintain texture longer. Garnish with fresh berries, toasted nuts, or freeze-dried fruit powder for contrast.
For theatrical presentations, combine your serving with a dry-ice fog tray operated at a safe distance; never mix dry ice and liquid nitrogen directly with the food. Keep children at a safe viewing distance during the preparation.
Nutrition
Per serving nutrition depends on ingredient choices; a standard recipe typically contains 300–350 kcal per portion. Fat and sugar content vary with cream percentage and added sweeteners.
To reduce calories, substitute part of the cream with full-fat Greek yogurt or use a sugar alternative with similar freezing properties. Keep in mind that changes alter texture and freezing behavior.
| Nutrient | Amount per Serving |
|---|---|
| Calories | 320 kcal |
| Protein | 4 g |
| Carbohydrates | 28 g |
| Fat | 22 g |
For more creative recipes, visit our Innovative Ice Cream Recipes collection. For safety protocols and supplier guidance, see our liquid nitrogen safety guide.
Liquid nitrogen transforms texture because it freezes the mixture so quickly that ice crystals remain very small. For the science behind the cooling and phase change, review liquid nitrogen and general cryogenics principles.
FAQ
Is liquid nitrogen safe for home use?
Yes, when you follow established safety procedures and use proper equipment. Wear protective gear, ensure adequate ventilation, and handle nitrogen only in dewars designed for cryogenic liquids.
If you lack proper PPE or a calm, controlled workspace, arrange a supervised demonstration with a trained provider instead of attempting it solo.
How does liquid nitrogen improve ice cream texture?
Liquid nitrogen freezes the mix in seconds, creating very small ice crystals that yield a smooth mouthfeel. That physics is what separates instant-freeze methods from conventional freezers.
For a primer on the culinary side, consult the ice cream article on texture and structure.
Where can I source food-grade liquid nitrogen?
Purchase from specialty gas suppliers or scientific suppliers that label their product for food use. Always request documentation and storage instructions from the supplier.
Keep cylinders upright during transport and follow local regulations for handling hazardous materials. If unsure, ask the supplier for a safety data sheet (SDS).
Can I prepare this with children nearby?
Children may watch from a safe distance and enjoy the finished product, but only trained adults should handle liquid nitrogen. Assign one adult to manage the dewar and one to manage the cooking area.
Designate a clear safety perimeter and explain the hazards in simple terms before starting to keep curious hands away from danger.
How do I dispose of leftover liquid nitrogen?
Allow it to evaporate outdoors in a ventilated, unoccupied area away from openings into buildings. Never pour it into plumbing or confined spaces where oxygen displacement can create asphyxiation risk.
Follow supplier guidance for larger volumes; small residual amounts will vaporize safely if left to warm in the open air.
Concluding Remarks
Liquid nitrogen ice cream rewards careful technique with exceptional texture and memorable presentation. Plan, prepare, and protect: those three steps cover most risks and yield consistent results.
Respect the properties of cryogenic liquids, practice on small batches, and build confidence before hosting. When done right, the combination of sound technique and safety produces a spectacular dessert.
For general food-handling standards that apply when preparing ice cream and frozen desserts, consult food safety resources. Proper hygiene, temperature control, and storage preserve both flavor and safety.
See also: Liquid nitrogen


