

Direct heat vs indirect heat: Mastering chicken cooking techniques requires clear decisions about where you place the meat relative to the heat source. Apply the right heat and timing to each cut and you will get juicy, safe chicken every time.
- Overview and Practical Uses of Direct Heat and Indirect Heat
- Prep and Cook Time for Direct Heat and Indirect Heat
- Yield
- Difficulty Level
- Ingredients
- Instructions
- Tips for Success with Direct Heat and Indirect Heat
- Serving Suggestions
- Nutritional Information (per serving)
- Technical Notes and Equipment
- Final Notes
- FAQ
- At a glance: Choose direct heat for quick sears and indirect heat for gentle, even cooking.
- Use a calibrated probe thermometer to reach 165°F / 74°C without overcooking.
- Rest cooked chicken to let juices redistribute for better texture.
- Combine zones: sear on direct heat, finish on indirect for best results.
Overview and Practical Uses of Direct Heat and Indirect Heat
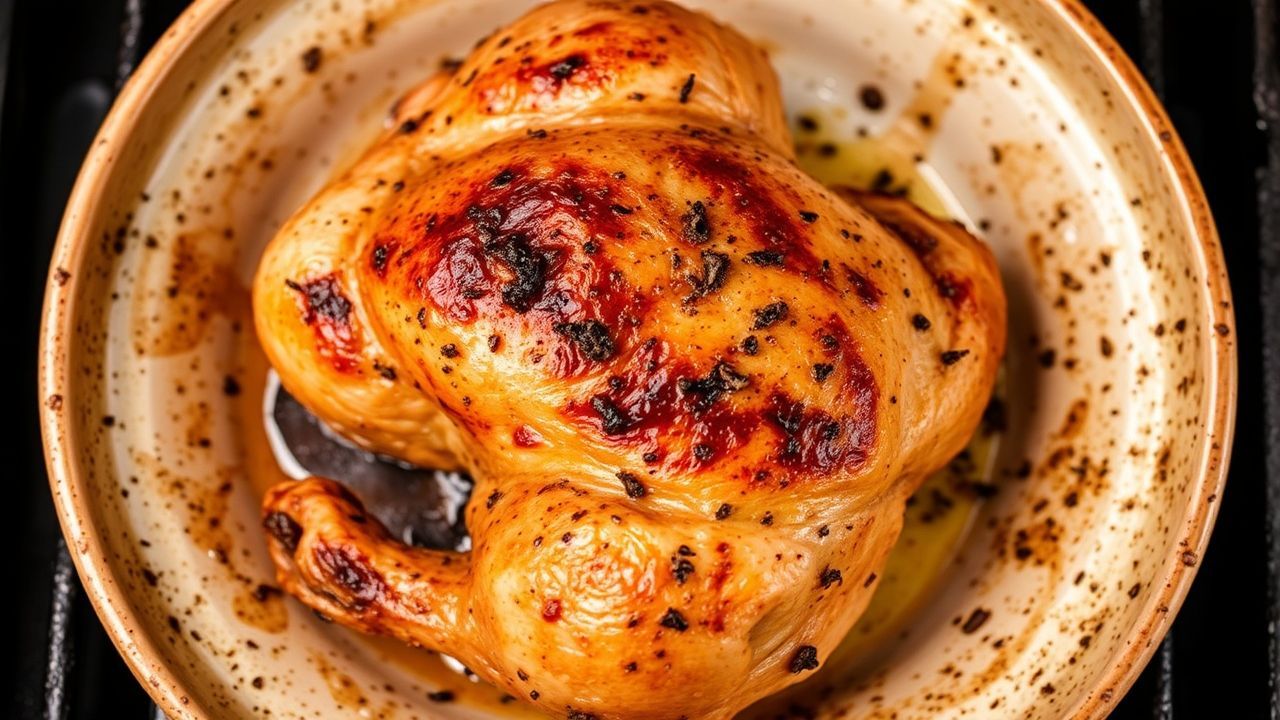
Direct heat delivers high, focused energy to the chicken surface and produces crisp skin and char. This approach suits wings, thighs, and small cuts that benefit from intense surface browning.
Indirect heat cooks by surrounding the chicken with warm air or radiant heat and prevents the exterior from burning while the interior comes up in temperature. Use it for whole birds, bone-in breasts, and large pieces that need time to reach a safe internal temperature.
Grilling and roasting share technical fundamentals but differ in airflow, fuel, and scale. Refer to authoritative context on grilling and roasting for technique differences and equipment choices.
Prep and Cook Time for Direct Heat and Indirect Heat
Preparation: 15 minutes is typical when you include patting dry and seasoning. Properly dried skin with a light oil coat allows direct heat to crisp quickly and predictably.
Cooking: Total cook time varies by cut and method. Direct sear times per side are short; indirect finishes take 20–40 minutes depending on size and whether you use a two-zone grill or an oven.
- Preparation: 15 minutes
- Cooking: 30-45 minutes (varies by heat method and cut)
- Total Time: 45-60 minutes
Yield
This guidance serves about four people when using four bone-in thighs or a similar weight of boneless cuts. Adjust quantities if you scale to larger gatherings or smaller appetites.
Yield depends on side dishes and portion sizes. Apply the same timing principles when cooking multiple racks on a grill or in batches in the oven.
- Serves 4 generously
Difficulty Level
Difficulty rates as medium because you must manage heat zones and use a thermometer to confirm doneness. Learning to control direct heat and indirect zones rewards careful attention more than advanced chef skills.
Home cooks can learn two-zone grilling and oven finishing quickly. Practice sequencing sear and finish stages and you will improve consistency across all poultry cuts.
Ingredients
Use four bone-in, skin-on thighs or four breasts depending on texture preference. Season simply with oil, smoked paprika, garlic powder, onion powder, dried thyme, salt, and black pepper.
Fresh herbs and lemon added after resting brighten the dish and enhance perceived juiciness. Keep seasonings balanced so the heat method expresses the chicken’s natural flavor.
- 4 bone-in, skin-on chicken thighs (or 4 chicken breasts)
- 2 tbsp olive oil
- 1 tbsp smoked paprika
- 1 tsp garlic powder
- 1 tsp onion powder
- 1 tsp dried thyme
- Salt and freshly ground black pepper, to taste
- Fresh herbs and 1 lemon for garnish and finishing
Instructions
Start by preheating and create clear hot and cool zones: for direct heat use high heat (~450°F / 230°C); for indirect heat leave one side cooler or use a 375°F (190°C) oven. Building zones gives you control over sear and finish stages.
Pat chicken dry, rub with oil, and season evenly. Let the rub adhere briefly but avoid brining or over-salting without testing first on a small piece.
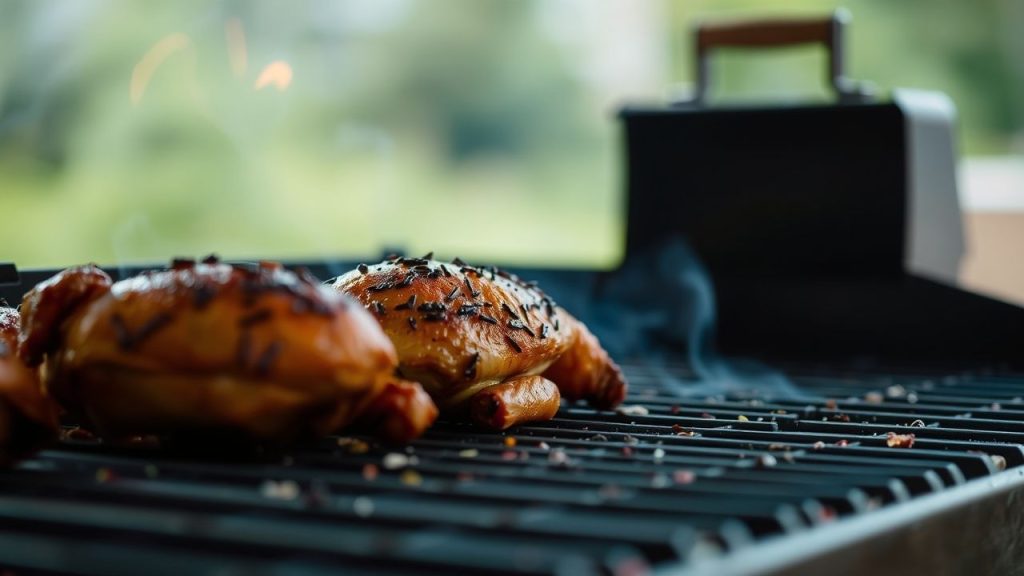
Direct Heat Grilling
Place pieces skin side down over high heat and sear until the skin crisps and char marks form, about 5–7 minutes. Flip once and finish for another 4–6 minutes while watching for flare-ups from dripping fat.
Use tongs and move pieces off the hottest area if flames spike. A quick sear on direct heat locks surface flavor while you reserve interior cooking for the finish stage.
Indirect Heat Grilling or Oven Finish
Move seared pieces to the cooler zone or close the oven to let them cook gently for 25–35 minutes. Insert a probe thermometer into the thickest part to confirm 165°F (74°C) for safety.
Maintain a covered environment to encourage even heat circulation and consistent carryover cooking. Let carryover raise the final temperature slightly while resting under tented foil.
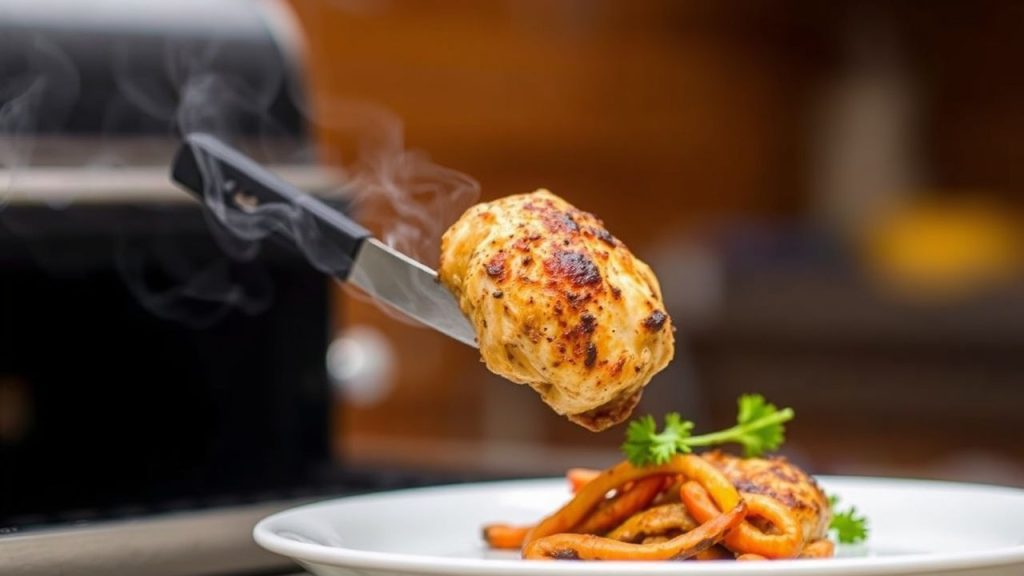
After removing from heat, tent the chicken loosely and rest for 5–10 minutes to allow juices to redistribute. Cutting immediately forces juices out and dries the meat.
Finish with lemon and herbs for brightness. Serving at the right temperature and texture improves perceived flavor without adding extra fat.
Tips for Success with Direct Heat and Indirect Heat
Choose heat by cut: Use direct heat for thin or skin-on cuts and indirect for thick or whole birds. This approach balances exterior texture and interior moisture.
Manage flare-ups by trimming excess fat and keeping a spray bottle of water or a cooler zone to move pieces into when flames spike. Predictable heat reduces burnt spots and bitterness.
- Direct heat: Quick sear, crisp skin, best for thighs and wings.
- Indirect heat: Slow cook, even internal temp, best for whole birds and large breasts.
- Hybrid method: Sear on direct heat then finish indirectly for the best balance of texture and juiciness.
Experiment with wood chips during indirect grilling to introduce mild smoke without burning the skin. Keep spice blends simple so the method remains the primary flavor driver.
Serving Suggestions
Pair grilled chicken with seasonal vegetables that can share the grill or be roasted at similar temperatures. Vegetables like asparagus and bell peppers complement smoky, direct heat flavors and add textural contrast.
Light sauces such as garlic aioli or chimichurri brighten both direct and indirect preparations without overwhelming the meat. A lemon wedge and fresh parsley add a final acidic lift to the plate.
For authoritative guidance on handling and temperatures, consult food-safety references such as food safety. Follow recommended temperatures and hygiene for best results.
Nutritional Information (per serving)
| Nutritional Information (per serving) | Calories | Protein | Carbs | Fat |
|---|---|---|---|---|
| Bone-in, skin-on thigh (150g) | 280 | 26g | 0g | 18g |
| Olive Oil (1/2 tbsp) | 60 | 0g | 0g | 7g |
| Spices & herbs | 5 | 0g | 1g | 0g |
Technical Notes and Equipment
A reliable instant-read or probe thermometer is essential for precision; it removes the guesswork from timing. For details on thermometer types and calibration, review the thermometer overview.
Set up a two-zone grill when using charcoal or gas to create a hot sear zone and a cooler finish zone. This setup mimics an oven’s ambient heat while preserving the option to sear on direct heat.
Use heavy pans or a cast-iron skillet when finishing in the oven to preserve heat and encourage even cooking. Consistent contact and radiant heat reduce hot spots and speed finishing without drying the meat.
Final Notes
Mastering direct heat and indirect heat is a practical skill set that improves reliability and flavor for all poultry cooks. Consistent use of temperature checks, resting, and appropriate heat selection elevates everyday chicken to restaurant-quality results.
Adopt the routines described here and practice across cuts until the timing and behavior of your equipment feel intuitive. With repeated application you will deliver juicy, safe, and well-textured chicken every time.
See also: chicken heat | grill basics
FAQ
What is the core difference between direct and indirect heat?
Direct heat places the chicken directly above the heat source for immediate browning and crisping. Indirect heat surrounds the chicken with warm air and radiates heat gently to avoid burning the exterior.
When should I use direct heat over indirect?
Use direct heat for small, skin-on, or thin cuts that need quick browning and a crispy crust. Switch to indirect when pieces are thick, bone-in, or require time to reach safe internal temperatures without charring.
Can I combine both methods in one cook?
Yes. A common method is to sear over direct heat, then move the chicken to indirect heat to finish cooking. That combination produces both crisp skin and a moist interior.
How do I prevent flare-ups on the grill?
Trim excessive fat, keep a cooler zone to move pieces into, and use tongs to reposition items during flare-ups. A short spray from a water bottle helps control flames without dousing coals.
What internal temperature is safe for chicken?
The safe internal temperature target for chicken is 165°F (74°C) measured at the thickest point. Use a calibrated probe to confirm, then allow brief resting time for carryover stabilization.


