

Grill Press Uncovered: The Secret to Perfectly Seared Meals
There’s something undeniably magical about a perfectly seared meal: the crisp, caramelized crust that locks in juices, the aroma that signals depth of flavor, and the steady sizzle that promises texture. A grill press is a simple tool that reliably delivers those results by increasing surface contact and stabilizing heat across the protein or sandwich.
- How a Grill Press Works
- Prep and Cooking: Timings, Yield, and Difficulty
- Ingredients and Step-by-Step Instructions
- Tools, Materials, and Care
- Why Material and Heat Matter
- Serving Suggestions and Pairings
- Practical Resources and Internal Guides
- Nutrition Snapshot
- FAQ
- What is the best material for a grill press?
- Can a grill press be used on any cooktop?
- Will pressing make my steak dry?
- How do I maintain a cast-iron press?
- Are grill presses only for meat?
- Resources and Further Reading
- Final Notes
- Even contact and heat speed Maillard browning for deeper flavor.
- Controlled pressure produces consistent crusts without over-drying.
- Simple maintenance extends cast-iron life and protects finish.
- Versatility spans steaks, burgers, paninis, vegetables, and tofu.
How a Grill Press Works
A grill press amplifies surface contact between food and the cooking surface. That contact concentrates heat energy where the Maillard reaction forms, yielding a brown, flavorful crust.
Heat conduction and pressure together change cooking kinetics: the press conducts heat into the food while reducing insulating air gaps. For the science behind browning, see the Maillard reaction explanation on Wikipedia and how heat affects transformations in proteins and sugars.
Prep and Cooking: Timings, Yield, and Difficulty
Plan 10 minutes for prep and 8–12 minutes for cook time on a 1-inch steak, depending on doneness. Timing will vary with thickness and the starting temperature of the protein.
Serves 2–4 in a typical home kitchen setting and rates as Easy to Medium in skill. The technique scales to burgers and paninis with small adjustments to weight and time.
Prep Time and Cook Time
Prep: 10 minutes to bring steaks to room temperature and season. Dry the surface; moisture prevents proper browning.
Cook: 8–12 minutes overall, pressing 4–6 minutes per side for many cuts. Use a reliable instant-read thermometer to judge doneness.
Yield and Difficulty
Yield: One pound of ribeye yields 2 hearty portions or 3 moderate servings once sliced. For sandwiches, 4 slices of bread make two paninis.
Difficulty: The method is accessible. Mastering pressure and timing takes practice; start conservative with pressing duration.
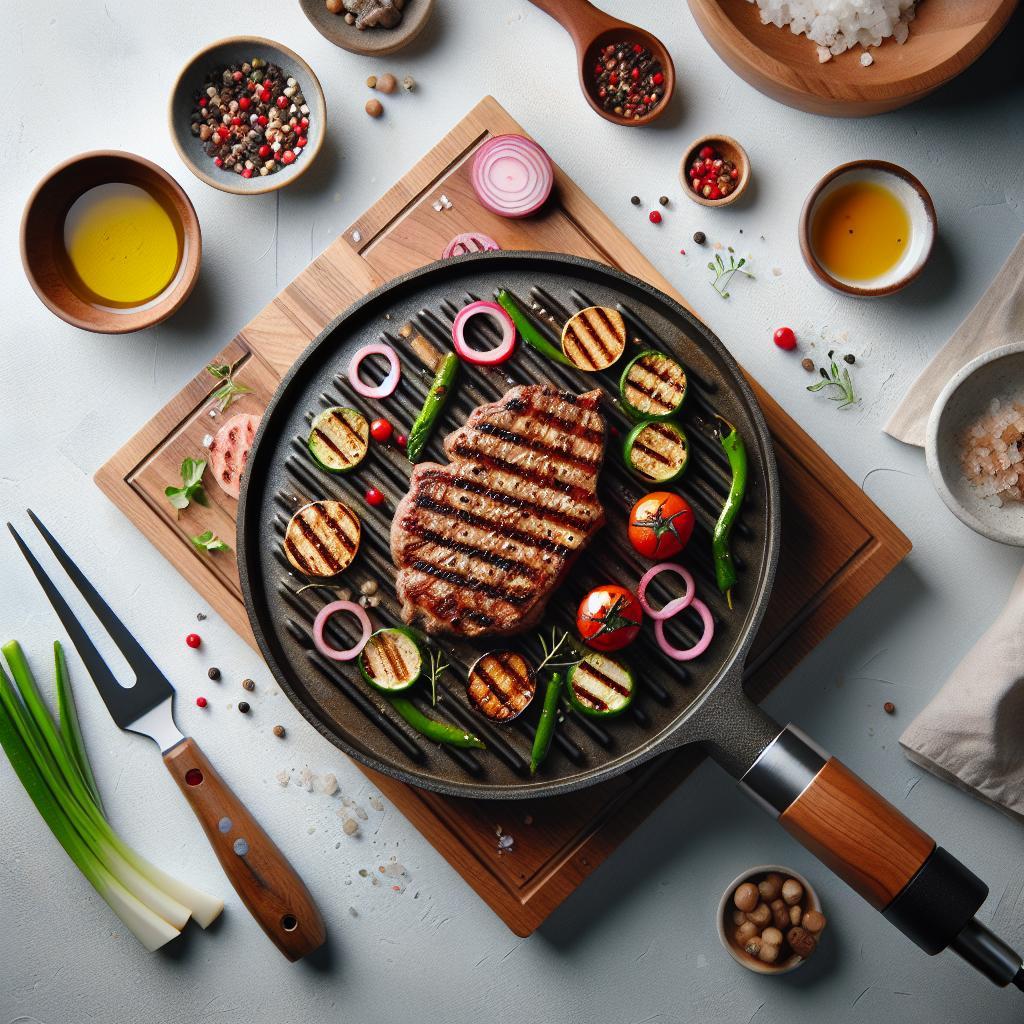
Ingredients and Step-by-Step Instructions
Use quality protein and minimal seasoning to highlight the seared crust. For a ribeye, a light brush of oil and coarse salt are often all you need to get a bold exterior.
Keep ingredients and steps simple: oil, salt, pepper, optional aromatics, and your press. Below is a practical ingredients list followed by clear steps for consistent results.
Ingredients
- 1 lb ribeye steak, about 1-inch thick, room temperature
- 1 tbsp neutral oil (or olive oil for flavor)
- 2 cloves garlic, smashed (optional)
- Salt and freshly ground black pepper, to taste
- 4 slices sourdough bread (if making sandwiches)
- Butter for spreading on bread
- Optional: sliced cheddar, fresh herbs (thyme or rosemary)
Instructions
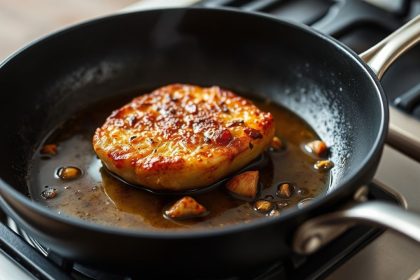
Preheat your grill press and pan on medium-high for at least five minutes so heat is consistent. A cold press will slow browning and give uneven results.
Season the steak and lightly oil the cooking surface. Place the steak in a hot cast-iron skillet or grill pan and let one side develop color before applying the press.
- Preheat the press until it holds heat consistently.
- Season the steak with salt and pepper and add a thin coat of oil.
- Place the steak in the pan and wait 1–2 minutes to start a crust.
- Press gently with even force for 4–6 minutes on the first side.
- Flip and press again for 4–6 minutes or to target internal temperature.
- Rest the steak 4–5 minutes before slicing against the grain.
For sandwiches, butter the outside of each bread slice, assemble fillings, and press until bread is crisp and cheese melts. Timing for paninis is typically shorter—monitor closely.
Use an instant-read thermometer to check doneness. Aim for 125–130°F for medium-rare steaks when removing from heat; carryover will raise it slightly as the steak rests.
Tools, Materials, and Care
Select a press material to match your cooking style. Cast iron holds heat and adds weight for a firm press; stainless steel heats faster and resists corrosion.
Size should match your skillet; a press too large or small reduces efficiency. A wooden or heat-resistant handle keeps handling safer when reheating or moving the press.
To protect cookware and the press, avoid abrasive cleaners on seasoned surfaces. Rinse gently, dry immediately, and reapply a light oil if you store cast iron for long periods.
For stainless steel, use hot water and a mild scrub. Avoid thermal shock by letting the press cool before washing to reduce warping risk.
Why Material and Heat Matter
Material choice influences heat transfer and weight distribution. Cast iron’s thermal mass keeps surface temperatures stable, aiding uniform browning.
Stainless steel transfers heat faster but has less thermal inertia. Review general heat transfer principles on the Heat transfer page for context on conduction and surface contact.
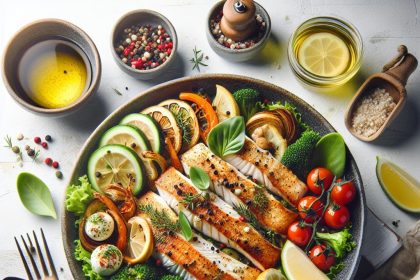
Serving Suggestions and Pairings
Slice steak against the grain and garnish with a small pat of herb butter for gloss and richness. Fresh herbs like thyme or rosemary add aromatic lift without overpowering the sear.
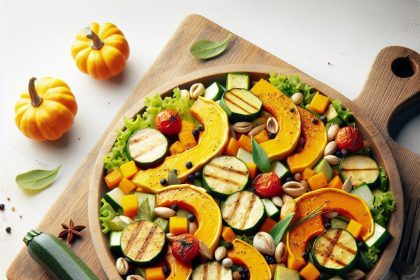
Pair with grilled seasonal vegetables or a peppery arugula salad dressed with lemon vinaigrette. For paninis, serve with a crisp pickle or light coleslaw to cut the richness.
Practical Resources and Internal Guides
For basic technique refreshers and tool checks, visit the internal guide on grill press basics for additional photos and setup tips. That page covers size selection and initial seasoning routines.
For maintenance routines and troubleshooting—from rust removal to re-seasoning—see care and maintenance. Those steps extend tool life and protect your cookware finish.
Nutrition Snapshot
Use the table below to estimate per-serving nutrition for a ribeye-based meal. Values vary by cut and added fats.
| Nutrient | Per Serving |
|---|---|
| Calories | 450 |
| Protein | 38g |
| Carbohydrates | 15g |
| Fat | 28g |
FAQ
The following answers cover common practical questions about use, care, and technique when cooking with a grill press.
What is the best material for a grill press?
Cast iron is preferred for its thermal mass and weight, which create even contact and steady heat. Stainless steel works well if you want easier cleaning and faster heat-up times.
Can a grill press be used on any cooktop?
Yes. You can use a press on gas, electric, or induction-compatible cookware as long as the cookware itself suits the cooktop. Avoid using a heavy press on delicate non-stick pans to preserve the surface finish.
Will pressing make my steak dry?
Not if you wait to apply pressure until a crust begins to form and avoid excessive force. Gentle, even pressure speeds surface browning while conserving internal juices.
How do I maintain a cast-iron press?
Dry immediately after washing, lightly oil the surface, and store in a dry place. Periodically re-season the press by applying a thin oil layer and heating it to bond the oil to the surface.
Are grill presses only for meat?
No. Use the press for paninis, vegetables, burgers, and firm tofu. The press creates crisp edges and even caramelization on any food that benefits from direct contact and steady heat.
Resources and Further Reading
For background on the chemistry of browning, review the Maillard reaction. For material properties, read about cast iron and stainless steel.
For a quick reference on pressed sandwiches, see the Wikipedia entry on Panini. These sources reinforce practical choices for tools and technique.
Final Notes
A grill press is a compact, durable tool that raises the consistency of searing across proteins and sandwiches. With proper heat, measured pressure, and basic maintenance, it returns professional-style results at home.
Practice with timing and weight to match your preferred crust and internal doneness. Use internal resources like grill press basics and care and maintenance to deepen skill and extend the life of your tools.
See also: grill press


